Food waste is a major environmental concern, and as renters, we might feel limited in our ability to compost or grow our own food. But here’s a simple, space-saving, and rewarding way to reduce your kitchen waste and boost your cooking game: making your own vegetable broth from scraps!
Not only is homemade broth more flavorful and nutritious than store-bought versions, it’s also incredibly budget-friendly. Plus, it’s a fantastic way to minimize your impact on the planet. Ready to transform your kitchen scraps into liquid gold?
What Scraps to Save
Start a dedicated container in your freezer (even a small reusable bag works!) for your veggie scraps. Aim for a mix of flavors, and remember, variety is key! Here are some great options:
- Onion skins and ends
- Garlic skins and ends
- Carrot tops and peels
- Celery leaves and ends
- Mushroom stems
- Parsnip peels and ends
- Leek tops and ends
- Corn cobs
- Bell pepper cores and seeds (remove the white pith for a less bitter broth)
- Herb stems (parsley, thyme, rosemary)
What to Avoid:
While most vegetable scraps are fair game, some can create unpleasant flavors or textures in your broth. Avoid using:
- Brassicas: Broccoli, cauliflower, cabbage, and Brussels sprouts can make your broth bitter and sulfurous.
- Starchy Vegetables: Potatoes, sweet potatoes, and turnips can cloud your broth and make it gummy.
- Anything Moldy or Rotten: Only use fresh, clean scraps.
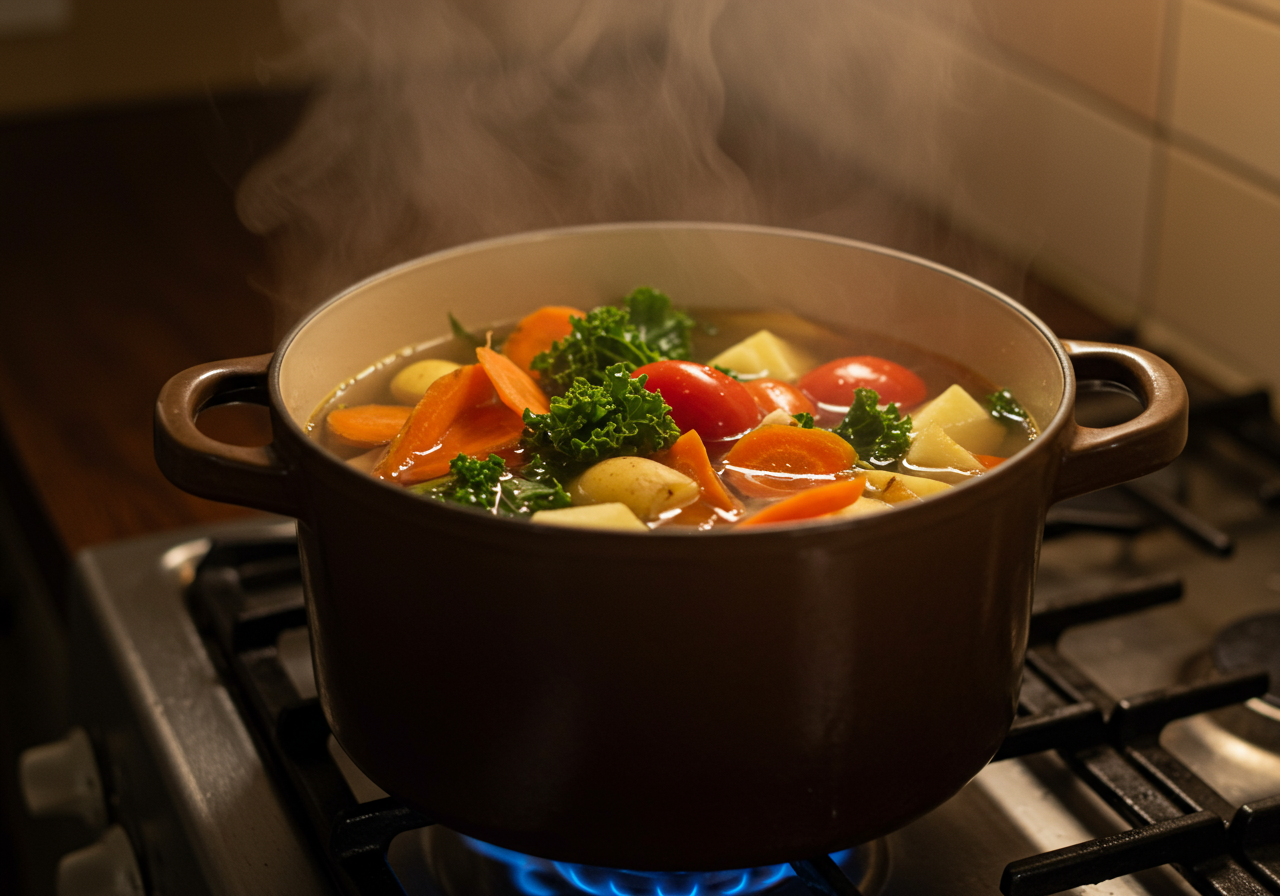
Making Your Broth: A Simple Process
Once your scrap bag is full, it’s time to make broth! Here’s a step-by-step guide:
- Empty your scrap bag into a large pot. Aim for about 4-6 cups of packed scraps.
- Add water: Cover the scraps with about 12 cups of cold water. You can adjust the amount depending on how concentrated you want your broth.
- Simmer gently: Bring the pot to a boil, then reduce heat and simmer for at least 1 hour, or up to 3 hours for a richer flavor. Avoid a rolling boil, as this can make the broth cloudy.
- Strain the broth: Once simmered, line a colander with a fine-mesh sieve or cheesecloth and carefully pour the broth through, discarding the solids. Compost them if you can!
- Cool and store: Let the broth cool completely before transferring it to airtight containers. Store in the refrigerator for up to a week, or freeze for up to 6 months.
Tips and Variations
Making vegetable broth is incredibly versatile. Here are a few tips to enhance your broth-making experience:
- Add Flavor Boosters: Toss in a bay leaf, black peppercorns, or a piece of dried kombu seaweed during simmering for extra depth of flavor.
- Salt Later: Don’t salt your broth while it’s simmering. Add salt to individual dishes when using the broth.
- Get Creative: Experiment with different combinations of scraps to find your perfect blend. Try a mushroom-heavy broth for a richer, earthier flavor, or focus on carrot and celery for a classic base.
- Small Space Solution: If you have limited stovetop space, consider using a slow cooker. Simply add your scraps and water, set it to low, and let it simmer for 8-10 hours.
Making your own vegetable broth is an easy and rewarding way to reduce food waste, save money, and elevate your cooking. It’s a small step with a big impact, perfectly suited for the eco-conscious renter. So, start saving those scraps and enjoy the delicious results!