Renting doesn’t mean sacrificing your commitment to sustainability. Even without the freedom to renovate, you can make eco-conscious choices that transform your space. One fantastic way to embrace both creativity and eco-friendliness is by upcycling old linens with natural dyes. Give those faded towels, stained pillowcases, and worn-out tablecloths a vibrant new life, all while minimizing textile waste and embracing the beauty of nature’s palette.
Why Choose Natural Dyes?
Switching to natural dyes offers a plethora of benefits for both the planet and your well-being. Conventional dyes often contain harsh chemicals that pollute waterways and can even trigger allergies. Natural dyes, derived from plants, fruits, and vegetables, are a gentler, biodegradable alternative.
- Eco-friendly: Reduce your environmental impact by avoiding harmful chemicals.
- Non-toxic: Create a healthier home environment for yourself and your loved ones.
- Unique & beautiful: Achieve subtle, nuanced colors that add character to your linens.
- Fun & rewarding: Engage in a creative process that connects you with nature.
Gathering Your Supplies
The beauty of natural dyeing lies in its simplicity. Most supplies can be found in your kitchen or local grocery store.
What You’ll Need:
- Old linens (100% natural fibers like cotton, linen, or silk work best)
- Natural dye materials (see suggestions below)
- Large pot (stainless steel or enamel-coated)
- Mordant (helps the dye bind to the fabric – alum is a common choice)
- Strainer
- Gloves
- Stirring utensil
- Measuring cups and spoons
Exploring Natural Dye Sources
Experimenting with different natural materials yields a spectrum of unique hues. Here are a few easy-to-find options:
Dye Material & Expected Color:
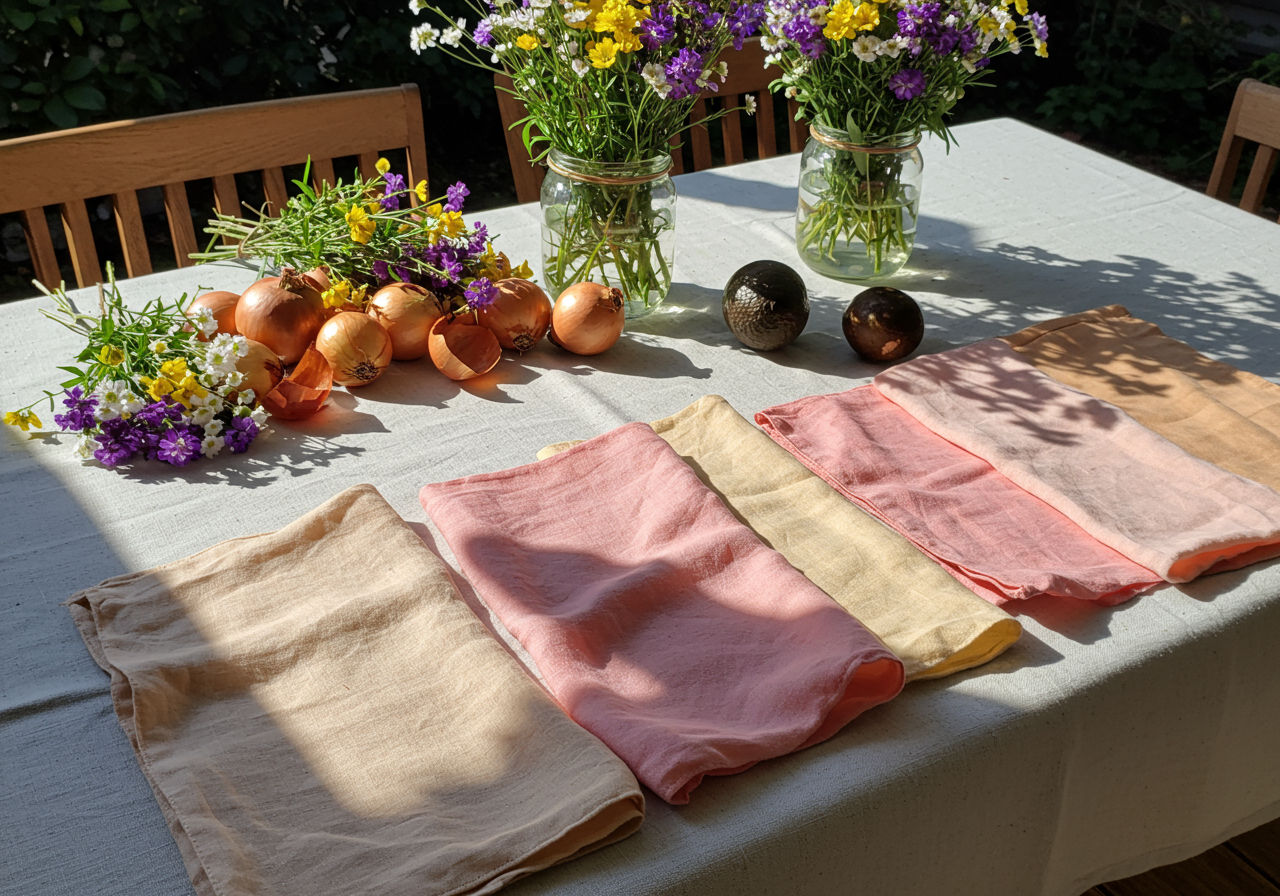
- Avocado skins & pits: Soft pinks and blush tones
- Onion skins: Golden yellows and oranges
- Red cabbage: Vibrant blues and purples
- Coffee grounds: Rich browns and sepia tones
- Turmeric: Sunny yellows and golds
The Dyeing Process
While the specifics vary depending on the chosen dye material, the general process remains the same:
Step-by-Step Guide:
- Prepare your fabric: Wash your linens thoroughly to remove any dirt or residue.
- Mordant the fabric: Soak the fabric in a mordant solution (follow instructions for your chosen mordant) to help the dye adhere effectively.
- Create the dye bath: Simmer your chosen dye material in water until the color is extracted.
- Strain the dye bath: Remove the plant material, leaving behind the colored liquid.
- Dye the fabric: Submerge the mordanted fabric in the dye bath, stirring occasionally. Simmer for 1-2 hours or until the desired color is achieved.
- Rinse and dry: Rinse the dyed fabric in cool water until the water runs clear. Hang to dry out of direct sunlight.
Tips for Successful Dyeing
Here are a few tips to ensure beautiful, long-lasting results:
- Start with small projects: Practice on scraps of fabric before dyeing larger items.
- Use natural fibers: Natural fibers like cotton and linen absorb dye better than synthetics.
- Keep the temperature consistent: Avoid boiling the dye bath, as this can damage the fibers and affect the color.
- Embrace the imperfections: Natural dyes create unique, slightly varied colors. Enjoy the organic beauty of the process!
Upcycling your old linens with natural dyes is a rewarding way to embrace sustainable living within the confines of your rental. Experiment with different colors, embrace the imperfections, and enjoy the unique, personalized touch it brings to your home.