How to Set Up a Smart, Energy-Efficient Apartment on a Renter’s Budget: A Step-by-Step Guide
Transforming your apartment into an energy-saving smart home isn’t just an eco-friendly move—it’s a budget-friendly one, too. But as a renter, you face unique obstacles: limited control over infrastructure, strict landlord rules, and a need to take it all with you when you move. The good news? You can still build a connected, efficient, and comfortable apartment with the right strategies and affordable gadgets.
This guide covers every step you need to set up a smart, energy-efficient home without breaking your lease—or your wallet.
Why Smart, Efficient Living Matters for Renters
Renters are often left out of the home automation and energy-savings conversation. Yet, energy costs and comfort matter even more for apartment dwellers. Here’s why you should care:
- Lower utility bills: Smart thermostats, bulbs, and plugs can slash your energy usage.
- Easy installation: Many smart devices are designed for DIY setup with no wiring or holes required.
- Portability: Take your gear with you to your next place.
- Better comfort: Automate lighting and climate for maximized comfort and convenience.
- Sustainability: Use less energy and shrink your carbon footprint.
Let’s get started with a step-by-step plan tailored especially for renters.
Step 1: Assess Your Apartment and Your Lease
Review Lease Agreements
- Check for restrictions: Many leases ban permanent changes (like rewiring or drilling holes).
- Look for smart home clauses: Some landlords welcome basic upgrades!
- Get written permission: For anything questionable, ask your landlord in writing first.
Evaluate Your Current Setup
- Is the thermostat accessible? Must be able to remove / replace yourself.
- Do your light fixtures use standard bulbs? If yes, swap in smart bulbs.
- Are the outlets easily accessible? Great for smart plugs and power strips.
- What’s your WiFi like? Smart home gear needs a reliable connection.
Step 2: Prioritize High-Impact, Renter-Friendly Upgrades
Focus on affordable, plug-and-play devices that reduce energy use and boost comfort. No tools or permanent changes needed.
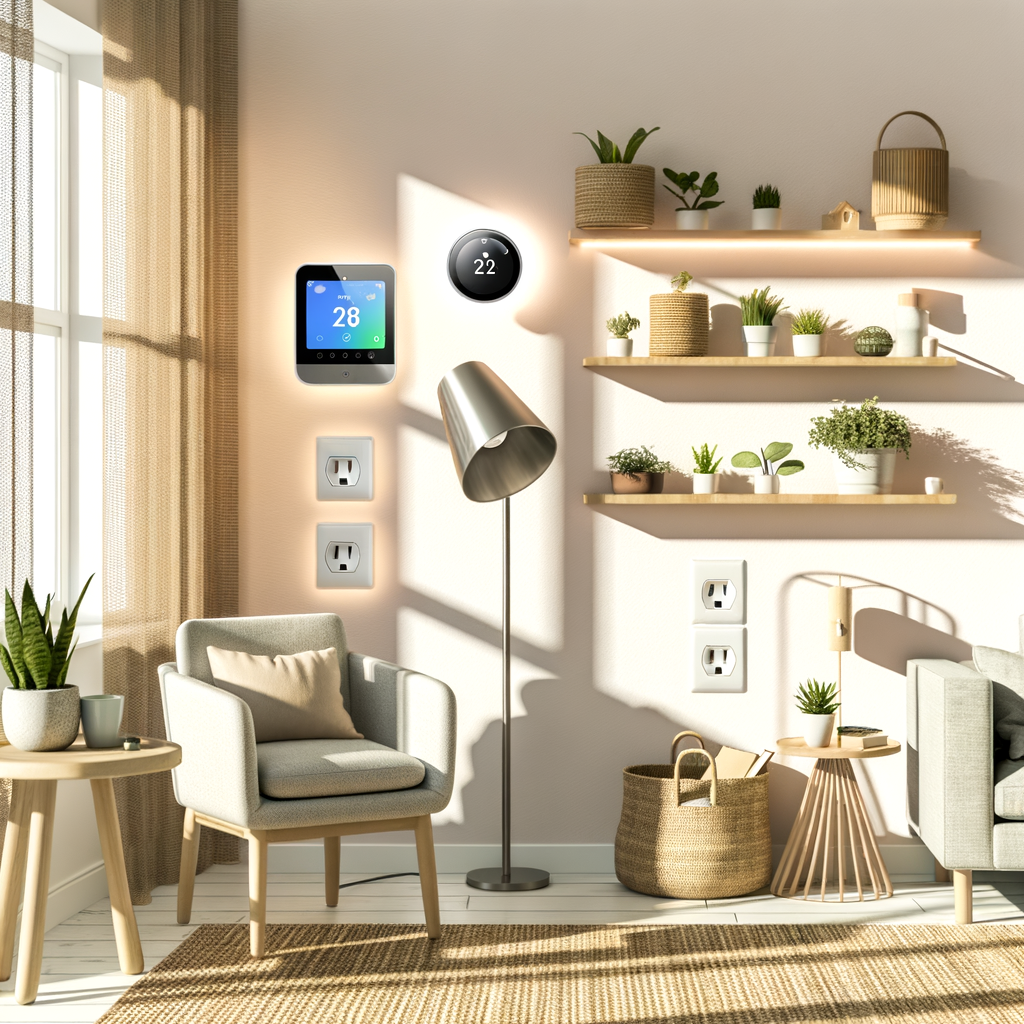
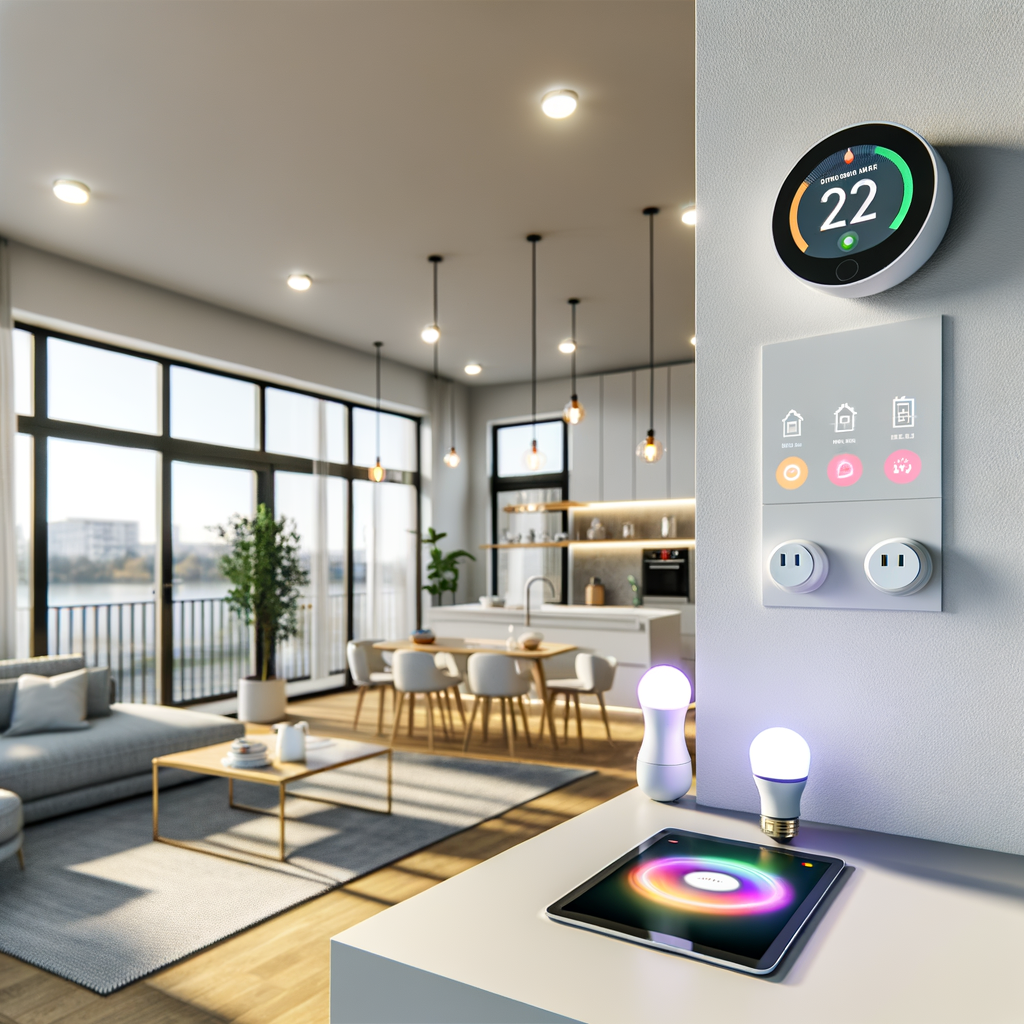
Smart Thermostats (With Caution)
- Heating and cooling: Your single biggest energy expense. Smart thermostats can cut costs by 10-20% by minimizing heating/cooling when you’re away or asleep.
- Renter tips:
- Check compatibility with your existing HVAC system.
- Ensure you can swap it back when you move out.
- If you can’t change out the thermostat, try smart radiator valves (for radiators) or portable smart heaters with thermostats.
Smart Plugs and Smart Power Strips
- “Vampire” power: Devices draw energy even when off. Smart plugs cut the flow automatically.
- Automate lamps, fans, kitchen appliances, entertainment systems, and more.
- Set custom schedules: Turn devices off when you leave or at bedtime—all from your phone.
LED Smart Bulbs
- Easy swap: Replace regular bulbs with smart LEDs to control them remotely, set schedules, and cut energy use up to 80% compared to incandescents.
- No wiring: Just screw in and connect to your app.
Smart Sensors
- Monitor temperature, humidity, doors/windows left open, and more.
- Automate actions: When you leave, smart sensors trigger devices to turn off.
- Stick-on designs: Perfect for renters—no drilling needed!
Smart Window Coverings and Insulation
- Block heat and cold: Automated blinds/curtains can schedule open/close at sunrise/sunset.
- DIY film kits and draft stoppers: Boost comfort and efficiency affordably.
Step 3: Select a Smart Home Ecosystem
To avoid “app fatigue” and maximize automation, choose a compatible set of devices—ideally on the same platform:
- Amazon Alexa – Huge range of affordable smart plugs, bulbs, and speakers.
- Google Assistant – Similarly broad compatibility; easy routines.
- Apple HomeKit – For privacy-conscious users using iPhone/iPad; fewer budget options.
- Tied ecosystem products (like Wyze, TP-Link Kasa, or Meross) keep things simple by having everything under one app.
Tip: Choose devices labeled “Matter” for the best cross-platform compatibility and future-proofing.
Step 4: Make a Budget and Prioritize Upgrades
Recommended Energy-Efficient Starter Kit (Under $150)
- 2-4 smart LED bulbs
- 2-3 smart plugs or a smart power strip
- Optional: A plug-in smart thermostat (if permitted)
- Basic window insulation kit
Price Ranges (2024)
- Smart bulbs: $8-$20 each
- Smart plugs: $10-$20 each
- Smart power strip: $25-$40
- Entry-level smart speaker: $25-$60
- DIY insulation film kit: $12-$30
Step 5: Shop for Renter-Friendly Smart Devices
What to Look for
- No hardwiring required.
- No permanent modification.
- Removable adhesive or magnetic mounting for sensors and switches.
- Voice control or routines for maximum automation.
- App control (iOS/Android) for flexibility and remote access.
- Energy usage tracking for real-time savings data.
Where to Buy
- Amazon: Best selection and reviews for renters’ gear.
- Big box stores (Target, Walmart): Useful for seeing products in person.
- Direct from brands like Wyze, TP-Link, or Kasa: Often more affordable starter kits.
Step 6: Installation and Setup Tips for Renters
Easy Smart Device Setup
- Smart bulbs: Screw them in and follow app pairing instructions. Many now pair via Bluetooth or WiFi, no hub needed.
- Smart plugs/power strips: Plug into the wall, connect via the app, and assign a name.
- Smart thermostat: If permitted, remove the old unit carefully, label wires, and install the smart model. Keep the original to reinstall when you move.
- Smart sensors: Stick to surfaces with provided strips—test adhesive on a hidden area if worried about residue.
- Window insulation: Apply to the inside frame per kit directions; removable when you move.
Best Practices
- Group devices by room: Easier control and voice commands.
- Use routines/automation: E.g.,