How to Retrofit Your Rental with Smart Thermostats: A Renter’s Guide to Energy Savings Without Breaking the Lease
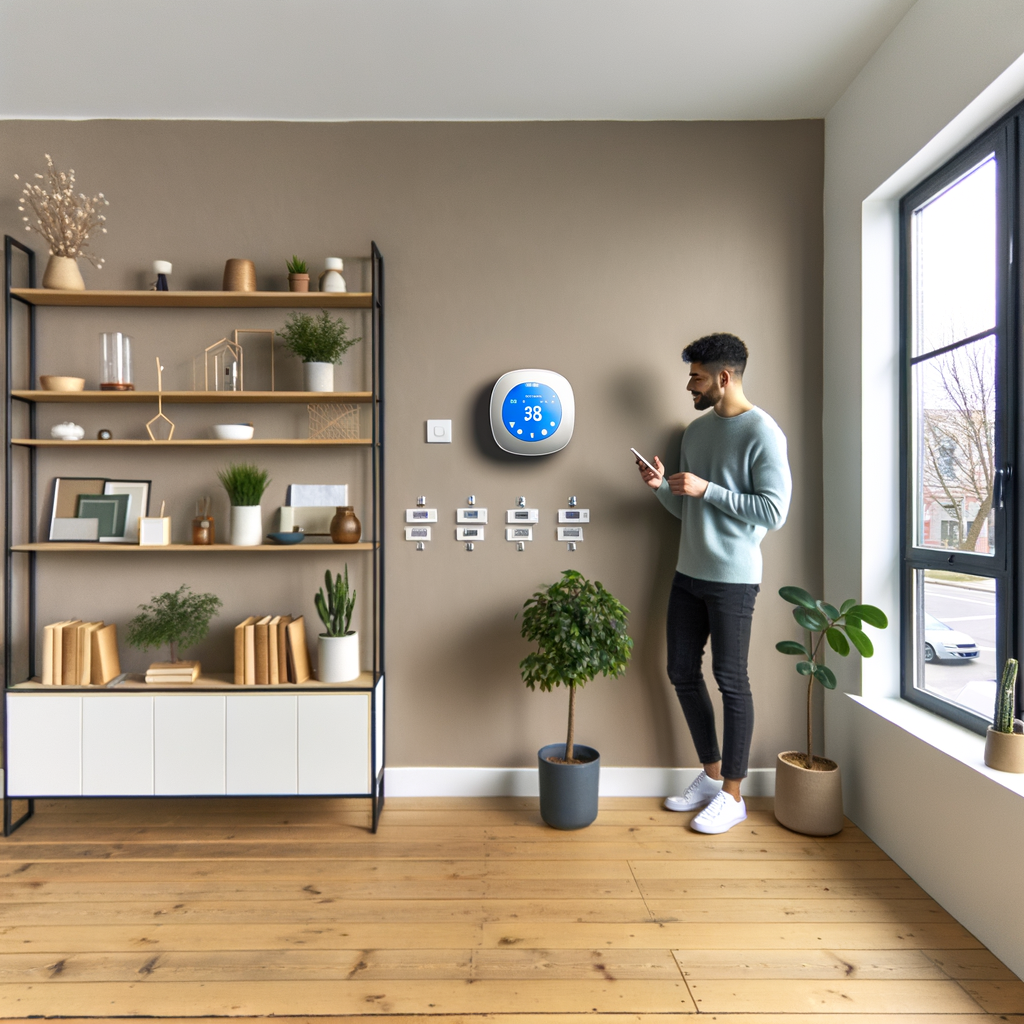
Want to cut your utility bills, reduce your environmental footprint, and make your rental more comfortable—all without risking your security deposit? A smart thermostat is one of the best eco-friendly upgrades you can easily install in most apartments or rental homes. This guide will show you step-by-step how renters can retrofit their home with a smart thermostat, stay within lease agreement limits, and save energy month after month.
Why Smart Thermostats are Perfect for Renters
Smart thermostats offer:
- Automatic temperature adjustments to fit your schedule and occupancy.
- Remote control from your smartphone, even when you’re not home.
- Energy tracking and reports to help you understand and reduce usage.
- Potential monthly savings: Many users save 10–15% on heating and cooling costs.
Unlike some other home tech, most smart thermostats are low-profile, require minimal installation, and can be removed or reset when you move out.
Know Your Lease: Compliance Comes First
Read Your Lease Agreement
Before you buy anything, carefully review your lease.
- Look for sections on alterations, upgrades, or fixtures.
- Check if you need landlord approval for device installation—even if it seems minor.
- Find out if you’re required to return fixtures to original condition at the end of your tenancy.
Talk to Your Landlord or Property Manager
Many landlords are open to eco-upgrades (it can increase property value!), but some require notification or formal permission.
- Explain the energy-saving and damage-free installation of a smart thermostat.
- Offer to replace or reinstall the original thermostat when you move.
- If allowed, ask if the landlord wants the upgrade to stay when you leave—sometimes, they’ll pay for or share the cost.
Check HVAC and Wiring Compatibility
Step 1: Identify Your Heater and AC Type
Not all smart thermostats work with all systems. Common types:
- Central forced air systems (most compatible)
- Heat pumps
- Baseboard or radiant heating (fewer options, see below)
- Window or portable units (require smart plug thermostats or devices)
Step 2: Inspect Your Thermostat’s Wiring
- Turn off power to your thermostat at the breaker for safety.
- Remove thermostat faceplate—note wire labels (common ones: R, W, Y, G, C).
- Take a photo for future reference.
- A “C-wire” (common wire) is required for many Wi-Fi thermostats. If you don’t have one, some brands offer adapters or battery-powered models.
Choosing the Best Smart Thermostat for Your Rental
Look for these features as a renter:
- Easy DIY installation and removal
- Supports your HVAC type and wiring
- Smartphone app controls for flexibility
- No permanent wall damage required
- Data privacy (especially in shared buildings)
- Voice assistant compatibility (optional)
Recommended Smart Thermostat Types
- “Traditional” smart thermostats (like Nest, Ecobee, Honeywell): For most hardwired systems.
- Battery-operated/battery-backup models: For systems without “C-wire.”
- Smart plug-in thermostats: For window units or space heaters.
- Wireless smart sensors: For extra temperature detection in multiple rooms.
Installation: Step-by-Step Guide for Renters
What You’ll Need
- Smart thermostat and included installation kit
- Screwdrivers (and possibly a drill, but not always!)
- Your smartphone (for setup and app connection)
- Low-profile wall anchors (optional, for extra clean removal later)
Installation Steps
- Shut off your HVAC system at the circuit breaker for safety.
- Remove your old thermostat’s faceplate.
Use your phone to photograph wiring; label each wire according to the new thermostat’s instructions. - Disconnect wires and unscrew the old thermostat plate.
- Attach the new thermostat base to the wall.
Use existing holes if possible. If new anchors are needed, choose small, easy-to-patch ones. - Connect wires to their labeled ports.
- Snap on the new thermostat faceplate.
- Turn the power back on at the breaker.
- Follow the app instructions to connect your new device to Wi-Fi and your phone.
Hot tip: Keep the original thermostat and screws in a labeled zip bag for a clean reinstall when you move out.
If You Can’t Replace the Thermostat
- Consider a smart control device (like a switch or sensor) if your landlord says no to thermostat replacement.
- For window ACs or space heaters, use a smart plug with remote scheduling.
- Add wireless sensors for room-level monitoring, even if you can’t fully automate the system.
Setting Up for Maximum Energy Savings
Fine-Tune Your Scheduling
- Set an automatic schedule matching work/sleep hours.
- Use “away” or “eco” modes for greater savings while out.
- If your model uses geofencing, enable it so your system knows when you leave or return.
Smart Home Integrations
- Pair with voice assistants (Alexa, Google Assistant, Siri) for hands-free temperature changes.
- Integrate with other smart home devices (lights, plugs) for an energy-efficient, streamlined setup.
Track Your Usage and Savings
- Review monthly reports in your thermostat app.
- Set energy-saving goals and compare to previous bills.
- Apply for utility rebates or local incentives—smart thermostats often qualify for discounts!
Moving Out: How to Restore Your Rental Seamlessly
Remove with Care
- Take photos of the wiring before disassembly (for easy reinstallation).
- Label wires as you go.
- Unscrew the baseplate gently and keep all hardware.
- Patch any small anchor holes and touch up paint, if needed, to avoid deposit deductions.
- Reinstall the original thermostat and test before handing in your keys.
Document Your Upgrades
- If you’ve made significant upgrades, let new tenants or your landlord know—they might thank you (or even want to buy your smart thermostat from you).
Tips for Renters on Getting the Most from Smart Thermostats
- Start small—even one smart thermostat can make a noticeable impact on your bills.
- Combine with other eco-friendly habits: seal windows, use blackout curtains, set ceiling fans to


