How to Create an Energy-Efficient Smart Home on a Renter’s Budget: A Step-by-Step Guide
Living sustainably doesn’t have to wait until you own your dream home. Renters can take meaningful steps toward an energy-efficient lifestyle without making permanent changes or breaking the bank. In this guide, you’ll discover straightforward strategies to transform your rental into a smart, eco-friendly space while keeping your security deposit intact and your utility bills low.
Why Renters Should Care About Energy Efficiency
Many renters shy away from eco-upgrades, assuming that options are limited. In reality, energy efficiency is more accessible than ever, thanks to the rise of smart home technology and renter-friendly gadgets. Here’s why it matters:
- Lower Bills: Smarter energy use means real monthly savings.
- Comfort: Smart devices can help maintain optimal indoor climates.
- Reduced Carbon Footprint: Small changes collectively make a big environmental impact.
- Convenience + Control: Smart tech puts you in control, even when you’re away.
Step 1: Assess Your Current Energy Footprint
Check Your Energy Bills
Start by reviewing your last 6–12 months of utility bills. This overview helps you:
- Spot usage spikes (seasonal or appliance-related)
- Identify patterns in heating, cooling, and appliance operation
Identify Energy Hogs
Pay special attention to:
- Lighting
- Heating & Cooling
- Plugged-in Electronics & Appliances
A simple energy usage monitor can show you exactly which devices are guzzling power.
Step 2: Set a Practical Budget and Prioritize
Decide How Much You Can Invest
- Consider a target range: $50–$200 for basic upgrades, $200–$500 for smart device bundles.
- Factor in monthly savings after upgrades—it adds up fast!
Choose What Matters Most
- Focus on big-impact changes first (thermostats, lighting, major appliances).
- Rank upgrades by cost, payoff, and ease of installation/removal.
Step 3: Upgrade to Smart, Efficient Lighting
Swap in LED Bulbs
Switch out incandescent or CFL bulbs for ENERGY STAR-rated LEDs:
- 80–90% more efficient than traditional bulbs
- Produce less heat (reducing AC needs)
- Last ~10–20 years, saving on future costs
Install Smart Bulbs and Plugs
Rental-friendly, no wiring needed. Try smart bulbs for voice/app control or smart plugs to automate lamps you already own.
- Schedule on/off times for extra savings
- Remotely control for security and convenience
- Supports Alexa, Google, Apple HomeKit, and more
Step 4: Optimize Heating and Cooling
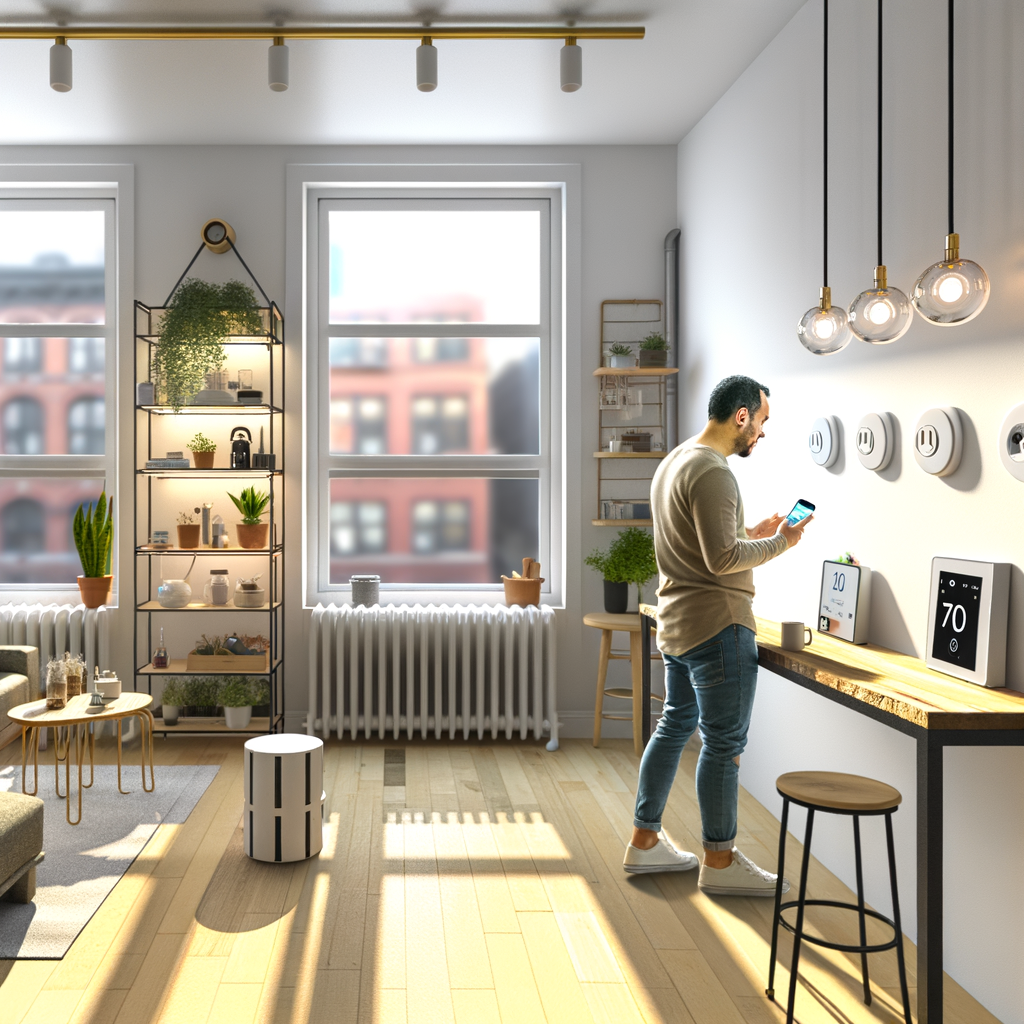
Use a Smart Portable Thermostat or AC Controller
Most rentals use wall AC/heaters or window units. While you might not be able to swap a wall thermostat, you can use:
- Smart AC controllers for window/split ACs (monitor and automate temperature remotely)
- Portable programmable heaters/fans with smart plugs for precise scheduling
- Smart thermostats (if landlord allows, or plug-in models for some baseboard heaters)
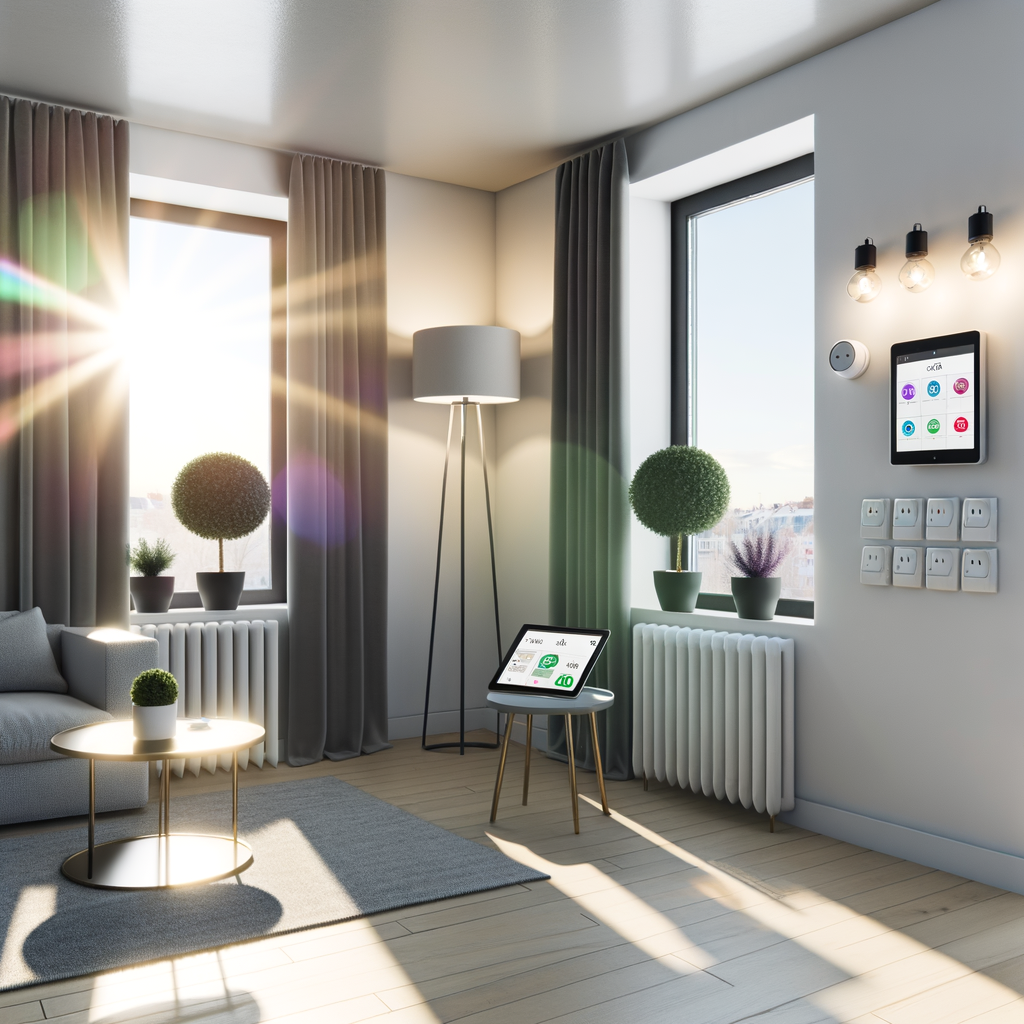
Layer in Passive Solutions
- Use blackout thermal curtains to keep heat out in summer/in during winter
- Seal windows and doors with removable weatherstripping or draft snakes
These non-permanent fixes dramatically improve comfort and efficiency—your landlord won’t mind!
Step 5: Control and Automate Device Usage
Employ Smart Plugs and Power Strips
- Remotely turn off “energy vampires” (TVs, chargers, game consoles, etc.)
- Schedule devices like coffee makers, lights, and fans
- Monitor actual energy consumption via the companion app
Try a Smart Power Strip
- Automatically cuts power to secondary devices when a “master” device is off (e.g., turns off speakers when TV is off)
- Works for entertainment centers, workstations, or hobby nooks
Step 6: Choose Efficient Appliances and Usage Habits
Upgrade Where You Can
- Use an ENERGY STAR mini fridge or counter-top dishwasher (with permission; both are easily removable)
- Switch to induction hot plates instead of coil burners (faster, uses less electricity)
- Air-dry laundry when possible; if you use a dryer, invest in dryer balls to reduce drying time
Adopt Smart Habits
- Run appliances only with full loads
- Unplug chargers and electronics when not in use
- Use timers to minimize unnecessary operation
Tip: Use a “smart” approach by setting routines in your smart home app for maximum automation and savings.
Step 7: Monitor Your Progress with Smart Sensors
Once you’ve made the upgrades, keep an eye on your home’s real-time energy performance:
- Smart plugs can show you the real energy use for each connected device
- Room temperature/humidity sensors help fine-tune AC and heating usage
- Water leak sensors can alert you early and help you avoid waste
Set energy-saving goals in your apps or with your utility, then check each month to celebrate wins or fine-tune routines!
Step 8: Go Beyond Electricity — Water and Air Efficiency
Install Water-Saving Fixtures
- Low-flow showerheads (easily screwed on, just keep the old head for move-out)
- Faucet aerators to cut water flow without sacrificing pressure
Improve Air Quality
- Get a smart air purifier (many have energy-saving “auto” modes and measure air quality)
- Use plants as natural (and decorative) air improvements
Some smart purifiers will even remind you to open a window or switch to eco mode automatically.
Step 9: Get Your Roommates or Family on Board
- Set shared goals: Like reducing bills or reaching a “green” challenge
- Hold friendly competitions: See who can use the fewest kWh per week
- Use shared smart home dashboards: Everyone can track and adjust energy use together
Eco-friendly living is easier—and more fun—when everyone contributes. Set up routines and reminders together for best results!
Step 10: Leave No Trace When You Move Out
- Keep boxes for any “swapped out” hardware like light bulbs or shower heads
- Choose upgrades that install with removable adhesive, tension rods, or screw-free mounts
- Reset all smart devices and remove accounts before moving
Everything you install should come out cleanly, ensuring that your landlord and your wallet are both happy on move-out day.
Bonus Tips for Renter-Approved Upgrades
- Always check your lease and get written landlord approval for anything requiring screws, adhesive, or wiring
- Some landlords love eco upgrades—offer to share energy-saving results as a selling point