How to Create an Energy-Efficient Smart Apartment on a Budget: A Renter’s Step-by-Step Guide
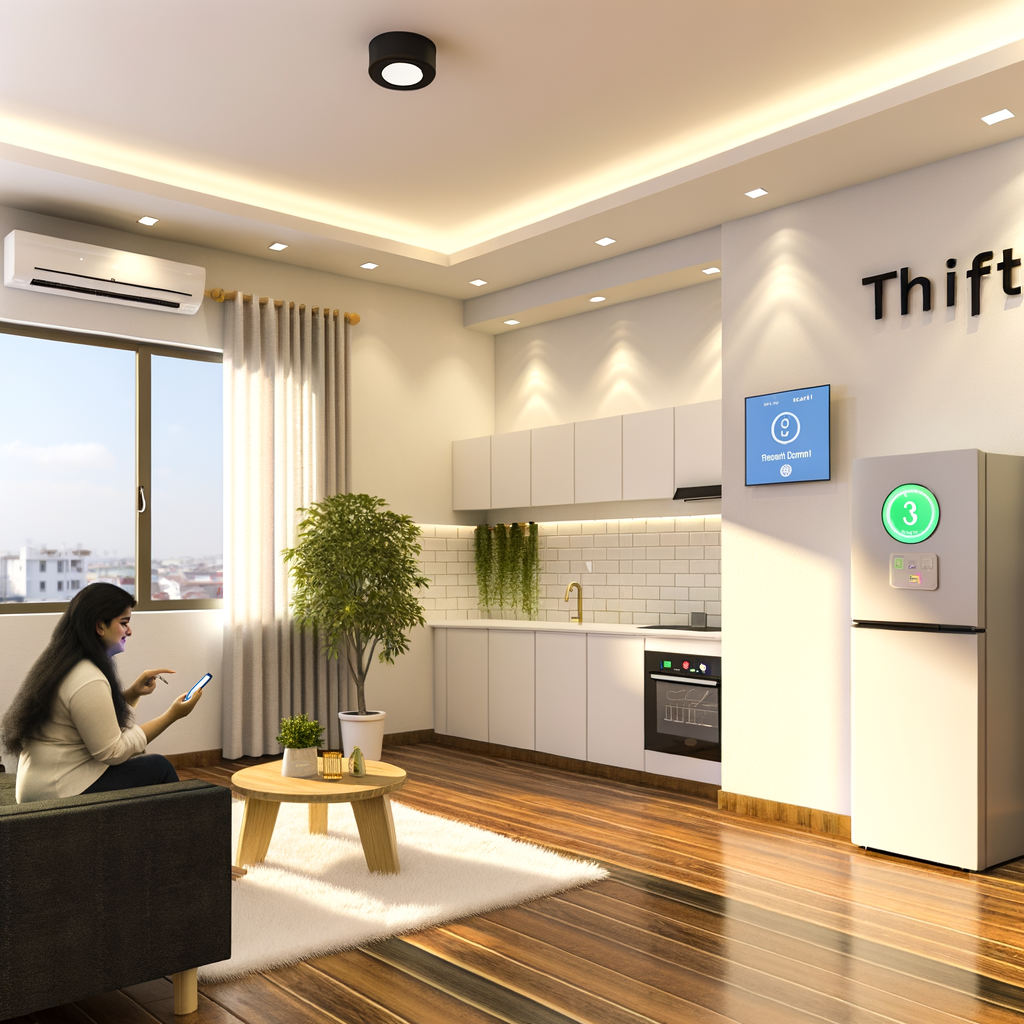
Looking to lower your utility bills, reduce your carbon footprint, and enjoy modern conveniences—all without making permanent changes to your rental? Creating an energy-efficient smart apartment isn’t just possible; it’s more affordable and accessible than ever. With the right strategies, products, and habits, renters can make a major impact without breaking the bank or breaking the lease.
This comprehensive guide will walk you through upgrading your apartment with budget-friendly smart solutions, making eco-friendly choices at every step, and staying landlord-approved. Let’s dive in!
Why Go Smart and Energy-Efficient?
Energy-efficient smart tech isn’t just a trend—it’s a practical investment for renters. Here’s why:
- Save Money: Smart devices can cut energy waste, slashing monthly bills.
- Lessen Your Impact: Lower energy consumption means less strain on the planet.
- Convenience: Automate controls and optimize setups from your smartphone.
- No-Fuss Installation: Most smart tech is renter-friendly, requiring no wiring or structural changes.
- Easy to Move: Take smart gadgets with you when you relocate.
Step 1: Assess Your Current Energy Usage
Where Are You Wasting Energy?
Before making upgrades, identify where your apartment is inefficient:
- Are heating/cooling bills high?
- Are lights or electronics left on when not in use?
- Are appliances outdated or not Energy Star certified?
- Do windows and doors leak air?
You can use free online calculators or affordable energy usage monitors to get detailed data on your consumption.
Step 2: Set Your Smart Home Priorities
What Do You Want to Automate?
Not everyone has the same needs or budget. Decide where to focus:
- Lighting: Control brightness and scheduling for maximum savings.
- Heating & Cooling: Cut costs with precision temperature management.
- Appliance Use: Eliminate “vampire” power drain and waste.
- Security: Integrate smart locks and sensors for peace of mind.
Start simple. You can always expand your smart home setup over time.
Step 3: Choose Renter-Friendly Smart Devices
Top Picks That Don’t Require Rewiring or Drilling
- Smart Plugs: Let you control lamps, fans, and coffee makers from your phone, set on/off schedules, and monitor energy use.
- Smart Bulbs: Screw into existing sockets for instant app or voice control, dimming, and automations.
- Smart Thermostats (Plug-In Models): For portable AC or baseboard heaters, some models plug into the wall—no need for hardwiring.
- Smart Power Strips: Tackle “phantom” load by letting you cut power to multiple devices at once and schedule their operation.
- Window & Door Draft Stoppers: Not “smart,” but a cheap, removable way to block energy loss through gaps.
- Smart Sensors: Control lights or appliances based on motion, saving energy when rooms are unoccupied.
- Smart Blinds/Shades: Battery-powered, adhesive/suction-mount options adjust sunlight without drilling.
Step 4: Budgeting for Your Smart Apartment
Make a Plan, Spend Wisely
Aim for devices that offer the fastest return on investment. Here’s a sample budget for a one-bedroom apartment, focusing on essentials:
- 4-6 smart LED bulbs: $30–$60
- 2–3 smart plugs: $25–$40
- 1 smart power strip: $25
- Draft stoppers and window film: $15–$30
- Optional smart thermostat (if compatible): $70–$150
- Total initial investment: $100–$250
Prioritize rooms you use most, like the living room and bedroom, before expanding to the rest of your apartment.
Step 5: Easy Installation and Setup Tips
No Tools or Tech Expertise Needed
- Smart Bulbs: Just screw in, connect to Wi-Fi or Bluetooth, and follow in-app instructions. No hubs needed for many top brands.
- Smart Plugs/Strips: Plug them in, link to your preferred app (Alexa, Google, etc.), and connect devices.
- Window/Door Draft Stoppers: Place along edges—no adhesive or screws required for most.
- Smart Sensors: Use included adhesive or magnets for installation.
- Smart Thermostats (Plug-in): Just install between your AC/space heater and the wall outlet. For hardwired thermostats, contact your landlord first!
Tip: Always keep original packaging for easier moves when you relocate.
Step 6: Automate for Maximum Savings
Set It and Forget It
Use scheduling, routines, and triggers within your smart home app to maximize efficiency and convenience:
- Program lights to turn off automatically at bedtime or when you leave home.
- Schedule coffee makers or fans based on your daily routine.
- Use temperature or presence sensors to adjust heating/cooling only when you’re home.
- Sync compatible devices into scenes (like “Good Morning” or “All Off”) for one-tap control.
Step 7: Adopt Smart Habits (No Gadgets Required!)
Efficiency Starts with You
- Unplug chargers and devices when not in use—“off” isn’t always off.
- Take shorter showers and wash laundry with cold water to save both water and energy.
- Maximize natural light during the day, reducing light usage.
- Close blinds during hot afternoons and open them if you need extra warmth.
- Turn off A/C and fans when you’re not home.
Combining smart tech with smart habits multiplies your savings and environmental impact.
Step 8: Keep It Landlord-Friendly
Stay On Good Terms
- Avoid permanent changes: Stick with peel-and-stick, plug-in, or screw-in devices.
- Get permission for anything requiring wiring, drilling, or major appliance swaps.
- Document your setup so you can restore the apartment to its original condition upon moving out.
Most smart devices recommended here are completely reversible—ideal for renters.
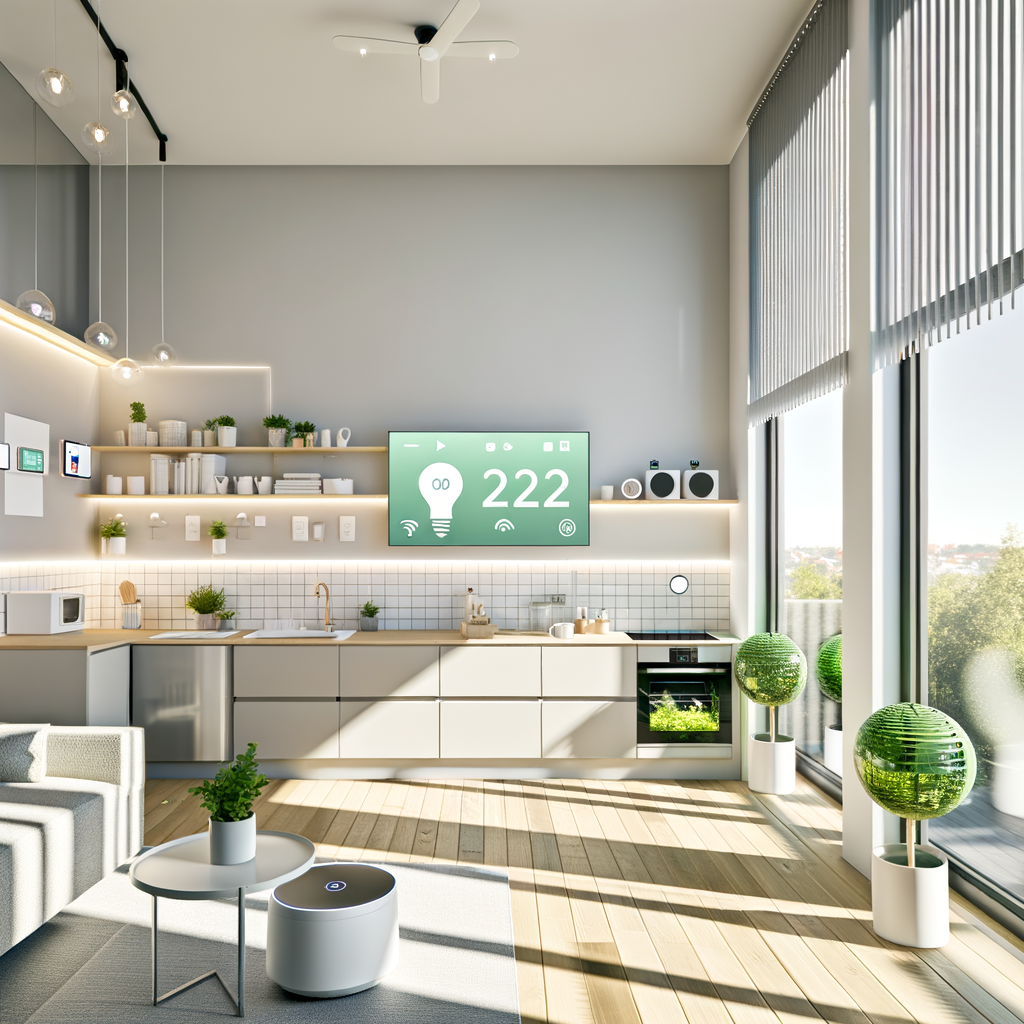
Step 9: Track Your Progress
Measure Savings Over Time
- Monitor monthly energy bills for drops in usage and cost.
- Use in-app analytics (many smart plugs and power strips offer this) to spot trends and inefficiencies.
- Set new goals as you install more devices or optimize your setup.
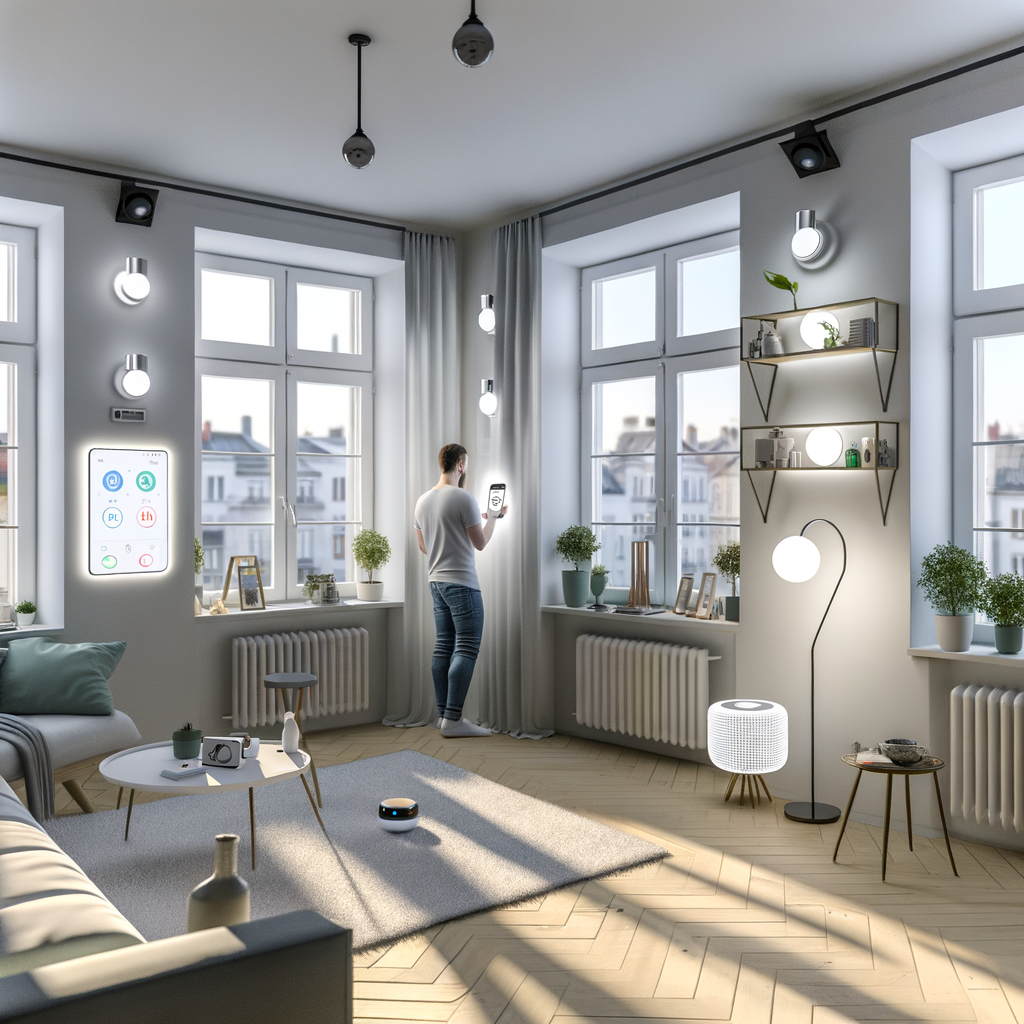
Step 10: Expand and Integrate Your Smart Apartment
Build As You Go
Once basics are in place, consider adding:
- Voice Assistants: Control devices hands-free with Alexa or Google Assistant.
- Smart Security: Add wireless cameras or sensors for an extra layer of safety.
- Smart Air Quality Monitors: Maintain healthier indoor air with real-time data.
- Automated Cleaning: Invest in a robot vacuum for more efficient cleaning.
Choose devices that work with your existing ecosystem for seamless operation.