Living the renter life often means making peace with limitations. You want to shrink your carbon footprint and embrace renewable energy, but you can’t exactly install a few hundred pounds of solar panels on your landlord’s roof. It’s a common frustration in our community! But what if you could tap into the power of the sun on a smaller, more personal scale? What if you could build something useful, portable, and totally temporary?Well, you can. Today, we’re going to walk through how to build a simple, DIY solar-powered phone charger. This project is perfect for apartment dwellers, requires no permanent installation, and is a fantastic first step into the world of personal solar energy. It’s practical, empowering, and a great way to keep your devices topped up—whether you’re on your balcony or just enjoying a sunny spot by the window.Why Bother Building a Solar Charger?Beyond the simple cool factor, a personal solar charger offers some real benefits for the eco-friendly renter: It’s Totally Portable: No drilling, no wiring, no angry landlords. This little device can live on your sunniest windowsill, accompany you to the park, or sit on your fire escape (safely, of course!). Emergency Ready: Power outages happen. Having a way to trickle-charge your phone for emergency calls and updates provides incredible peace of mind. A Hands-On Lesson: There’s no better way to understand a technology than by getting your hands dirty. This project demystifies solar power and gives you the satisfaction of making something that works. It’s a Genuine Green Step: Every watt of power you generate from the sun is a watt you’re not pulling from the grid. It’s a small step, but millions of small steps create a movement.Your Renter-Friendly Shopping ListYou can find most of these components online or at electronics hobby shops. We’re keeping it simple and affordable. Don’t be intimidated by the list; it’s easier than it looks! A Small Solar Panel: Look for a 5V or 6V panel. For a phone charger, something between 1 and 5 watts is a great starting point. More watts mean a faster charge, but also a larger and more expensive panel. A 5V USB Voltage Regulator: This is the brain of the operation! A solar panel’s output can fluctuate with the sunlight. This little board takes that messy power and converts it into a steady, safe 5 volts that your phone expects from a USB port. Many even come with a USB port pre-soldered on, making your job even easier! An Enclosure: You need something to house the electronics. This is where you can get creative! A classic choice is an old Altoids tin, but any small project box or sturdy container will do. A Few Wires: You’ll just need a short red wire (for positive) and a short black wire (for negative) if your components don’t come with them attached. Basic Tools: A hot glue gun, wire strippers, and a small screwdriver will be necessary.A Quick Note on Soldering (And How to Avoid It!)Many guides assume you have a soldering iron. If you do, great! If not, don’t let that stop you. You can easily find “no-solder” versions of these components. Look for solar panels with pre-attached wires and voltage regulators that have “screw terminals.” This allows you to connect wires simply by tightening a small screw—no heat required!Let’s Build It! A Step-by-Step GuideAlright, let’s put it all together. Remember to take your time and double-check your connections.Step 1: Prep Your EnclosureFirst, figure out where your components will sit inside your enclosure (like the Altoids tin). You’ll need to create two small openings: one for the wires from the solar panel to enter and another for the USB port to be accessible from the outside. A small drill bit or even a sturdy nail can work to create these holes.Step 2: Connect the Solar Panel to the RegulatorThis is the most critical step. Your solar panel has a positive (+) and a negative (-) output. Your voltage regulator has a positive and negative input (often labeled “IN+” and “IN-“).Connect the positive (usually red) wire from the solar panel to the positive input on the regulator. Then, connect the negative (usually black) wire to the negative input. Getting this right is crucial, so take a moment to confirm you’ve matched them correctly.Step 3: Test Your Circuit!Before you glue everything in place, it’s time for a test run. Take your connected panel and regulator into direct sunlight. Plug a USB cable into the port and connect it to your phone (or better yet, a power bank or older device for the first test). If the charging indicator lights up, congratulations—it works! If not, re-check your connections from Step 2.Step 4: Secure Everything in PlaceOnce you’ve confirmed it works, it’s time to assemble. Carefully feed the solar panel wires through their hole into the enclosure. Use your hot glue gun to secure the voltage regulator board inside the tin, with the USB port aligned with its opening. You can also add a dab of glue to the solar panel wires to keep them from pulling out. Finally, you can either glue the solar panel to the lid of your enclosure or leave it loose for better positioning.Tips for Getting the Most Solar Juice Angle is Everything: For the best charge, make sure your panel is angled directly towards the sun. You’ll be surprised how much difference a slight adjustment can make. Charge a Power Bank: This little charger is best for “trickle charging.” A pro-tip is to use it to charge a small power bank throughout the day. Then, at night, you can use the fully charged power bank to charge your phone at a much faster speed. Be Patient: This isn’t going to be as fast as your wall adapter. Think of it as a steady, free top-up, not a rapid refuel.And that’s it! You’ve just built a functional, portable solar charger. You’ve taken a tangible step toward using renewable energy, all within the constraints of a rental. It’s a small victory, but it feels sunny and bright.
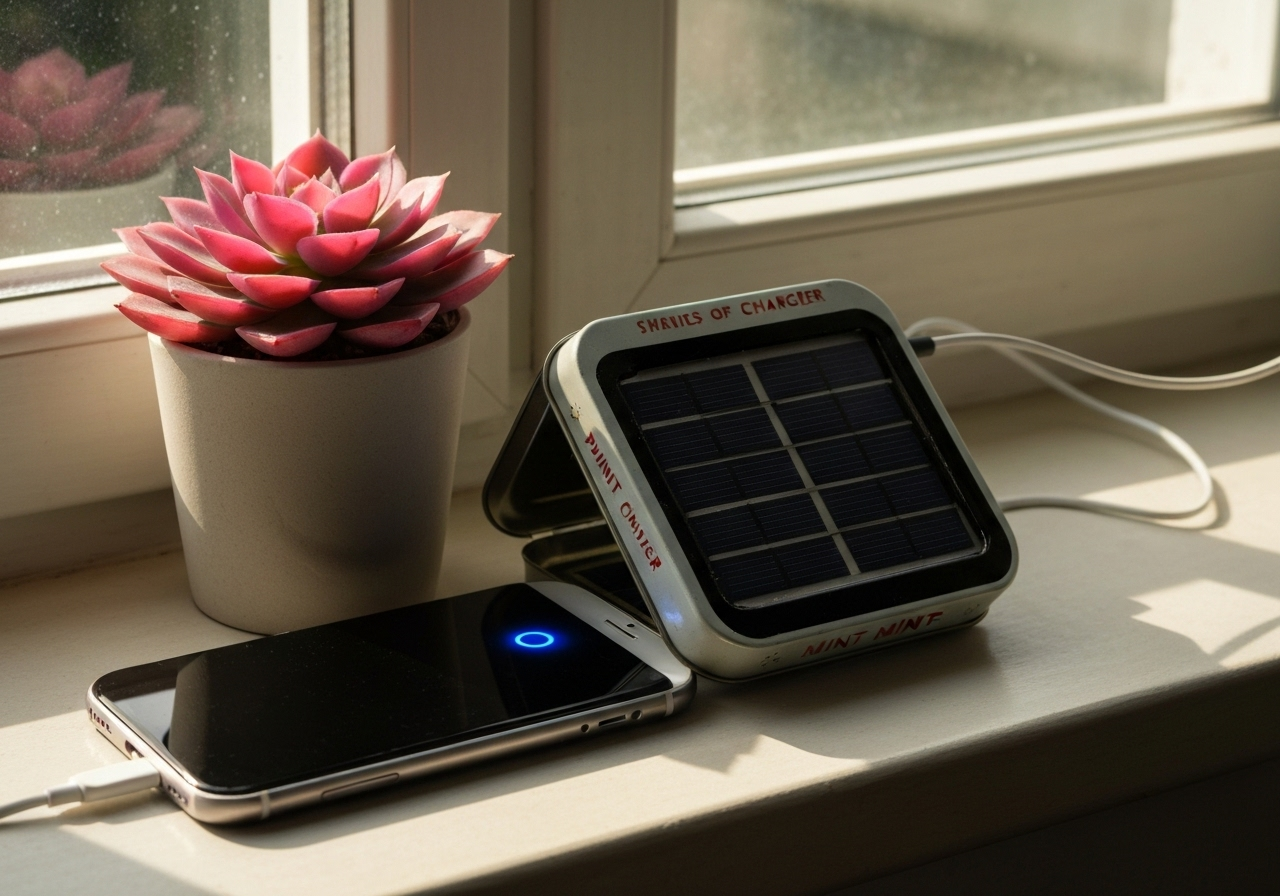
How to Build a Simple Solar-Powered Phone Charger (Even in an Apartment!)