Want to give your rented furniture a beautiful, natural shine without resorting to harsh chemicals? As eco-conscious renters, we often face limitations in making major changes to our living spaces. But thankfully, creating a healthy and vibrant home environment doesn’t require renovations. Today, we’re diving into a simple, effective, and completely natural DIY furniture polish using just two ingredients you probably already have in your kitchen: olive oil and lemon!
Why Ditch Commercial Furniture Polish?
Many commercial furniture polishes contain volatile organic compounds (VOCs), which can contribute to indoor air pollution and pose health risks. These products often include synthetic fragrances, dyes, and petroleum-based ingredients that aren’t exactly renter-friendly (or planet-friendly!). Plus, they can leave a sticky residue that attracts dust.
The Power of Natural Ingredients
Our DIY olive oil and lemon polish offers a fantastic alternative. Olive oil acts as a natural conditioner, moisturizing the wood and leaving a beautiful sheen. The lemon juice helps to cut through grime and adds a fresh, clean scent – no artificial fragrances needed!
Creating Your DIY Furniture Polish
This recipe is incredibly simple and requires only a few minutes to prepare:
Ingredients:
- 1/2 cup olive oil (extra virgin is best)
- 1/4 cup lemon juice (freshly squeezed is preferred)
Instructions:
- Combine the olive oil and lemon juice in a small bowl.
- Whisk the ingredients together until well combined.
- Pour the mixture into a clean, airtight container like a small glass jar or spray bottle (for easier application).
Applying Your Homemade Polish
Now that you have your all-natural furniture polish, here’s how to use it effectively:
- Test a small, inconspicuous area first: While this polish is generally safe for most wood finishes, it’s always wise to test it on a hidden area to ensure compatibility.
- Dust the furniture: Before applying the polish, wipe down the surface with a soft, dry cloth to remove any dust or debris.
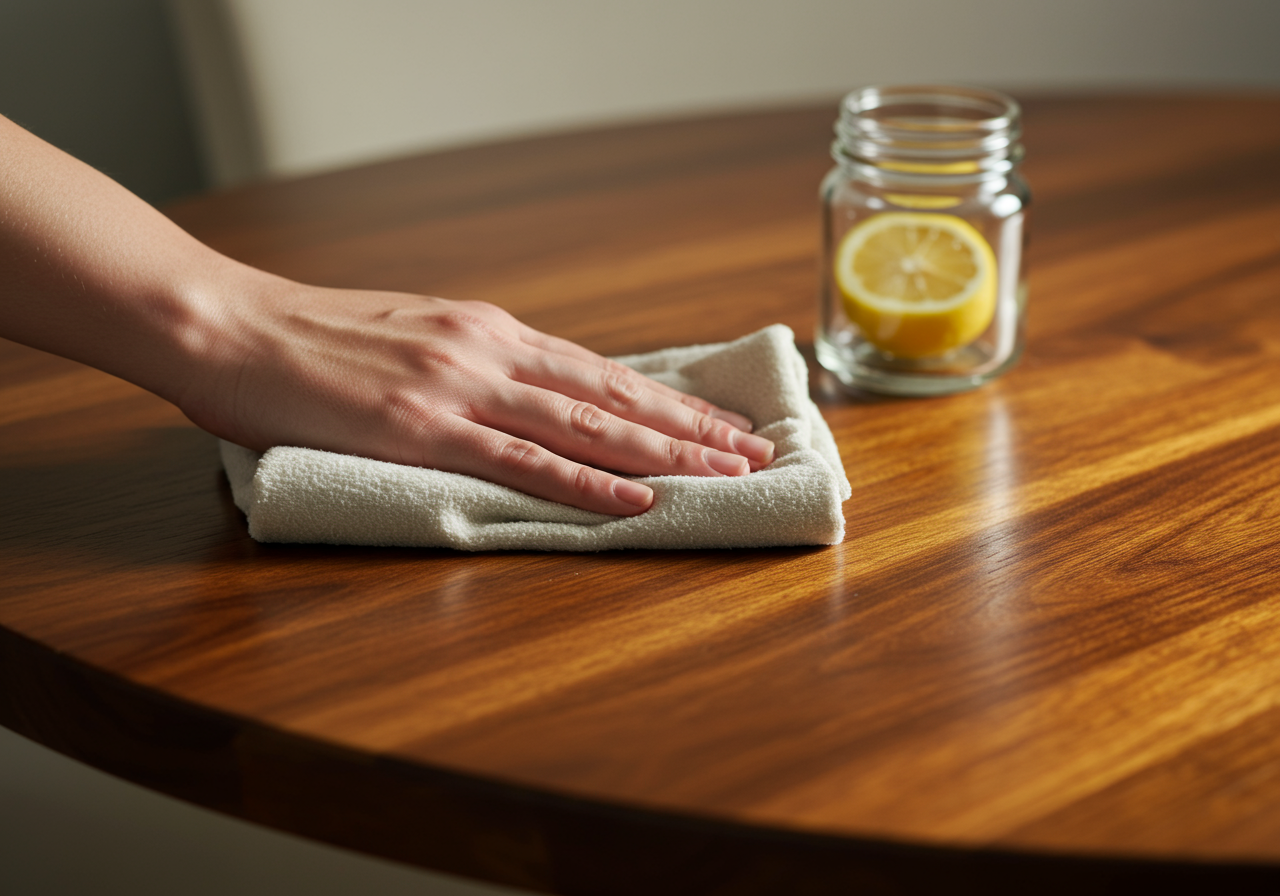
- Apply the polish: Dip a clean, soft cloth into the polish, ensuring it’s not soaking wet but slightly damp. If using a spray bottle, lightly mist the surface.
- Work in the direction of the wood grain: Gently rub the polish onto the furniture, working in small sections and following the direction of the wood grain.
- Buff to a shine: Use a clean, dry cloth to buff the polished surface until it shines. This will remove any excess oil and leave your furniture looking its best.
Tips for Best Results
- Shake well before each use: The oil and lemon juice may separate over time, so give the container a good shake before each application.
- Less is more: Use a small amount of polish at a time to avoid build-up. You can always apply more if needed.
- Store properly: Keep your homemade polish in a cool, dark place to extend its shelf life. It should last for several weeks.
- Consider adding essential oils: If you want to add a subtle fragrance, consider adding a few drops of your favourite essential oils, such as lavender or orange.
- For stubborn stains: For tougher marks or water rings, try making a paste of baking soda and water. Gently apply it to the affected area, let it sit for a few minutes, and then wipe clean with a damp cloth before polishing.
With this simple DIY furniture polish, you can keep your rented furniture looking beautiful and contribute to a healthier home environment. It’s a small step that makes a big difference – for your well-being and the planet. Happy polishing!