Living green in a rental can sometimes feel like navigating a tightrope. You’re passionate about sustainable choices, but often limited by what you can change. One area where you have complete control, however, is your cleaning routine. Ditch the harsh chemicals and embrace the power of nature with your own homemade, scented cleaning vinegar.
Why Choose Scented Cleaning Vinegar?
Cleaning vinegar offers a fantastic, eco-friendly alternative to commercial cleaners packed with potentially harmful ingredients. It’s budget-friendly, effective against grime, and completely safe for most surfaces. Adding your favorite natural scents elevates the experience, transforming chores into something almost… enjoyable!
Benefits of DIY Cleaning Vinegar:
- Eco-friendly: Reduces reliance on plastic packaging and harsh chemicals.
- Budget-friendly: Vinegar is significantly cheaper than most commercial cleaners.
- Effective: Cuts through grease, removes mineral deposits, and disinfects.
- Customizable: Create your perfect scent blend tailored to your preferences.
- Space-saving: Requires minimal storage compared to multiple cleaning products.
Creating Your Perfect Scented Cleaning Vinegar
Making your own cleaning vinegar is surprisingly simple, and the process allows for endless customization. Here’s what you’ll need:
Ingredients:
- White distilled vinegar (avoid apple cider vinegar, which can stain)
- Citrus peels (orange, lemon, grapefruit, lime)
- Fresh herbs (rosemary, thyme, lavender)
- Essential oils (optional, for a stronger scent)
- Glass jar with a lid
Instructions:
-
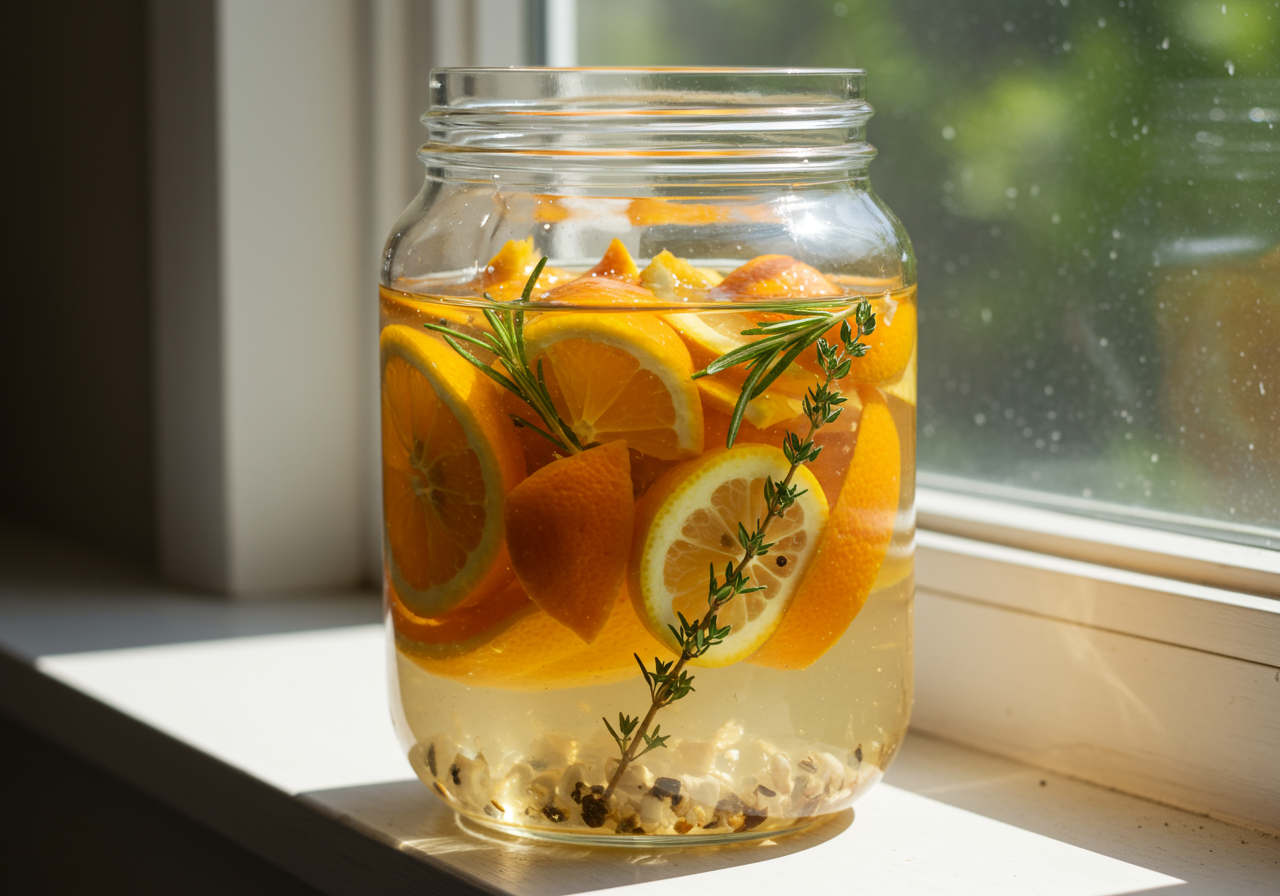
Prepare your ingredients: Wash and dry your chosen citrus peels and herbs. If using citrus peels, avoid including the white pith, which can make the vinegar cloudy. Roughly chop larger herbs to release their aroma.
-
Fill the jar: Pack the jar with your chosen peels and herbs, leaving some space at the top.
-
Pour in the vinegar: Fill the jar to the top with white distilled vinegar, ensuring all the plant material is submerged.
-
Infuse: Seal the jar tightly and store it in a cool, dark place for 2-6 weeks, shaking occasionally. The longer it infuses, the stronger the scent will be.
-
Strain and dilute (optional): After infusing, strain the vinegar through a fine-mesh sieve or cheesecloth into a clean spray bottle. For a gentler cleaning solution, dilute the infused vinegar with equal parts water.
-
Add essential oils (optional): If you desire a more intense fragrance, add a few drops of your favorite essential oils to the strained vinegar. Lavender, tea tree, and eucalyptus are excellent choices for their cleaning properties.
Tips and Tricks for Success
Here are a few extra tips to help you master the art of scented cleaning vinegar:
- Experiment with scent combinations: Try combining lemon peels with rosemary or orange peels with cinnamon sticks for unique and invigorating aromas.
- Label your creations: Clearly label each bottle with its ingredients and infusion date to keep track of your blends.
- Start small: Begin with a small batch to test your scent preferences before making larger quantities.
- Don’t be afraid to adjust: If the scent is too strong, dilute the vinegar with more water. If it’s too weak, add more essential oils or let it infuse longer.
- Safety first: Always test your cleaning vinegar on a small, inconspicuous area before using it on a larger surface, especially delicate materials.
Making your own scented cleaning vinegar is a simple yet powerful way to embrace a more eco-conscious lifestyle in your rental. It’s a small change that makes a big difference, leaving your home sparkling clean and smelling wonderfully fresh.