Living sustainably in a rental can feel challenging, especially when it comes to the kitchen. Single-use plastics are convenient, but they create a lot of waste. Thankfully, there’s an eco-friendly alternative that’s perfect for renters: reusable beeswax wraps! These natural food wraps are easy to make, customizable to your needs, and require no permanent installations – a renter’s dream.
Why Choose Beeswax Wraps?
Beeswax wraps offer several advantages over plastic wrap and even some reusable containers:
- Eco-Friendly: They’re made from natural, biodegradable materials, reducing your reliance on plastic.
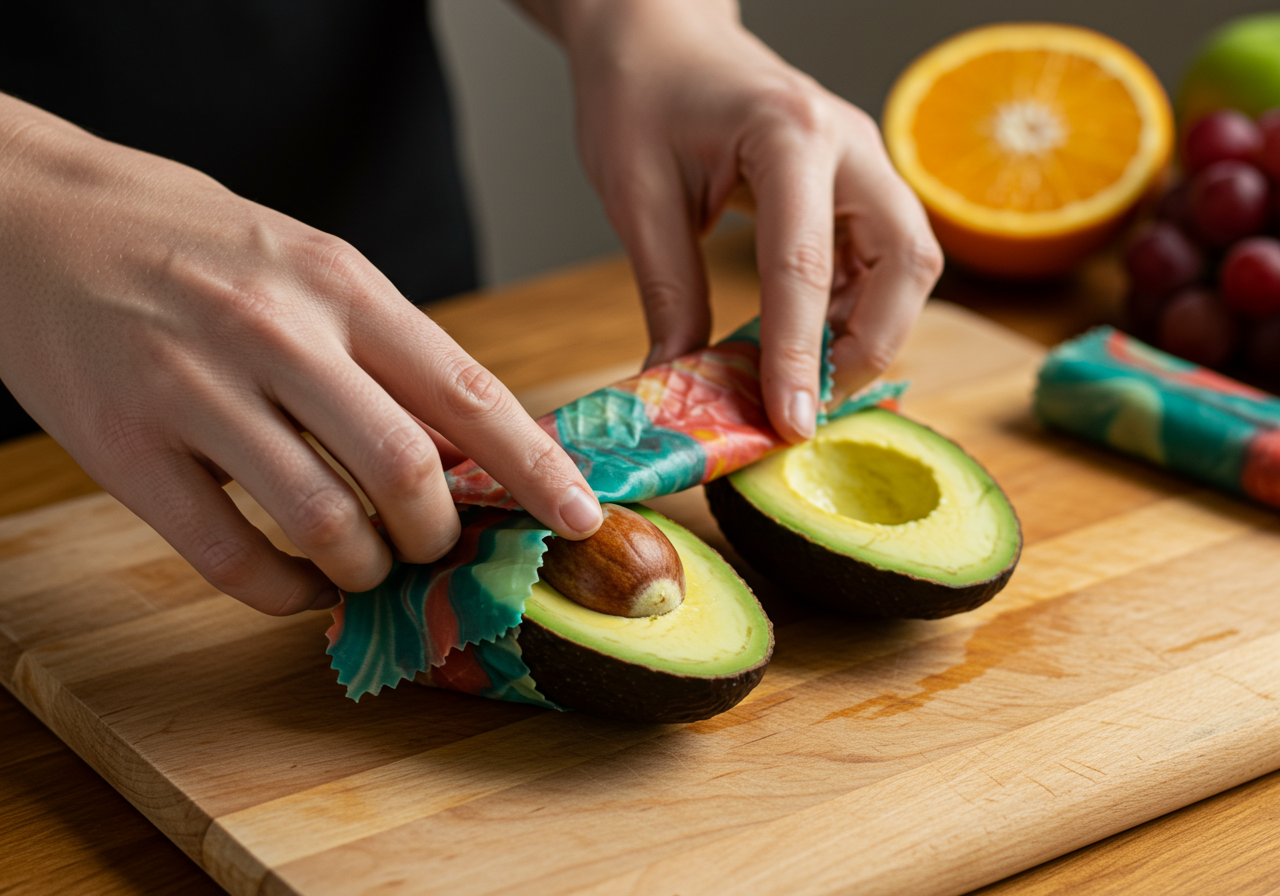
- Versatile: Use them to cover bowls, wrap sandwiches, store fruits and vegetables, and more.
- Washable and Reusable: Simply wash with cool, soapy water and air dry for countless uses.
- Space-Saving: They’re flexible and easily folded, taking up minimal storage space.
- Cost-Effective: While there’s an initial investment, they’ll save you money on plastic wrap in the long run.
Making Your Own Beeswax Wraps
Creating your own beeswax wraps is a fun and rewarding project. Here’s what you’ll need:
- 100% cotton fabric (organic is best!)
- Beeswax pellets or a block of beeswax
- Jojoba oil (optional, for added pliability)
- Parchment paper
- Baking sheet
- Paintbrush or heat-resistant spatula
- Scissors or pinking shears
Step-by-Step Instructions:
-
Prepare your fabric: Pre-wash and dry your cotton fabric. Cut it into desired sizes (squares and rectangles work well).
-
Melt the beeswax: Place parchment paper on your baking sheet. Spread your fabric on top. Sprinkle beeswax pellets evenly over the fabric, or use a cheese grater to grate beeswax block onto the fabric..
-
Bake: Preheat your oven to the lowest setting (around 170°F/77°C). Place the baking sheet in the oven for 5-10 minutes, or until the beeswax is melted and evenly distributed. Watch carefully to prevent burning.
-
Spread and cool: Remove the baking sheet from the oven. If there are any bare spots, quickly spread the melted wax with a brush or spatula. Hang or lay flat to cool and harden. The process only takes a few minutes.
-
Enjoy! Once cooled and hardened, your beeswax wraps are ready to use.
Tips for Renters:
Limited counter space? Try using a small toaster oven instead of your full-size oven.
Make it a social activity! Invite friends over for a beeswax wrap-making party. It’s a fun and affordable way to connect while embracing sustainability.
Get creative with fabric scraps. Using colorful patterns adds a personalized touch to your kitchen and reduces textile waste.
Caring for Your Beeswax Wraps:
Wash your wraps with cool, soapy water. Avoid hot water, as it can melt the wax. Air dry completely before storing.
Avoid using them with raw meat or hot foods.
With proper care, your beeswax wraps can last for a year or more! When they eventually wear out, you can compost them or use them as fire starters.
Making your own beeswax wraps is a simple, affordable, and impactful way to reduce plastic waste in your rental kitchen. Enjoy the process and the satisfaction of using a sustainable, reusable product you created yourself!