The sun is beating down on your windows, your apartment feels like a sauna, and the thought of turning on a power-guzzling, window-rattling portable AC unit feels like a betrayal of your eco-conscious values (and your budget). As renters, we often feel stuck between a rock and a hot place. We can’t install central air, and many of us lack the right window type or building permission for a traditional unit. So, what’s an eco-friendly renter to do? Don’t sweat it. Today, we’re diving into one of the most classic, effective, and wonderfully simple solutions in the renter’s cooling handbook: the DIY “air conditioner” using a fan and ice. It’s a low-tech, high-impact hack that can transform your personal space from sweltering to serene without breaking the bank or your lease agreement. Forget complex installations and sky-high electricity bills. It’s time to get creative and reclaim your cool. Why This Method is a Renter’s Dream Come True Before we get into the nitty-gritty of building your personal cooling station, let’s celebrate why this approach is perfectly suited for the renter lifestyle. It’s not just about cooling down; it’s about doing it in a way that respects our living situation and our values. Zero Installation, Zero Damage: This is the golden rule of renting. This method requires no drilling, no mounting, and no permanent alterations to your apartment. When you’re done, you just have a fan and an empty bowl. Incredibly Budget-Friendly: You likely already own a fan. The only other costs are water and a bit of freezer space. Compared to the hundreds of dollars for a portable AC unit and the subsequent spike in your utility bill, this is a massive financial win. Small Footprint: Apartments are often short on space. A fan and a bowl of ice take up minimal room, making this a perfect solution for cozy studios or crowded bedrooms. Eco-Conscious Cooling: A standard fan uses a tiny fraction of the electricity a portable or window AC unit consumes. By using ice you’ve made yourself, you’re tapping into a much more energy-efficient cooling method, reducing your carbon footprint one cool breeze at a time. Portable and Versatile: Need to cool your home office during the day and your bedroom at night? No problem. You can easily move your DIY setup wherever you need it most. The Simple Science: How Does This Even Work? This isn’t just wishful thinking; it’s basic thermodynamics in action! Your fan, on its own, doesn’t actually lower the room’s temperature. It just moves air around, which creates a wind chill effect on your skin, helping your sweat evaporate faster and making you feel cooler. By adding ice, we introduce a powerful new element: evaporative cooling and thermal transfer. Here’s the breakdown: The fan blows warm air from your room across the surface of the cold ice and meltwater. The warm air transfers its heat energy to the ice, causing the ice to melt. This is thermal conduction. As the ice melts, the water on the surface begins to evaporate, turning from a liquid into a gas (water vapor). This phase change requires energy, which it pulls directly from the surrounding air in the form of heat. The result? The air that comes off the ice and water is now significantly cooler than the rest of the air in your room. Your fan then blows this wonderfully chilled air directly at you. You’ve essentially created a miniature, localized cold front right in your living room. It’s simple, elegant, and surprisingly effective. How to Build Your DIY Air Cooler: Three Levels of Chill Ready to get started? We’ll cover three methods, from the ultra-simple classic to a more advanced system for those who love a good weekend project. Method 1: The Classic Bowl of Ice This is the fastest, easiest way to get started and is perfect for a quick cool-down at your desk or by your bedside. What You’ll Need: A fan (a simple desk fan or box fan works great) A wide, shallow bowl or baking pan (metal is ideal as it transfers cold better) Ice cubes (a lot of them!) A towel or mat to place under the bowl to catch condensation Step-by-Step Instructions: Prep Your Station: Lay down your towel on the floor or surface where you plan to set up. This will protect your floors from any moisture. Position Your Bowl: Place the metal bowl or pan on the towel, directly in front of the fan’s grille. You want it as close as possible without touching the blades. Fill ‘Er Up: Fill the bowl with ice cubes. The more ice, the longer the cooling effect will last. For an extra boost, you can add a small amount of cold water to kickstart the evaporative process. Aim and Fire: Turn on your fan and aim it so the airflow passes directly over the top of the ice. You should immediately feel a difference in the temperature of the breeze. Position yourself in the path of this cool air and enjoy. Method 2: The Frozen Bottle Brigade This method is a bit less messy, and the “cooling elements” are reusable. It’s a great set-it-and-forget-it option. What You’ll Need: A fan Two or three standard plastic water or soda bottles (e.g., 1-liter or 2-liter bottles) Water Salt (optional, but recommended!) Step-by-Step Instructions: Prepare Your Bottles: Fill the plastic bottles about 80-90% full with water. Add a couple of tablespoons of salt to each bottle—salt lowers the freezing point of water, allowing it to get even colder in your freezer. Screw the caps on tightly. Freeze Solid: Place the bottles in your freezer and leave them until they are frozen solid. This can take several hours, so it’s best to do this the night before a hot day. Having a second set of bottles ready to go is a pro move. Set Up Your Cooler: Place the frozen bottles on a tray or towel to catch condensation, and position them directly in front of your fan, leaving a small gap between each bottle for air to flow through. Activate the Breeze: Turn on the fan. The air will flow around the frozen bottles, chilling it significantly before it reaches you. When the bottles thaw, simply refreeze them for the next use! Method 3: The Advanced Copper Coil System Okay, DIY enthusiasts, this one’s for you. It’s the most effective of the three methods but requires a few more parts and a little assembly. The payoff is a continuous flow of seriously cold air. What You’ll Need: A box fan A 5-gallon bucket with a lid 1/4 inch copper tubing (about 10-15 feet) Small submersible water pump (like one for a tabletop fountain) Clear vinyl tubing to fit your pump’s outlet Zip ties Ice and water Step-by-Step Instructions: Create the Radiator: Carefully wrap the copper tubing around a cylindrical object (like a can) to create a tight coil. Then, gently stretch the coil out. Using zip ties, attach this copper coil to the front grille of your box fan, creating a pattern that covers most of the fan’s surface. Set Up the Pump: Place the submersible pump at the bottom of the 5-gallon bucket. Connect the Tubing: Attach one end of the clear vinyl tubing to the pump’s outlet. Attach the other end to one end of the copper coil on your fan. Attach another piece of vinyl tubing to the other end of the copper coil, letting it hang back down into the bucket. Add Ice and Water: Fill the bucket about three-quarters full with ice, then add enough cold water to submerge the pump. Get it Flowing: Place the lid on the bucket (cutting small notches for the tubes if necessary). Plug in the pump. It will begin circulating the ice-cold water from the bucket up and through the copper tubing on your fan. Enjoy the Chill: Turn on the fan. As the air blows across the frigid copper tubing, it will be cooled dramatically. This is essentially a miniature, non-refrigerant-based air conditioner! Pro-Tips for Maximum Cooling Efficiency Want to get the most out of your DIY setup? Try these extra tips: Use a Metal Bowl: Metal conducts temperature much better than ceramic or plastic, meaning the bowl itself will get cold and contribute to the cooling effect. -Target a Small Space: Remember, this isn’t designed to cool your entire apartment. It’s for creating a personal cool zone. Use it in a smaller room or aim it directly at your couch, bed, or desk. Combine with Other Methods: This hack works best when used in conjunction with other renter-friendly cooling strategies. Keep your blinds closed during the day to block solar heat, and open windows at night to let in cooler air. Strategic Fan Placement: If possible, place the fan near an open doorway to help draw cooler air from other parts of the house and circulate your newly chilled air more effectively. Setting Realistic Expectations It’s important to be realistic. This brilliant hack is not a one-to-one replacement for a powerful, energy-intensive air conditioning unit. It won’t drop the temperature of a large room by 15 degrees. What it will do is provide a significant, tangible, and refreshing stream of cold air directed right where you need it. It’s the difference between being miserably hot and feeling comfortably cool. For many of us renters struggling through a heatwave, that difference is everything. So next time the temperature soars, don’t just suffer through it. Head to your kitchen, grab a fan, and empower yourself with this simple, effective, and eco-friendly solution. You’ll be saving money, reducing your environmental impact, and staying wonderfully cool—all without ever having to call your landlord. Stay cool, and stay conscious!
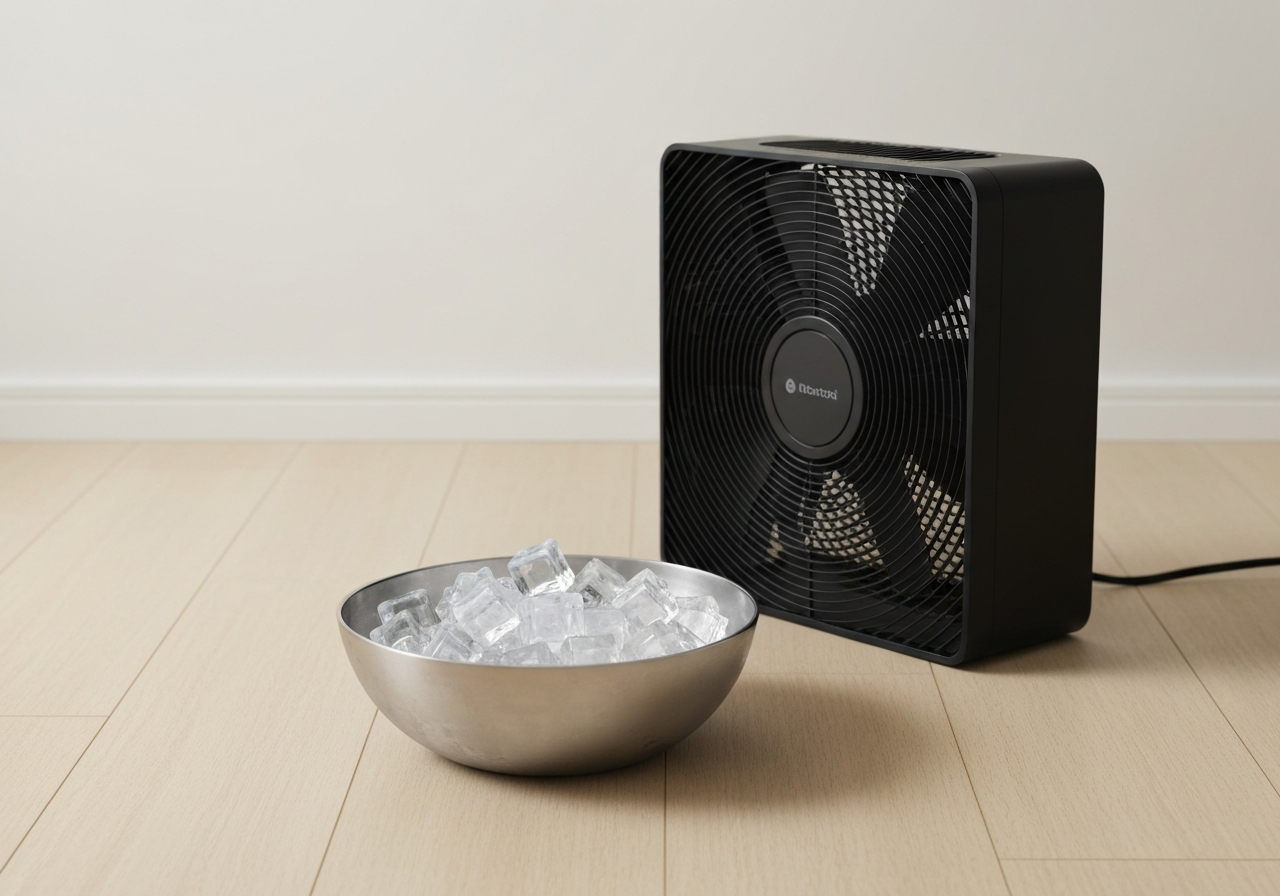
DIY Air Conditioner: Beat the Heat with Just a Fan and Ice (The Ultimate Renter’s Guide)