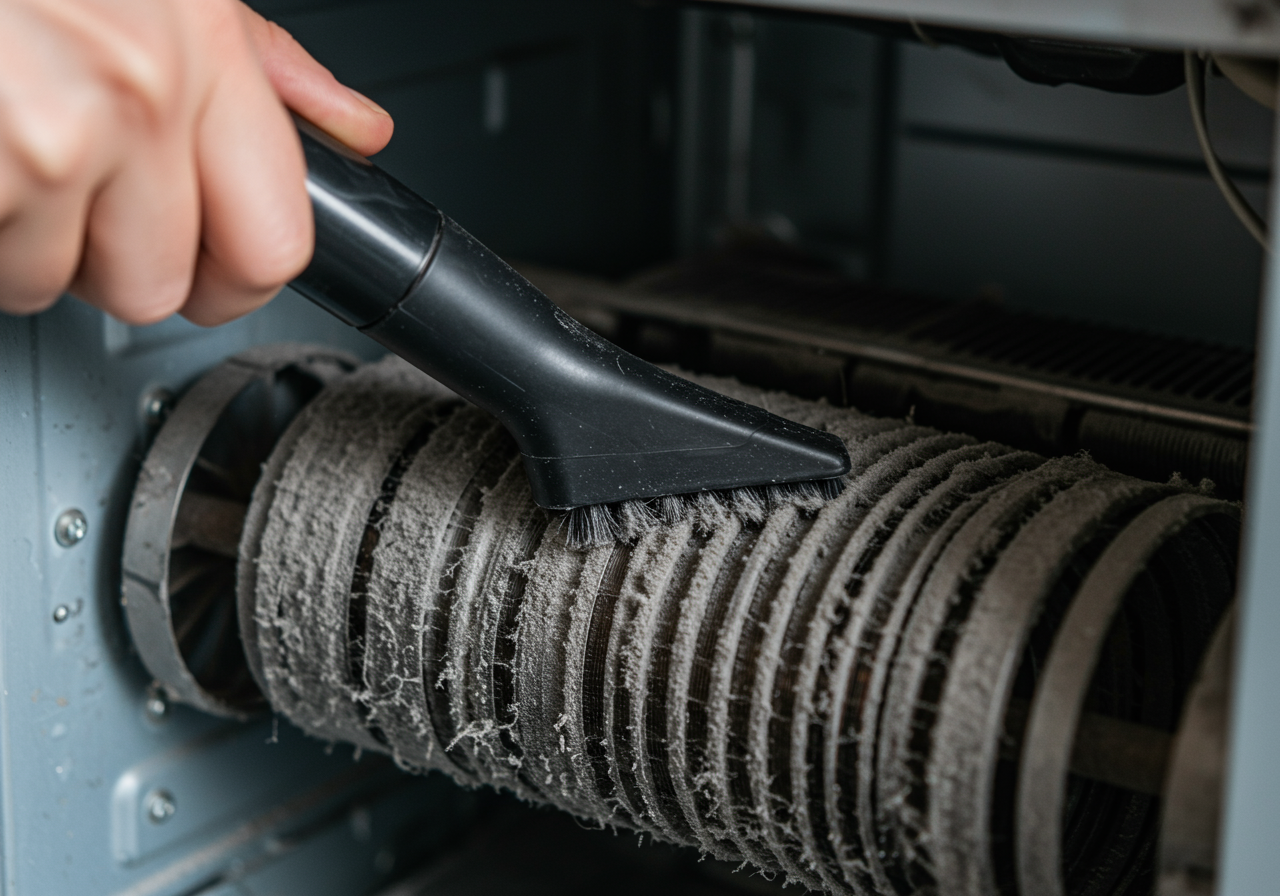
As eco-conscious renters, we’re always looking for ways to minimize our environmental footprint, even within the confines of our rented spaces. One simple, often overlooked, energy-saving hack is cleaning your refrigerator coils. Dust and pet hair accumulating on these coils force your fridge to work harder, consuming more energy and potentially shortening its lifespan. And the best part? This task requires minimal effort and no special tools, perfect for any renter! Why Clean Refrigerator Coils? Your refrigerator’s coils release heat generated during the cooling process. When these coils are coated in dust, they can’t efficiently dissipate heat. This makes your refrigerator’s compressor work overtime, using more electricity to maintain the desired temperature. Regular cleaning allows for optimal airflow and keeps your fridge running efficiently, saving you money on your energy bill and reducing your energy consumption. Benefits of Cleaning Your Coils: Lower energy bills: A cleaner fridge means less energy wasted. Extended refrigerator lifespan: Reduced strain on the compressor keeps your fridge running smoothly for longer. Environmentally friendly: Less energy consumption translates to a smaller carbon footprint. Easy and affordable: This simple task requires minimal tools and effort. How to Clean Your Refrigerator Coils: A Step-by-Step Guide Before starting, always unplug your refrigerator to prevent electric shock. Safety first! Locating the Coils: Most modern refrigerators have their coils located either on the back or at the bottom, behind a toe grill. Check your owner’s manual for the exact location if you’re unsure. Gathering Your Supplies: Vacuum cleaner with a brush attachment: This is your primary cleaning tool. Coil cleaning brush (optional): A long, flexible brush designed specifically for cleaning refrigerator coils can be helpful for reaching tight spaces. Damp cloth or sponge: Useful for wiping down the area after vacuuming. Cleaning Process: Unplug the refrigerator: Again, this is crucial for your safety. Locate and access the coils: Remove the toe grill if necessary. Some grills snap off, while others require unscrewing. Vacuum the coils: Use the brush attachment to gently remove dust and debris from the coils. Be careful not to damage the coils. If using a coil cleaning brush, carefully work it through the coils to dislodge stubborn dust. Clean the surrounding area: Vacuum or wipe down the area around the coils to remove any loose dust or debris. Replace the toe grill: Once finished, replace the toe grill and plug your refrigerator back in. How Often Should You Clean Your Refrigerator Coils? We recommend cleaning your refrigerator coils every six months. However, if you have pets that shed a lot, or if you live in a dusty environment, you might consider cleaning them more frequently, perhaps every three months. The effort required is minimal, and the benefits for your energy bill and the environment are significant. Cleaning your refrigerator coils is a small but impactful step towards a more sustainable lifestyle. By incorporating this simple task into your cleaning routine, you can save energy, reduce your environmental impact, and extend the life of your refrigerator – all wins for the eco-conscious renter!
Clean Your Refrigerator Coils: An Easy Energy-Saving Hack for Renters