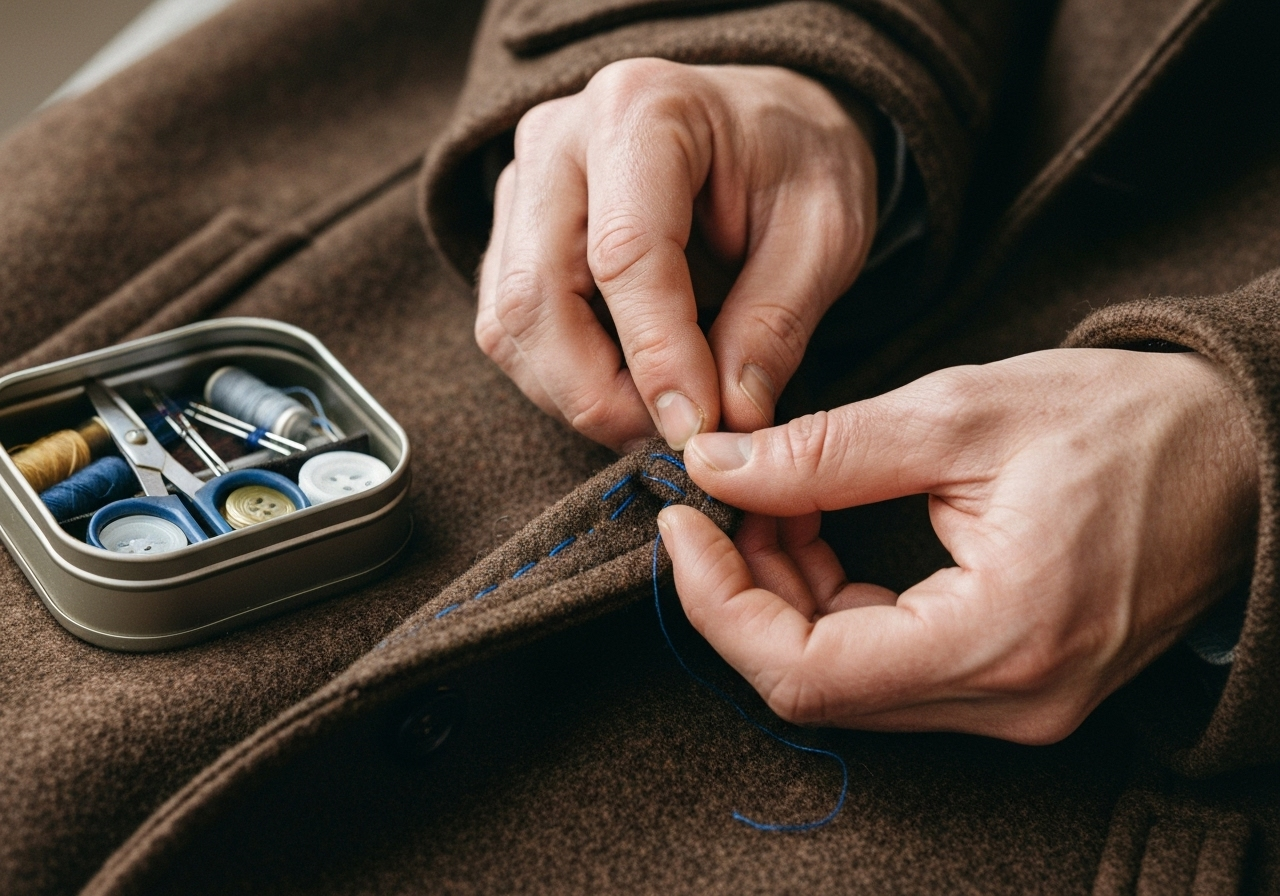
The sun is finally making a regular appearance, and that giant pile of winter coats, chunky sweaters, and flannel shirts is starting to look a little out of place. It’s the annual ritual of packing away the cold-weather gear! But before you stuff everything into a vacuum-sealed bag and shove it under the bed, let’s talk about a small act of sustainable self-care: mending. Taking an hour or two to fix those minor rips, loose buttons, and sweater snags now is one of the best things you can do for your wardrobe, your wallet, and the planet. It’s the ultimate eco-friendly renter win—no fancy workshop or big investment required, just a little patience and a few simple tools. Why a Stitch in Time (Before Summer) Saves Nine You might be tempted to put it off, but tackling repairs before you store your clothes is a strategic move. Think of it as a gift to your future self. When that first chilly autumn day arrives, you’ll be able to pull out a perfectly ready-to-wear sweater instead of a project-in-waiting. Here’s why it’s worth the effort: It fights textile waste: The most sustainable piece of clothing is the one you already own. Mending extends the life of your garments, keeping them out of the landfill and reducing the demand for new, resource-intensive production. It saves you money: Repairing a favorite coat is far cheaper than buying a new one. This simple act of maintenance protects your initial investment and keeps your budget in check. It prevents bigger problems: A tiny hole or a loose seam can easily become a massive, unfixable tear after being folded and stored for months. Fixing it now stops damage in its tracks. It’s a mindful activity: Mending is a wonderfully calming, screen-free way to spend an afternoon. It’s a practical skill that fosters a deeper connection to the things you own. Your Compact, Renter-Friendly Mending Toolkit You don’t need a dedicated sewing room to get started. A small box or biscuit tin can easily hold everything you need. Most of these items can be found in a basic, affordable sewing kit from any craft store or even a supermarket. Needles and Thread: A small variety pack of needles and a set of basic thread colors (black, white, navy, grey, beige) will cover most of your needs. A Seam Ripper: This tiny tool is a lifesaver for removing old, broken threads without damaging the fabric. Small, Sharp Scissors: For snipping thread cleanly. Don’t use your kitchen scissors! Darning Needle and Yarn: A blunt-tipped, large-eyed needle perfect for repairing knitwear. A little matching yarn or embroidery floss is all you need. The No-Sew Secret Weapon: Iron-on patches or fabric glue. These are fantastic for renters who aren’t confident sewers. They create strong, durable repairs on things like jacket linings or worn-out denim. Tackling Common Winter Wear Woes: A Step-by-Step Guide Ready to get started? Put on some music or a podcast and pick your first patient. Here’s how to handle the most common winter clothing injuries. The Runaway Button This is the easiest and most satisfying fix! Most coats come with a spare button sewn onto an inside tag. If not, don’t worry—embrace a quirky mismatched button for a bit of character. Start with about 18 inches of thread, double it up, and knot the end. From the inside of the fabric, push the needle up through the center of where the button should be. Thread the button onto your needle and push the needle back down through an adjacent hole. Repeat this 4-5 times, creating a sturdy attachment. If the button has four holes, create an ‘X’ or two parallel lines. To finish, wrap the thread tightly around the stitches underneath the button a few times to create a “shank” (a little stem), then push the needle to the back of the fabric, make a small stitch, and knot it securely before snipping. The Gaping Seam A loose seam on a coat pocket or sleeve is an easy target. The backstitch is your strongest ally here. Turn the garment inside out. Use a matching thread color and knot your thread. Push the needle up from the underside of the fabric at the start of the gap. Make one stitch forward. Then, from underneath, bring the needle up a stitch-length ahead of your first stitch. Now, push the needle back down into the same hole where your first stitch ended. This creates a strong, continuous line of thread. Repeat until the seam is closed, then knot it off on the inside. The Dreaded Sweater Snag Whatever you do, do not cut the snag! You’ll just create a hole. Instead, gently pull the fabric around the snag to loosen the tension. Then, use a darning needle or even a bobby pin to push the pulled loop from the front of the sweater through to the inside. It will disappear from the outside, and you can secure the loop on the inside with a tiny, careful knot if you’re worried about it coming out again. The Small Hole (Sew vs. No-Sew) For a small hole in a sweater, a simple darn is best. This just means weaving new threads over the hole with a darning needle to create a new patch of fabric. There are tons of great video tutorials online for a “woven darn.” For non-knitted items like a parka or flannel shirt, the iron-on patch is a renter’s dream. Turn the garment inside out, cut a patch slightly larger than the hole, place it over the area, and press with a hot iron according to the package directions. It’s a quick, durable, and totally invisible fix! The Final Touches: Cleaning and Storing Like a Pro Once your mending is complete, give everything a final wash according to its care label. Moths and other pests are attracted to microscopic dirt and oils, so storing clean clothes is your first line of defense. Let everything air dry completely, then store it in a breathable container—like a cardboard box or a canvas bin—in a cool, dark, and dry place. Tossing in a few cedar blocks or lavender sachets is a great natural alternative to chemical mothballs. Now you can relax, knowing a perfectly repaired and protected winter wardrobe is waiting for you.
A Stitch in Time: How to Mend and Repair Winter Clothing Before Storing It