The Renter’s Guide to Smart Thermostats: Cut Energy Bills Without Changing Your Lease
Staying comfortable at home shouldn’t mean dreading your utility bill—especially for renters, who often can’t make major upgrades. Enter: the smart thermostat. Today’s models slash energy bills, boost comfort, and are more renter-friendly than ever. Best of all? You don’t need to mess with your lease or make permanent changes to your home.
In this guide, we’ll break down everything you need to know about smart thermostats as a renter. From choosing the right model to installation tips and maximizing your savings, let’s get you set up for both comfort and savings.
Why Smart Thermostats Are Perfect for Renters
You might think smart thermostats are only for homeowners. Good news: renters can benefit just as much—sometimes even more, since you may be more cost-conscious and less likely to upgrade your entire HVAC system. Here’s why they’re ideal:
- Lower energy bills: Smart thermostats learn your schedule and adjust heating/cooling to save energy.
- No major modifications: Many new models are easy to install, remove, and take with you when you move out.
- Remote control: Manage temps from your phone, wherever you are.
- Eco-friendly: Reduced energy use means a smaller carbon footprint.
- Minimal landlord friction: Most installations don’t require structural changes or special permissions.
If you’re looking to save money, live comfortably, and do your part for the planet—all without breaking your lease—smart thermostats are a renter’s best friend.
How Do Smart Thermostats Work?
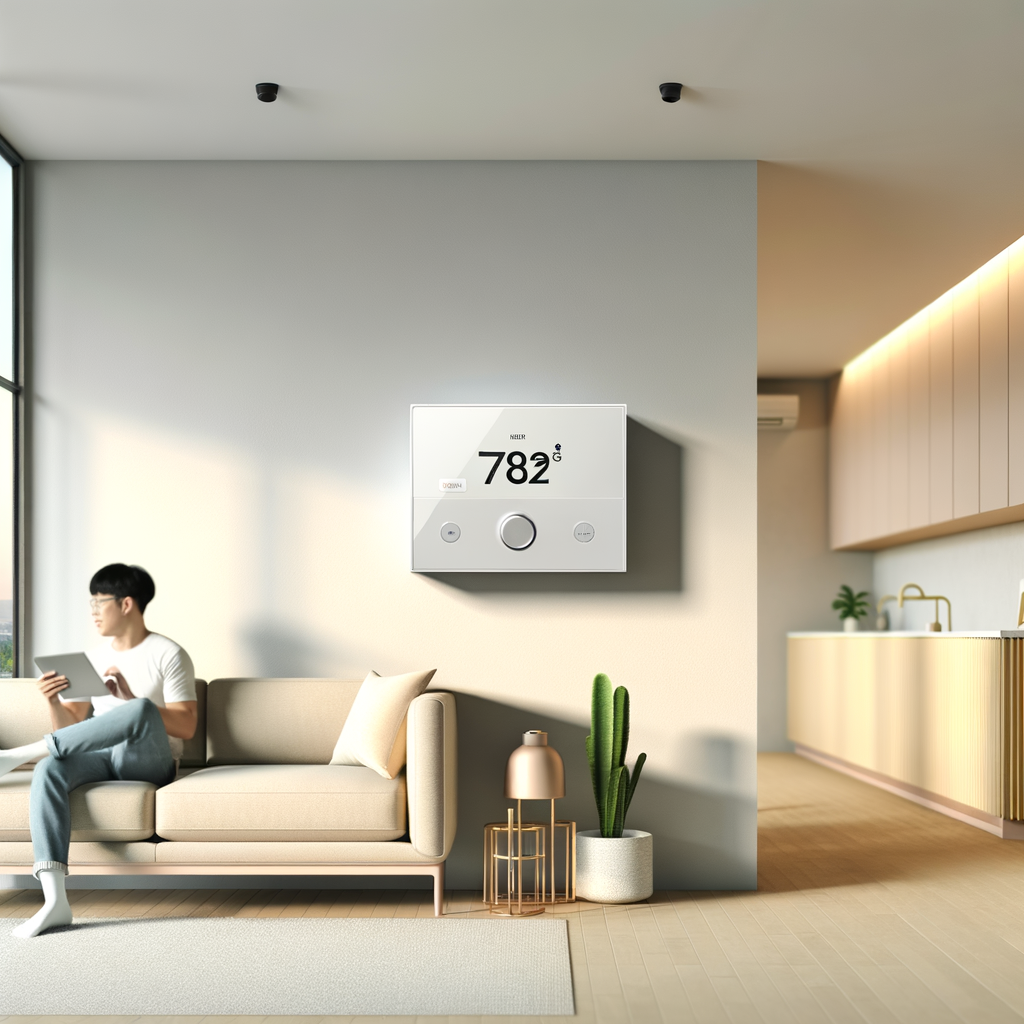
A smart thermostat replaces your traditional wall thermostat. It connects to Wi-Fi, letting you control heating and cooling via an app or even voice assistants like Alexa and Google Assistant. Here’s what sets it apart:
- Learning capabilities: Some models “learn” your schedule and preferences over time.
- Remote access: Adjust temperatures on the go.
- Geofencing: Automatically sets eco modes when you’re away from home.
- Scheduling: Pre-set daily or weekly temperature routines.
- Usage reports: See how much energy you’re using and where you can improve.
For renters, these features mean you can fine-tune comfort and reduce waste—without needing access to your building’s entire HVAC system.
Renter-Friendly Installation: What to Look For
Before you run out and buy any smart thermostat, ensure it fits your renting situation. Here’s how to check compatibility and prepare for smooth, lease-friendly installation:
1. Identify Your System Type
- Central heating and cooling: Most smart thermostats are designed for standard HVAC systems with low-voltage wiring (24V).
- Electric baseboard (high-voltage) heaters: You’ll need a specialized smart thermostat.
- Window or portable AC/heaters: Opt for a smart AC controller or plug-in units, as traditional thermostats won’t work.
2. Check Your Wiring
- Remove your old thermostat faceplate (after switching off the power).
- Look for labeled wires—typically R, W, Y, G, and C (the common wire).
- If you lack a C wire, many models offer adapters or have “battery only” options—great for renters.
3. Avoid Wall Damage
- No drilling: Most thermostats fit where your old one was and use the same screw holes.
- Removable options: When you move out, replace your old thermostat and patch tiny screw holes if needed.
- Landlord-friendly: Most leases allow you to swap thermostats as long as you restore the original when you move out.
Getting Permission from Your Landlord
Though it’s typically a minor swap, it’s smart to send your landlord a quick message before making any changes:
- Explain what a smart thermostat is and why you want one (energy-saving, easy to restore, zero impact on HVAC).
- Promise to keep the original and re-install it when you move out.
- Offer to pay for any minor repairs if necessary (unlikely, but a nice gesture).
- Note: In many areas, you’re allowed to replace thermostats as long as it doesn’t require new wiring or permanent wall changes.
Most landlords appreciate tenants cutting energy costs and boosting property appeal!
Easy Installation: Step-by-Step for Renters
Ready to upgrade? Here’s a simplified, renter-loving process for installing your smart thermostat:
- Turn off power to your heating/cooling at the breaker.
- Take a photo of your old thermostat’s wiring for later reference.
- Disconnect your old thermostat, labeling wires as you go.
- Install the smart thermostat base (usually just screws into existing holes).
- Attach wires to labeled terminals on your new thermostat.
- Snap the faceplate on and restore power.
- Follow the app setup prompts for Wi-Fi and preferences. (Some require scanning a code on the device.)
Reversing the process is just as easy if you need to move!
Maximizing Savings: Pro Tips for Renters
Installation is just the start—here’s how to reap maximum comfort and savings from your new smart thermostat:
1. Set an Efficient Schedule
- Program away times to automatically scale back heating/cooling while you’re gone.
- Use “Eco” or “Smart” modes—let the device figure it out for you.
- Set sleep temperatures cooler in winter (or warmer in summer) for better sleep and energy savings.
2. Leverage Geofencing and Sensors
- Enable geofencing so your thermostat knows when you leave and return.
- Some devices integrate with room sensors—focus comfort in rooms you use most, not just where the thermostat sits.
3. Monitor Usage and Adjust
- Review energy reports in your app monthly.
- Look for times of day with spikes—adjust your schedule to minimize overlap with peak rates (if applicable).
4. Integrate with Smart Home Devices
- Connect your thermostat to Google Home, Amazon Alexa, or Apple HomeKit for hands-free control.
- Create routines (e.g., “Goodnight” lowers temp every evening).
Move-Out Tips: Taking Your Thermostat With You
One of the biggest renter advantages: your smart thermostat is fully portable.
- Before moving, shut off power and reverse your installation, reattaching the original thermostat (those earlier photos come in handy here).
- Patch tiny screw holes if needed—often unnecessary.
- Take your smart thermostat with you to start saving immediately in your next place!
Keep the manufacturer’s box and any extra hardware tucked away in a closet to streamline reinstallation later.
Troubleshooting Common Renter Issues
1. No C Wire?
- Look for Power Extender Kits (PEK) or choose models like the Ecobee or Google Nest that support battery-only or adapter-based setups.
- Plug-in smart thermostats and smart AC controllers may be an easier solution for apartments with unusual systems.
2. Complex HVAC Systems
- For older buildings with multiple HVAC zones or radiator/boiler controls, consult your landlord—or consider room sensors or smart radiator valves as a compromise.
3. Portable or Window ACs?
- Pair your unit with a smart AC controller (like Sens