We’ve all been there. You enjoyed a perfect sunny afternoon at the park or on a friend’s balcony, only to get home and notice that tell-tale pink glow on your shoulders. Ouch. While prevention is always best, sometimes the sun wins. Your first instinct might be to grab a bottle of that bright green, goopy gel from the drugstore, but what if there was a better, more natural, and eco-friendly way to soothe your skin? As renters, we know that sustainable living is all about smart, simple swaps, and this DIY After-Sun Spray is a perfect example.Creating your own after-sun spray isn’t just a fun little project. It’s a practical choice that aligns perfectly with a low-impact lifestyle, especially when you’re working with limited space and a desire to reduce waste. It’s your secret weapon for happy summer skin, made right in your own kitchen.Why Go DIY? The Renter’s Eco-AdvantageBefore we dive into the recipe, let’s talk about why this is such a fantastic project for renters. Commercial after-sun products often come with a long list of unpronounceable ingredients, artificial fragrances, and of course, a single-use plastic bottle. Making your own puts you in complete control. Less Plastic Waste: You can reuse a glass or sturdy plastic spray bottle again and again. No more tossing empty bottles into the recycling bin every summer. All-Natural Ingredients: You know exactly what you’re putting on your skin. No parabens, artificial dyes, or mystery chemicals—just pure, plant-based goodness. Budget-Friendly: The ingredients for this spray are relatively inexpensive and versatile. You can use them for other DIY skincare or cleaning projects, making them a great investment for a minimalist home. Small-Batch Perfect: Living in a small apartment means you don’t have space for bulk supplies. This recipe is perfect for making in small quantities, ensuring it’s always fresh without cluttering your cabinets.The All-Star Ingredients for Soothing Your SkinThe magic of this spray lies in its simple yet powerful ingredients. Each one is chosen for its incredible ability to cool, calm, and help your skin recover from too much sun exposure.Aloe Vera GelThis is the undisputed champion of sunburn relief. Pure aloe vera gel (look for one that is 100% aloe, not the neon green stuff) is packed with vitamins and minerals that hydrate the skin, reduce inflammation, and promote healing. It provides that instant cooling sensation your skin is craving.Witch HazelAn excellent natural astringent, witch hazel helps to reduce swelling and repair damaged skin. Its anti-inflammatory properties can calm redness and irritation, making it a fantastic partner for aloe vera. Be sure to get an alcohol-free version to avoid drying out your skin further.Essential Oils: Peppermint & LavenderHere’s where you can customize your spray! Peppermint oil provides a wonderful, intense cooling effect thanks to its menthol content. Lavender oil is renowned for its calming properties, which can help soothe irritated skin and reduce redness. You can use one or a combination of both.Vitamin E Oil (Optional but Recommended)Adding a few drops of Vitamin E oil gives your spray a moisturizing boost. It’s a powerful antioxidant that helps to nourish the skin and can even act as a mild natural preservative, extending the shelf life of your creation.Your Super Simple DIY After-Sun Spray RecipeReady to feel like a sustainable skincare guru? This recipe is incredibly easy and requires no special equipment. If you can stir, you can make this!What You’ll Need: A 4 oz (or larger) clean, empty spray bottle (glass is ideal) A small funnel (optional, but very helpful!) 1/4 cup pure aloe vera gel 1/4 cup alcohol-free witch hazel 5-7 drops of lavender essential oil 3-5 drops of peppermint essential oil 1/2 teaspoon Vitamin E oil (about 5-6 drops) 2 tablespoons of distilled or cooled boiled water (to help it spray easily)Step-by-Step Instructions: Place your funnel in the opening of your spray bottle. Carefully pour in the witch hazel, distilled water, and aloe vera gel. Since aloe vera gel can be thick, you might need to gently tap the funnel to help it along. Add your essential oils and the Vitamin E oil directly into the bottle. Screw the spray top on tightly and shake the bottle vigorously for about 30 seconds to combine all the ingredients. The mixture should look slightly cloudy. That’s it! Your soothing, natural after-sun spray is ready to use.How to Use and Store Your Cooling CreationFor the ultimate cooling relief, store your DIY after-sun spray in the refrigerator. Not only does this feel amazing on warm skin, but it also helps keep the natural ingredients fresh for longer. Because this recipe contains no synthetic preservatives, it’s best to use it within 3-4 weeks.Before each use, give the bottle a good shake to mix the ingredients. Spray it generously onto any areas that got a bit too much sun. Avoid spraying it directly on your face; instead, spray it into your hands first and then gently pat it onto your facial skin, avoiding the eye area.A Quick Safety Note: As with any new skincare product, it’s always wise to do a small patch test on your inner arm to make sure your skin loves all the ingredients before applying it widely.Embracing a more sustainable lifestyle as a renter doesn’t require a total overhaul. It’s about finding joy in small, impactful changes—like trading a plastic bottle of chemicals for a homemade spray that’s kinder to your skin and the planet. Stay cool and enjoy the sunshine responsibly!
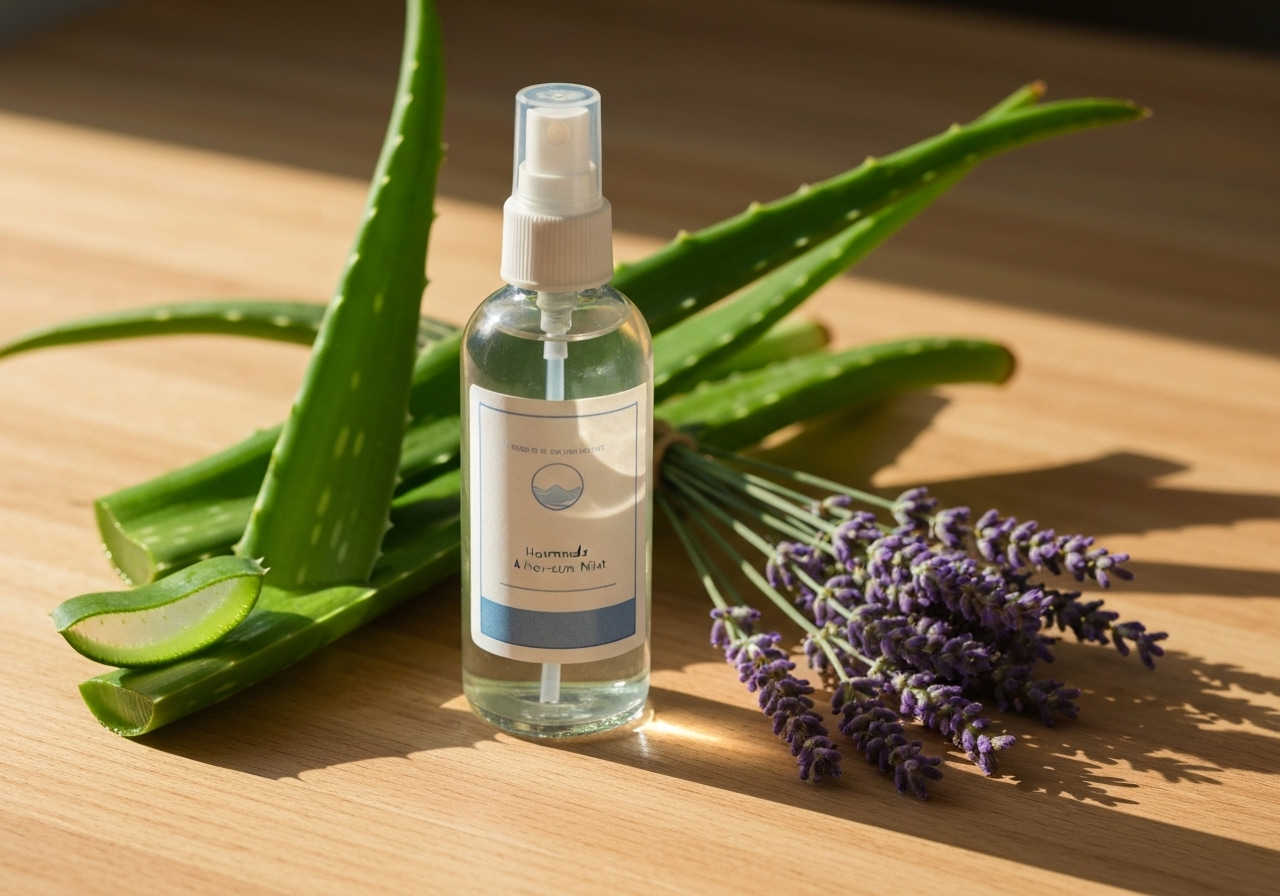
Soothe Your Sunburn Naturally: The Ultimate DIY After-Sun Spray for Eco-Friendly Renters