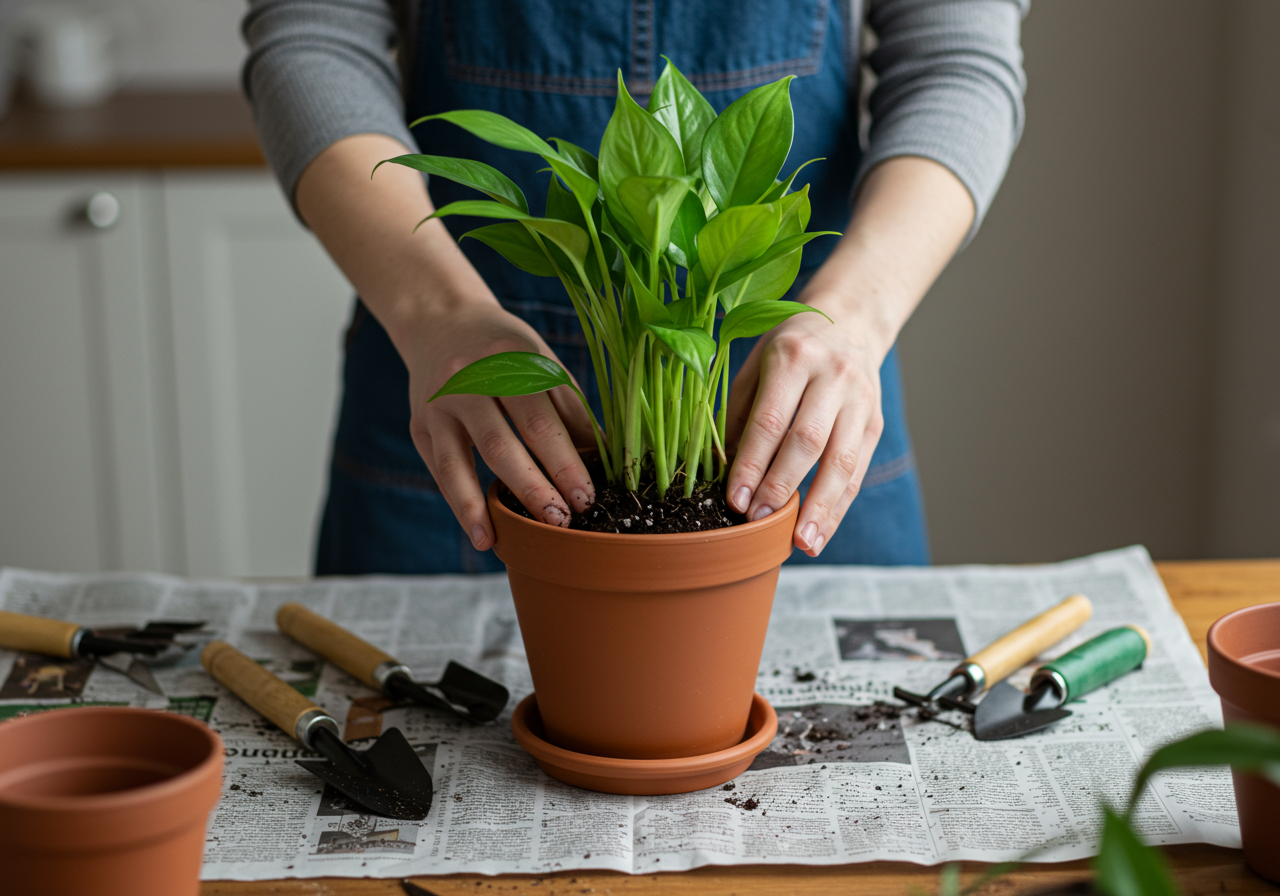
Repotting your leafy roommates is a crucial part of plant parenthood, ensuring they have the space and nutrients to thrive. But let’s be honest, it can get messy! As renters, we understand the struggle of keeping our security deposits safe while nurturing our green companions. That’s why we’ve compiled this guide to help you repot your houseplants like a pro, without leaving a trace of soil behind. Planning for a Smooth Repotting Experience A little preparation goes a long way in preventing a potting mix explosion. Gather your supplies beforehand to minimize mid-repotting scrambles and potential spills. Essential Supplies: New pot: Choose a pot only slightly larger than the current one (1-2 inches wider in diameter). This prevents overwatering and root rot. Fresh potting mix: Select a high-quality mix appropriate for your plant type. Newspaper or drop cloth: Protect your floors and surfaces from stray soil. Gardening gloves: Keep your hands clean and avoid transferring plant diseases. Watering can or spray bottle: For watering your plant after repotting. Trowel or scoop: For transferring the potting mix. Scissors or pruning shears: For trimming any dead or damaged roots. Creating a Mess-Free Repotting Zone Choose a well-ventilated area, ideally near a sink or bathtub. Spread your newspaper or drop cloth generously, extending beyond where you think the mess might reach. Trust us, it’s better to be safe than sorry! If working indoors, consider using a large tray or bin to contain any spills. The Step-by-Step Repotting Process Now that your prep work is complete, it’s time to repot! Removing the Plant: Water your plant lightly a day or two before repotting. This makes it easier to remove the root ball. Gently turn the plant on its side and carefully slide it out of the old pot. If the roots are tightly bound, gently loosen them with your fingers or a trowel. Inspecting the Roots: Check for any signs of root rot (mushy, brown roots) or pests. Trim away any damaged or unhealthy roots with clean scissors or pruning shears. For rootbound plants, gently loosen the roots to encourage them to spread into the new pot. Adding Fresh Potting Mix: Place a small layer of fresh potting mix at the bottom of the new pot. Center the plant and fill the space around the root ball with more potting mix, leaving about an inch of space between the soil surface and the rim of the pot. Gently press down the soil to secure the plant. Watering and Cleanup: Water your newly repotted plant thoroughly, allowing excess water to drain. Discard any fallen leaves or debris. Carefully fold up the newspaper or drop cloth, trapping any remaining soil inside, and dispose of it responsibly. Post-Repotting Care Place your repotted plant in a suitable location based on its light and humidity requirements. Avoid fertilizing for a few weeks to allow the roots to adjust to their new environment. Monitor the plant’s moisture levels and adjust watering as needed. Repotting Success! Congratulations! You’ve successfully repotted your houseplant without turning your apartment into a disaster zone. With a little planning and these simple steps, you can maintain a thriving indoor jungle and a happy landlord. Now sit back, relax, and enjoy the vibrant greenery in your clean and clutter-free space.
Mess-Free Repotting: A Renter’s Guide to Happy Houseplants