
Renting shouldn’t mean sacrificing your green thumb! Limited space and building restrictions can make traditional gardening tricky, but with a little creativity, you can cultivate a thriving indoor garden. One fantastic solution? A DIY self-watering planter made from recycled plastic bottles. This project is not only eco-friendly and budget-friendly, but it’s also incredibly easy, even for beginners. Let’s dive in!
Why Choose a Self-Watering Planter?
Self-watering planters offer a host of benefits, especially for renters. They’re:
- Low-maintenance: Perfect for busy schedules or forgetful plant parents, these planters reduce the frequency of watering.
- Water-efficient: They minimize water waste by delivering moisture directly to the roots as needed.
- Space-saving: These planters can be adapted to fit various sizes, maximizing your limited space.
- Portable: Easy to move around as needed, accommodating changes in light or your living arrangement.
What You’ll Need:
Gathering Your Supplies
This project utilizes materials you likely already have at home. Here’s what you’ll need:
- Two plastic bottles (1-liter or 2-liter sizes work well)
- Scissors or a utility knife
- A piece of cotton cloth or an old t-shirt strip (about 1 inch wide and 12 inches long)
- Potting mix
- Your chosen plant seedling
- (Optional) Decorative materials like paint, twine, or fabric scraps
Creating Your Self-Watering Planter: A Step-by-Step Guide
Step 1: Prepare the Bottles
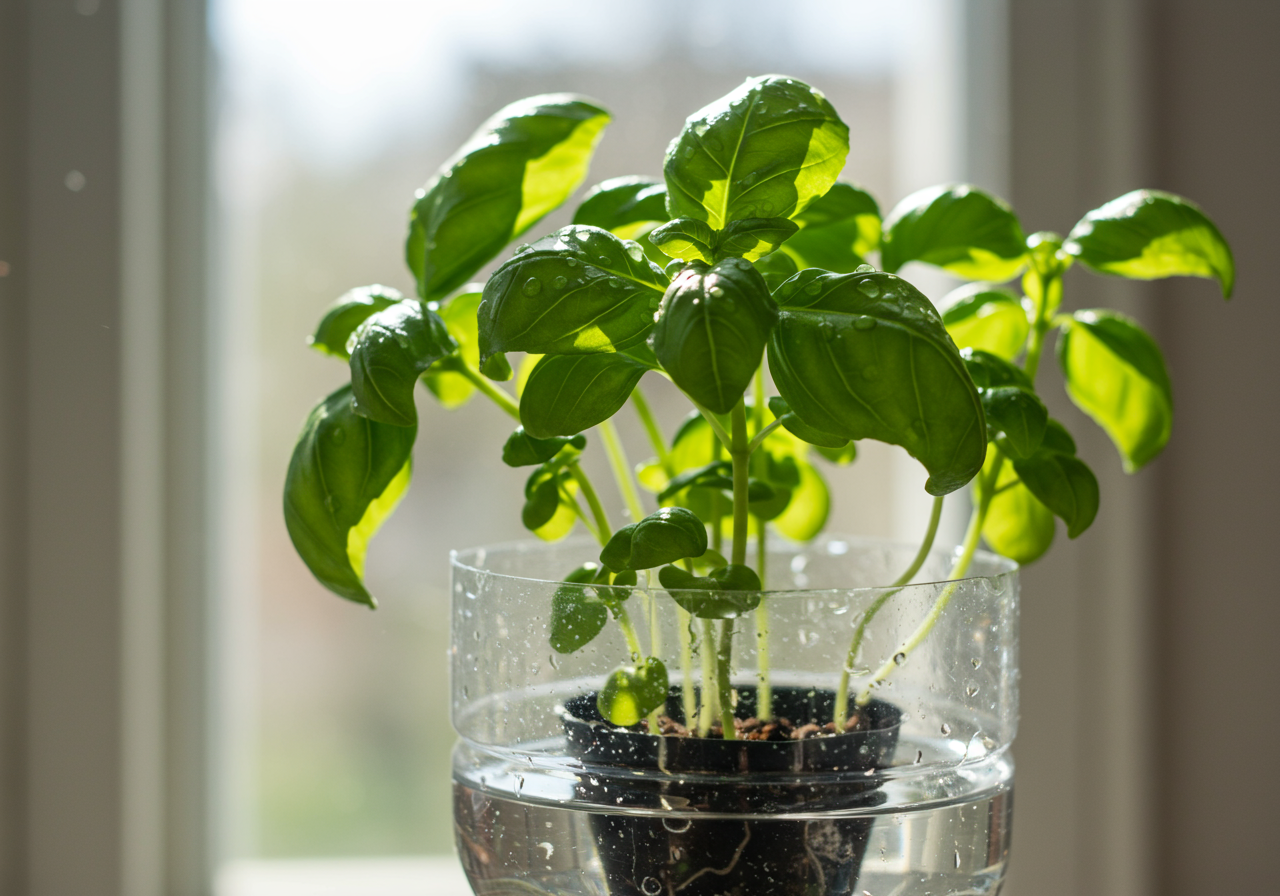
Carefully cut one bottle in half. The top half will become the planter, while the bottom half will serve as the water reservoir.
Step 2: Create the Wick
Take your cotton cloth or t-shirt strip and roll it tightly. This wick will draw water up to the plant’s roots.
Step 3: Assemble the Planter
Invert the top half of the bottle (the planter section) and insert the wick through the bottle opening, letting a few inches hang down. Place the top section inside the bottom half (the reservoir), ensuring the wick reaches the bottom.
Step 4: Add Potting Mix and Plant
Fill the top portion with potting mix and gently plant your seedling. Ensure the soil isn’t packed too tightly to allow for proper drainage and root growth.
Step 5: Fill the Reservoir
Pour water into the bottom reservoir. The water level should be below the bottom of the top bottle to prevent overwatering. The wick will draw water upwards as needed.
Step 6: (Optional) Decorate Your Planter
Get creative! Paint the outside of the bottle, wrap it with twine, or add other decorative elements to personalize your planter. Remember to keep the decorations away from the water reservoir.
Choosing the Right Plants
Not all plants thrive in self-watering systems. Herbs like mint, parsley, and chives are excellent choices. Leafy greens like lettuce and spinach also adapt well. For a splash of color, consider African violets or peace lilies.
Tips for Success
Monitor the water level in the reservoir regularly. Depending on the plant and environment, you may need to refill it every 1-2 weeks. Avoid overwatering, as this can lead to root rot. Ensure your planter receives adequate sunlight, and rotate it occasionally for even growth.
This DIY self-watering planter is a sustainable and practical way to enjoy the benefits of indoor gardening, even in a rented space. It’s a fun and rewarding project that reduces plastic waste and connects you with nature. Happy gardening!


