Limited space shouldn’t limit your love for plants! As eco-friendly renters, we often face the challenge of wanting to cultivate more greenery but lacking the square footage. A fantastic solution? A DIY windowsill extension box! This simple project maximizes sunlight and adds valuable growing space without any permanent alterations to your rental.
Why a Windowsill Extension Box?
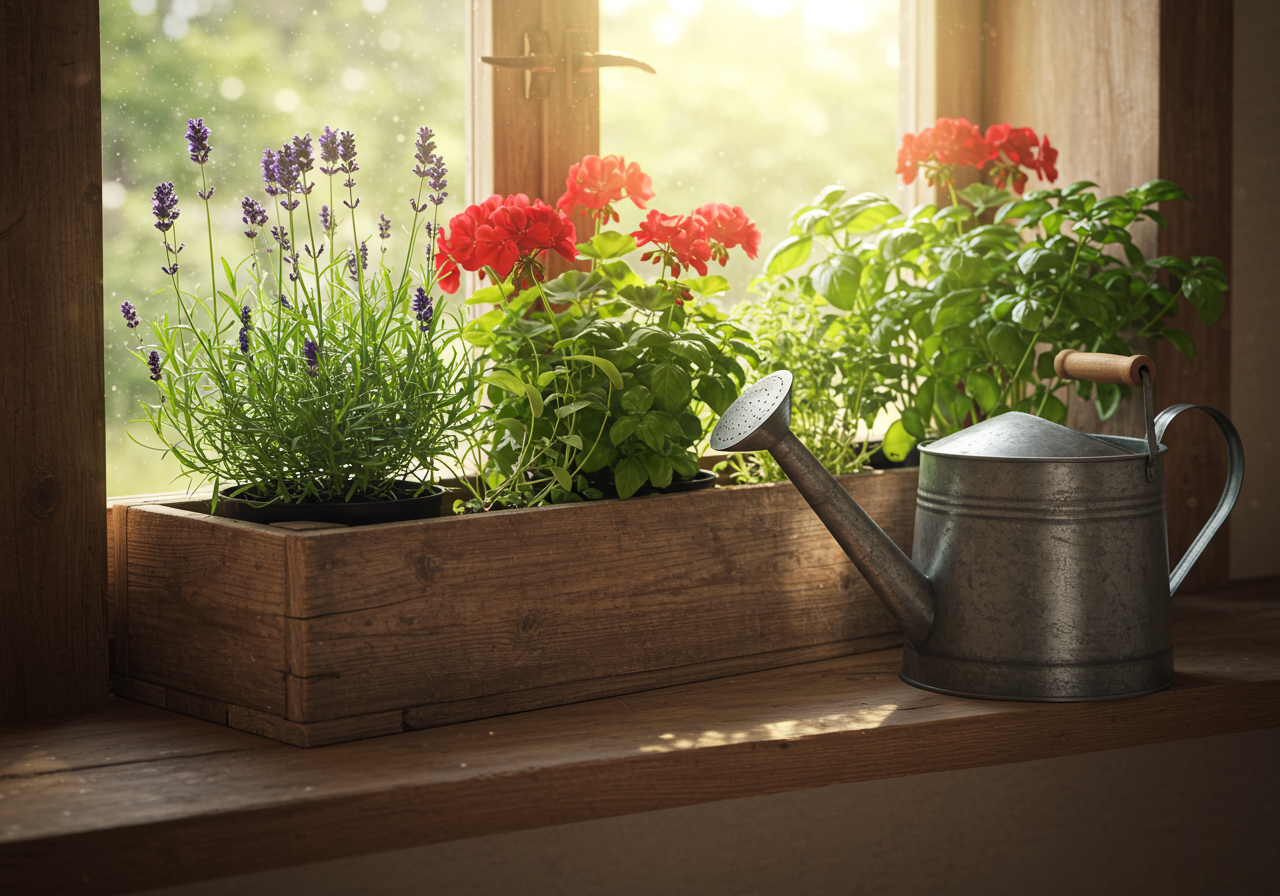
Windowsills are prime real estate for plants, but they can be narrow. An extension box effectively expands this precious space, allowing you to grow more herbs, flowers, or even small veggies. It’s a renter-friendly way to boost your indoor garden without any major construction or wall damage.
Benefits of a DIY Extension Box:
- Maximizes sunlight: Provides more surface area for plants to soak up those precious rays.
- Increases growing space: Perfect for expanding your herb garden or adding more greenery.
- Customizable: Build it to fit your specific windowsill dimensions and aesthetic.
- Affordable: Uses readily available, often repurposed, materials.
- Easy to remove: Doesn’t damage your windowsill and can be taken with you when you move.
Building Your Own Extension Box
This project is surprisingly simple and requires minimal tools. Here’s a basic guide to get you started:
Materials:
- Untreated wood planks (cedar or redwood are naturally rot-resistant)
- Wood screws
- Measuring tape
- Saw (hand saw or circular saw)
- Drill
- Sandpaper
- Exterior wood sealant (optional)
Instructions:
- Measure your windowsill: Carefully measure the width and depth of your windowsill. The box’s depth should be less than your window’s depth to allow the window to close properly.
- Cut the wood: Cut the planks to the desired dimensions for the base, sides, and front/back pieces of your box. Remember to account for the thickness of the wood when calculating the dimensions.
- Assemble the box: Pre-drill holes and then use wood screws to secure the sides to the base. Attach the front and back pieces last.
- Sand the edges: Smooth any rough edges with sandpaper.
- Seal the box (optional): If you plan to use the box for herbs or plants that require watering, consider sealing it with an exterior wood sealant to protect the wood from moisture.
Tips for Success:
Here are some additional tips to help you create the perfect windowsill extension box:
- Drainage: Consider adding small drainage holes to the bottom of the box to prevent waterlogging, or use trays under your pots.
- Weight: Be mindful of the weight limit of your windowsill. Use lightweight potting mix and avoid overloading the box.
- Safety: Ensure the box is securely attached and won’t tip over. You can add L-brackets for extra support if needed.
- Aesthetics: Paint or stain the box to match your décor. You can also add decorative elements like stencils or decoupage.
- Plant selection: Choose plants that thrive in the amount of sunlight your window receives. Herbs, succulents, and many houseplants are excellent choices.
With a little effort, you can transform your windowsill into a thriving mini-garden. This simple DIY project is a perfect example of how we can create more green space within the limitations of renting while embracing eco-friendly practices. Happy gardening!