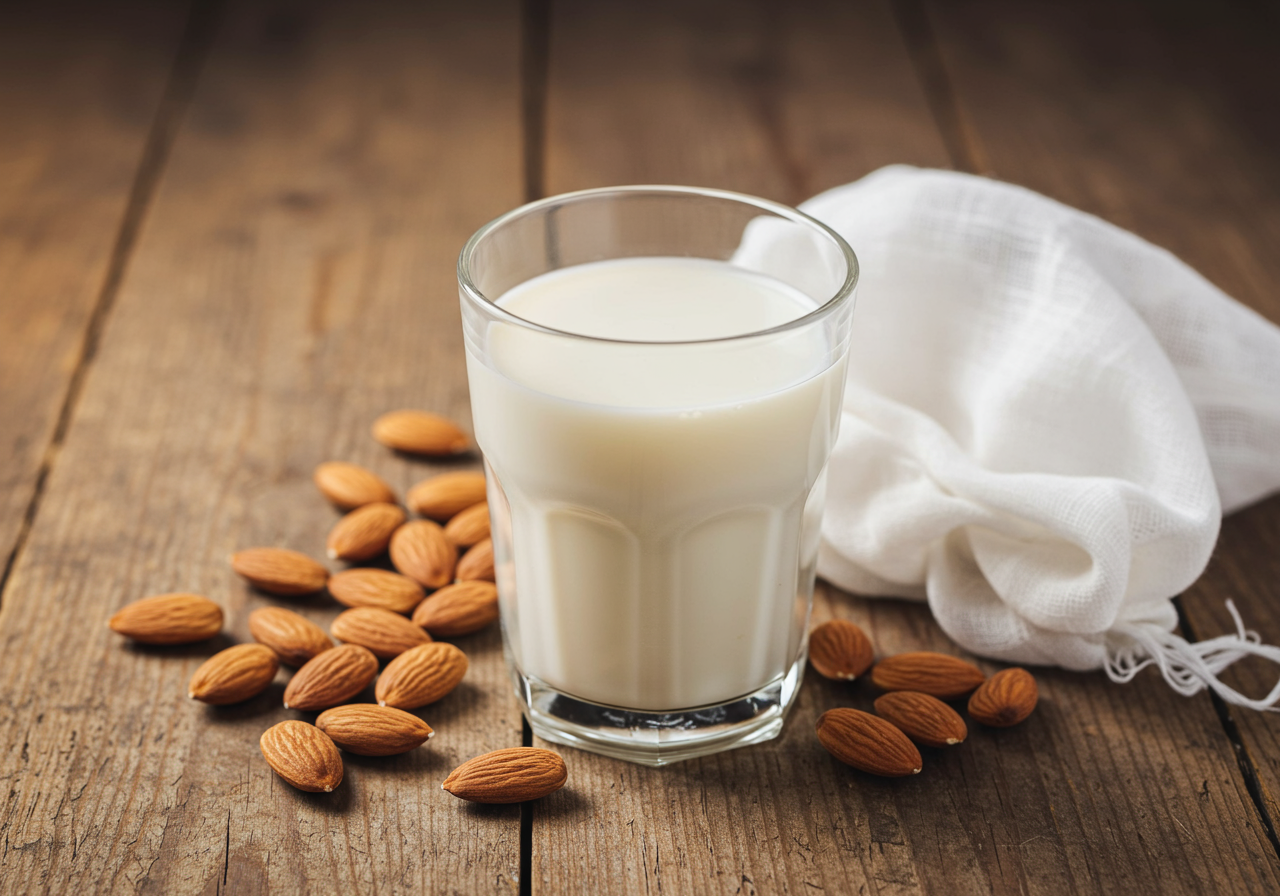
Living sustainably in a rental can feel challenging, especially when it comes to reducing waste. One area where we often generate a surprising amount of trash is with food packaging, and those nut milk cartons can really pile up! But what if you could enjoy delicious, creamy nut milk while significantly reducing your environmental impact? The solution is simpler than you think: make your own!
Why Make Your Own Nut Milk?
Beyond the obvious benefit of reducing carton waste, making your own nut milk offers several advantages:
- Cost-effective: Nuts are generally cheaper than pre-made nut milk, saving you money in the long run.
- Healthier: Homemade versions avoid the additives, thickeners, and preservatives often found in store-bought options.
- Customizable: Control the thickness, sweetness, and flavor to perfectly match your preferences.
- Fresher taste: Enjoy the pure, natural flavor of freshly made nut milk.
Getting Started: What You’ll Need
The equipment needed is minimal, and chances are you already have most of it in your kitchen:
- Blender: Any standard blender will do.
- Nut milk bag or fine-mesh strainer: Essential for separating the milk from the pulp.
- Jar or container for storage: A glass jar with a lid is ideal.
- Your favorite nuts: Almonds, cashews, walnuts, or any nut you prefer.
- Water: Filtered water is recommended for the best taste.
A Simple, Step-by-Step Guide to Homemade Nut Milk
Making nut milk is surprisingly easy. Here’s a basic recipe you can adapt to any nut:
- Soak the nuts: Place 1 cup of nuts in a bowl and cover with plenty of water. Soak for at least 4 hours (or overnight for a creamier result). This step softens the nuts and helps release their creamy texture.
- Drain and rinse: Discard the soaking water and rinse the nuts thoroughly.
- Blend: Add the rinsed nuts to your blender along with 3-4 cups of fresh water. Blend on high speed for 1-2 minutes until smooth and creamy.
- Strain: Place your nut milk bag or fine-mesh strainer over a bowl or jar. Carefully pour the blended mixture into the strainer, allowing the milk to drain through. Gently squeeze the bag to extract all the liquid.
- Store: Transfer the nut milk to a sealed container and store it in the refrigerator for up to 5 days.
Tips & Tricks for the Perfect Nut Milk
Here are some extra tips to elevate your homemade nut milk:
- Sweeten it up: Add a date, a drizzle of maple syrup, or a pinch of vanilla extract for extra flavor.
- Get creative with spices: Cinnamon, nutmeg, or cardamom can add a warm, comforting touch.
- Don’t discard the pulp: Nut pulp is packed with nutrients! Add it to smoothies, baked goods, or even homemade veggie burgers.
- Experiment with different nuts: Each nut offers a unique flavor and texture. Try making cashew milk for extra creaminess, or almond milk for a classic option.
Making your own nut milk is a simple yet effective way to reduce your environmental footprint while enjoying a healthy and delicious beverage. Give it a try, and you’ll be amazed at how easy and rewarding it is to ditch the carton and embrace a more sustainable lifestyle, even in a rental!


