Living sustainably in a rental doesn’t mean giving up on fun, healthy habits like dehydrating your own produce. While a dehydrator is handy, it’s not essential. You can easily create delicious, naturally preserved snacks using simple methods perfect for even the smallest apartment kitchen. This guide will walk you through everything you need to know about dehydrating without specialized equipment.
Why Dehydrate at Home?
Dehydrating reduces food waste by preserving excess fruits and vegetables before they spoil. It’s a great way to enjoy seasonal produce year-round and creates healthy, portable snacks perfect for work, school, or hiking. Plus, homemade dehydrated snacks are often cheaper and free of added sugars and preservatives found in store-bought options.
Choosing the Right Produce
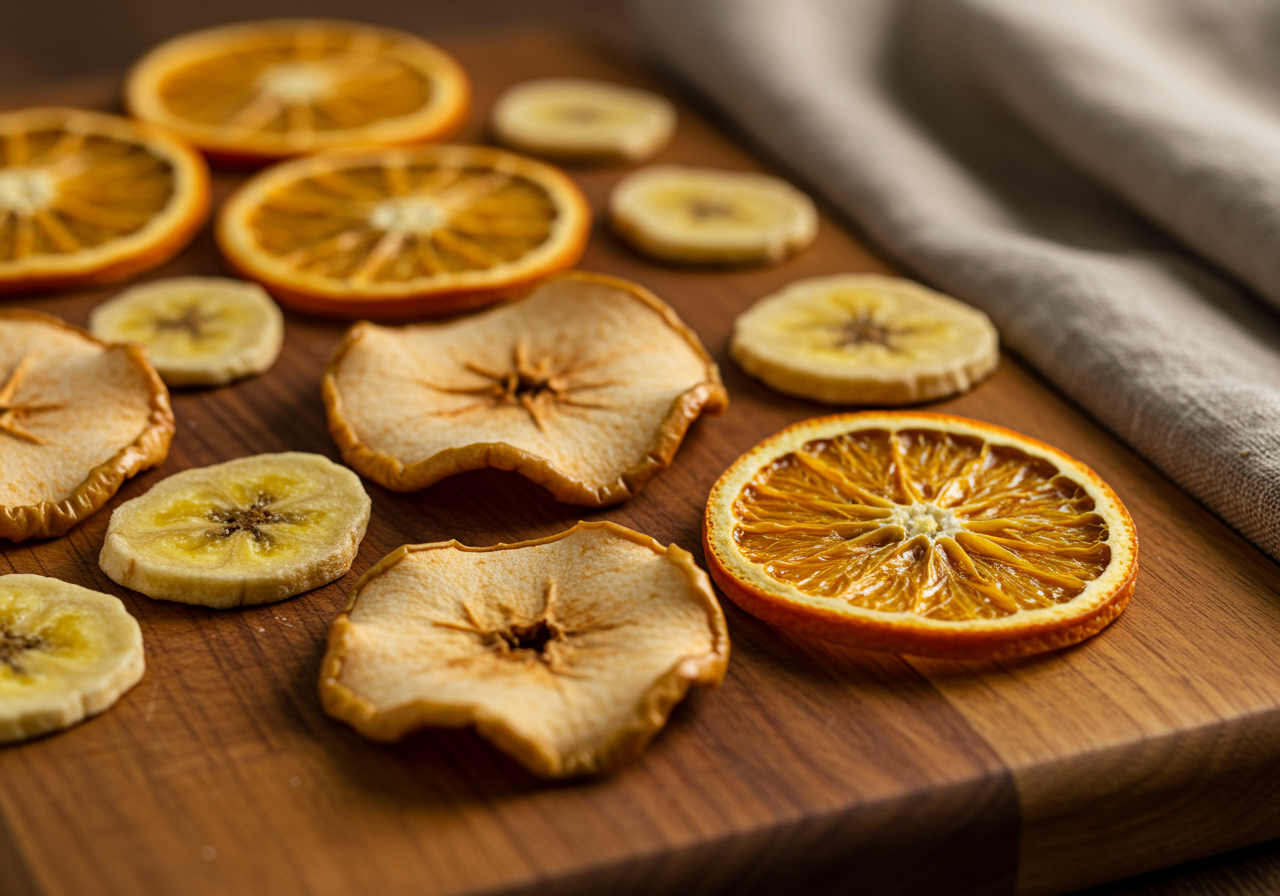
Almost any fruit or vegetable can be dehydrated! Beginners might find success with apples, bananas, berries, carrots, zucchini, and tomatoes. Select produce that’s ripe but firm, without bruises or blemishes.
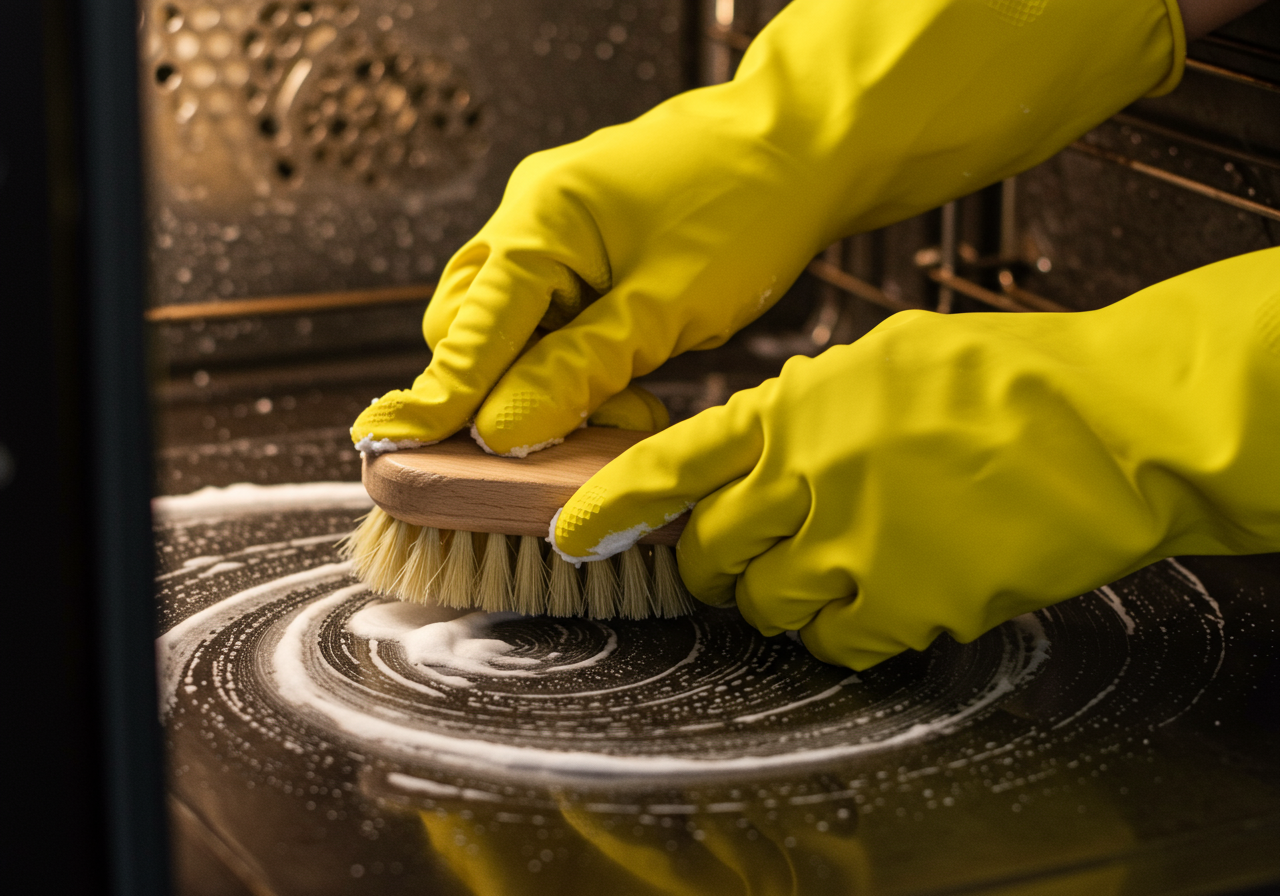
Method 1: Oven Drying
Your oven is a readily available dehydrating tool. The key is low and slow.
- Prep: Wash and slice your produce thinly and evenly. Blanching vegetables helps retain color and nutrients.
- Arrange: Line baking sheets with parchment paper and arrange the slices in a single layer, ensuring they don’t overlap.
- Dry: Set your oven to the lowest setting, ideally between 135°F (57°C) and 170°F (77°C). Prop the oven door open slightly with a wooden spoon to allow moisture to escape.
- Time: Drying times vary depending on the produce and oven temperature, typically between 4-8 hours. Check regularly and flip slices halfway through.
- Test for Doneness: Properly dehydrated produce should be leathery and pliable, not crispy or brittle.
Method 2: Air Drying
For warm, dry climates, air drying is a fantastic energy-free option.
- Prep: Similar to oven drying, wash and thinly slice your produce.
- Arrange: Thread slices onto clean string or lay them on a mesh drying rack. Ensure good airflow around each piece.
- Dry: Hang the strings or place the racks in a well-ventilated, sunny spot. Cover with cheesecloth or netting to protect from insects.
- Time: Air drying can take several days, depending on the humidity and temperature. Flip slices regularly for even drying.
Method 3: Using Your Radiator (Winter Option)
During colder months, your radiator can be repurposed as a gentle heat source for dehydrating.
- Prep: Prepare your produce as described above.
- Arrange: Lay sliced produce on a clean, dry towel placed directly on your radiator.
- Dry: This method requires patience and works best for smaller batches. Turn the produce occasionally.
- Time: Drying time can range from a few days to a week depending on the heat output of your radiator.
Storing Your Dehydrated Goods
Once your produce is completely dry, store it in airtight containers in a cool, dark, and dry place. Glass jars or reusable silicone bags are excellent choices. Properly stored, dehydrated fruits and vegetables can last for several months.
Creative Uses for Dehydrated Produce
Beyond snacking, dehydrated fruits and vegetables add flavor and nutrition to your meals. Incorporate them into trail mixes, homemade granola bars, soups, stews, or even infused water. Get creative and enjoy the fruits (and veggies) of your labor!
Dehydrating your own produce is a rewarding and sustainable practice, easily achievable in any rental. Start small, experiment with different methods and produce, and enjoy the process of creating your own healthy and delicious snacks.