Living in a rental shouldn’t stop you from embracing sustainable practices like fermenting! It’s easier than you think to transform vegetable scraps and soon-to-expire produce into delicious, probiotic-rich foods, all while minimizing your impact on the planet. This guide will walk you through the simple steps of fermenting at home, even with limited space and resources.
Why Ferment?
Fermentation is a natural preservation method that extends the life of your vegetables. It also creates beneficial bacteria, known as probiotics, which are great for gut health. Plus, fermented foods add a unique tangy flavor to any meal. For renters, it’s a fantastic way to reduce food waste, save money, and enjoy flavorful food without elaborate equipment or major kitchen renovations.
Getting Started: Simple Fermenting Supplies
You don’t need fancy equipment to start fermenting. Most of what you need is probably already in your kitchen! Here’s a basic list:
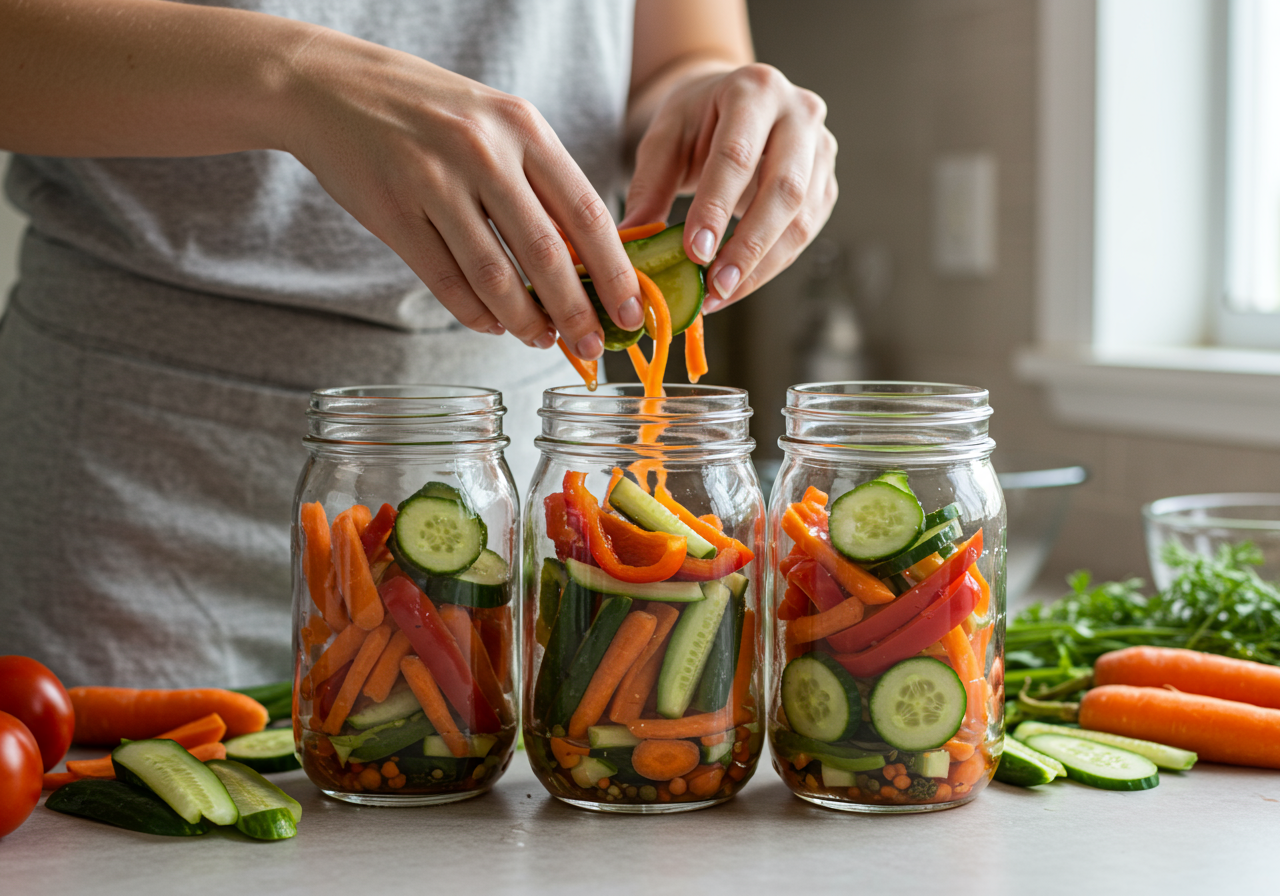
- Glass jars: Wide-mouth mason jars are ideal for easy packing and cleaning. Repurpose existing jars or pick up some affordable ones.
- Sea salt: Non-iodized sea salt is essential for the fermentation process. Avoid table salt as it can contain additives.
- Filtered water: Tap water can sometimes contain chlorine which can inhibit fermentation, so filtered water is recommended.
- Vegetables: Get creative! Cabbage, carrots, cucumbers, and even radish tops are great options. Choose organic whenever possible.
- Optional: Weights (small glass jar, fermentation weight), airtight lids for storage
Your First Ferment: Easy Sauerkraut
Sauerkraut is a classic ferment and a perfect starting point. Here’s a simple recipe:
- Thinly slice 1 medium head of cabbage.
- In a large bowl, massage the cabbage with 2 tablespoons of sea salt for about 10 minutes until it releases its juices.
- Pack the cabbage tightly into a clean glass jar, pressing down to submerge it completely beneath the brine (the released cabbage juice). Leave about an inch of headspace at the top.
- If the brine doesn’t fully cover the cabbage, add a little filtered water. Use a weight to keep the cabbage submerged.
- Cover the jar loosely with a lid or cheesecloth secured with a rubber band to allow gases to escape.
- Store the jar at room temperature (ideally around 65-75°F) for 3-10 days, tasting periodically. The longer it ferments, the tangier it becomes.
- Once it reaches your desired sourness, seal the jar with an airtight lid and store it in the refrigerator to slow down the fermentation process.
Expanding Your Fermenting Horizons
Once you’ve mastered sauerkraut, experiment with other vegetables and flavors! Kimchi, fermented carrots, and pickled green beans are all excellent choices. You can add spices like ginger, garlic, or chili flakes to customize your ferments.
Tips for Fermenting in Small Spaces
Don’t let limited space discourage you. Fermenting jars easily fit on countertops, in cupboards, or even under the sink. A small tray or container can catch any potential spills and keep your space tidy. Start with smaller batches to gauge your consumption and storage needs.
Troubleshooting: What to Look (and Smell) For
Fermentation is a natural process and minor variations are normal. A slightly cloudy brine, bubbles, and a pleasant sour smell are good signs. However, if you notice a fuzzy, colorful mold or a foul odor, it’s best to discard the batch.
Embrace the Fermenting Journey
Fermenting is a rewarding process that connects you with your food and helps reduce waste. Don’t be afraid to experiment, embrace the tangy flavors, and enjoy the satisfaction of transforming simple vegetables into something truly special. It’s a sustainable practice that fits seamlessly into even the smallest rental kitchens.