How to Turn Your Rental Into a Smart Eco-Home: A Beginner’s Guide to Affordable Green Tech
Living more sustainably doesn’t require owning your own place or spending a fortune on renovations. Today’s smart, eco-friendly devices are more affordable, renter-friendly, and simpler to install than ever. With just a few key changes, you can turn any rental into a greener, smarter—not to mention more comfortable—home. This guide walks you through practical, actionable steps to get started with affordable green tech, all without risking your security deposit.
Why Go Green and Smart in Your Rental?
Renting shouldn’t stop you from reducing your carbon footprint and saving money on utilities. Besides benefitting the planet, a smart eco-home helps you:
- Cut energy and water bills: Smart tech optimizes usage and highlights waste.
- Boost comfort and convenience: Automate lighting, climate, and appliances at your command or on schedules.
- Reduce waste: Many green tech solutions promote mindful, efficient habits.
- Increase home value: Some landlords appreciate tech-savvy, eco-friendly upgrades.
Best of all? Most solutions below need no drilling, wiring, or extensive landlord involvement.
Planning Your Smart Eco-Home Transformation
Assess Where to Start
Before buying gadgets, consider:
- Where do you use the most energy or water? (Heating? Lighting? Showers?)
- What’s your budget? Prioritize the highest-impact, most affordable changes first.
- What are your lease restrictions? Review your rental agreement and/or ask your landlord about temporary upgrades.
Set Your Green Tech Priorities
- Energy Efficiency: Smart thermostats, LED bulbs, smart plugs/switches.
- Water Conservation: Smart shower heads, leak detectors, faucet aerators.
- Air Quality: Smart air purifiers and monitoring devices.
- Waste Reduction: Composting gadgets, recycling bins with reminders.
Start small—one room or device at a time—then build up as you save energy and money.
Affordable Smart Eco-Tech for Renters: Room by Room
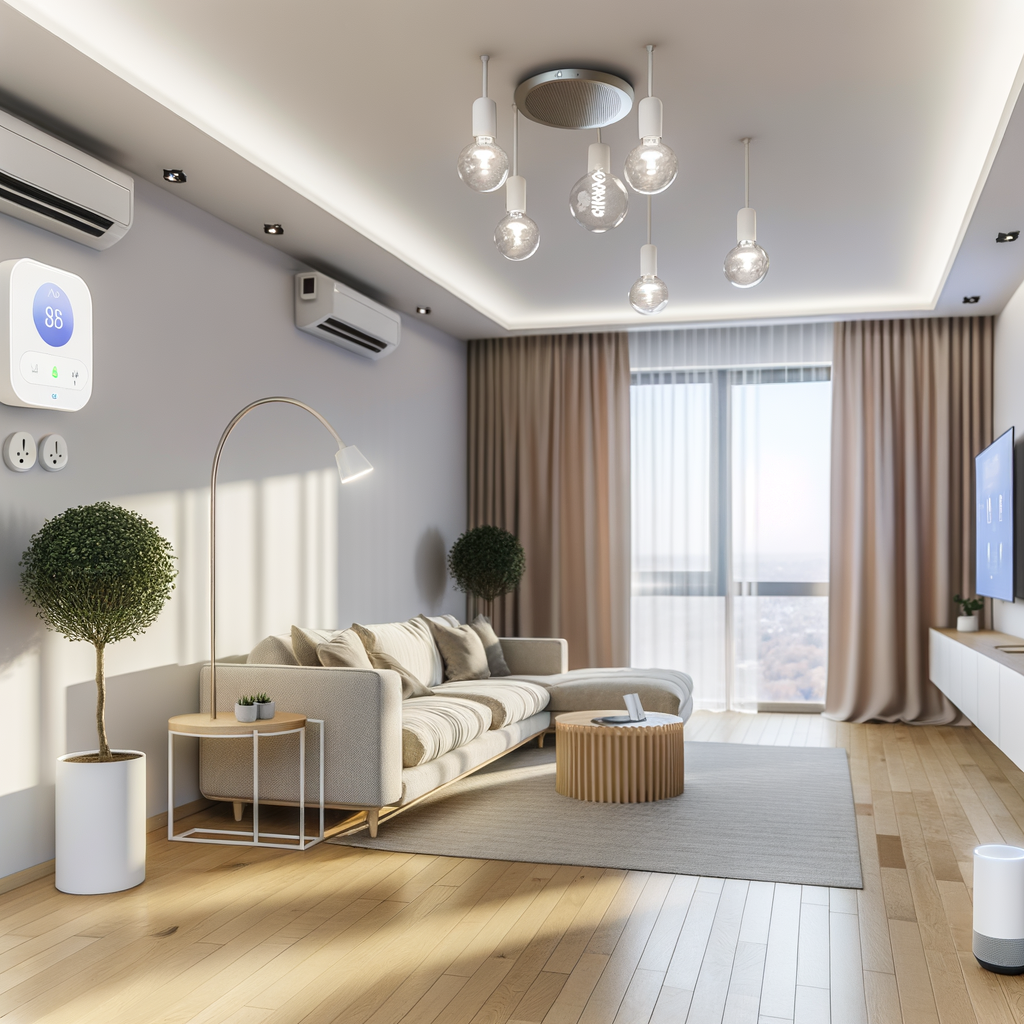
Living Room & Bedroom
-
Smart LED Bulbs:
- Swap out old bulbs for energy-efficient LED smart bulbs (like Philips Hue or Wyze Bulb).
- Control with your phone, voice, or set schedules for automatic on/off.
- Reduce energy use and extend bulb lifespan.
-
Smart Plugs & Power Strips:
- Plug-in modules fit any outlet, letting you control lamps, TVs, and small appliances remotely or on schedules.
- Monitor energy use to see which devices waste power even when off.
-
Smart Thermostat (Plug-in or Portable):
- If you can’t replace the main thermostat, look for plug-in or portable smart temperature controllers to control window A/C or space heaters.
-
Smart Curtains or Blinds:
- Automate window coverings to reduce heat in summer or keep warmth in winter—simple kits attach to existing rails.
Kitchen
-
Smart Plugs for Kitchen Appliances:
- Never forget to turn off the coffee pot, kettle, or slow cooker.
-
Energy Monitors:
- Use plug-in monitors to track fridge, oven, and other appliance electricity use. Identify energy hogs for better habits or discussion with your landlord.
-
Compost Solutions:
- Try smart composting gadgets or countertop bins that reduce food waste (and smell) without outdoor space.
-
Smart Leak Sensor:
- Place under sink or near dishwasher to get phone alerts at the first sign of a leak, catching costly problems early.
Bathroom
-
Low-Flow/Faucet Aerator Attachments:
- Twist-on devices cut water use without sacrificing pressure—affordable and easily removed when you move out.
-
Smart Shower Heads:
- Monitor shower duration and temperature, set water-saving limits, and see stats in a connected app.
-
Smart Leak Detector:
- Protect against floods and mold from even minor pipe leaks, especially in older buildings.
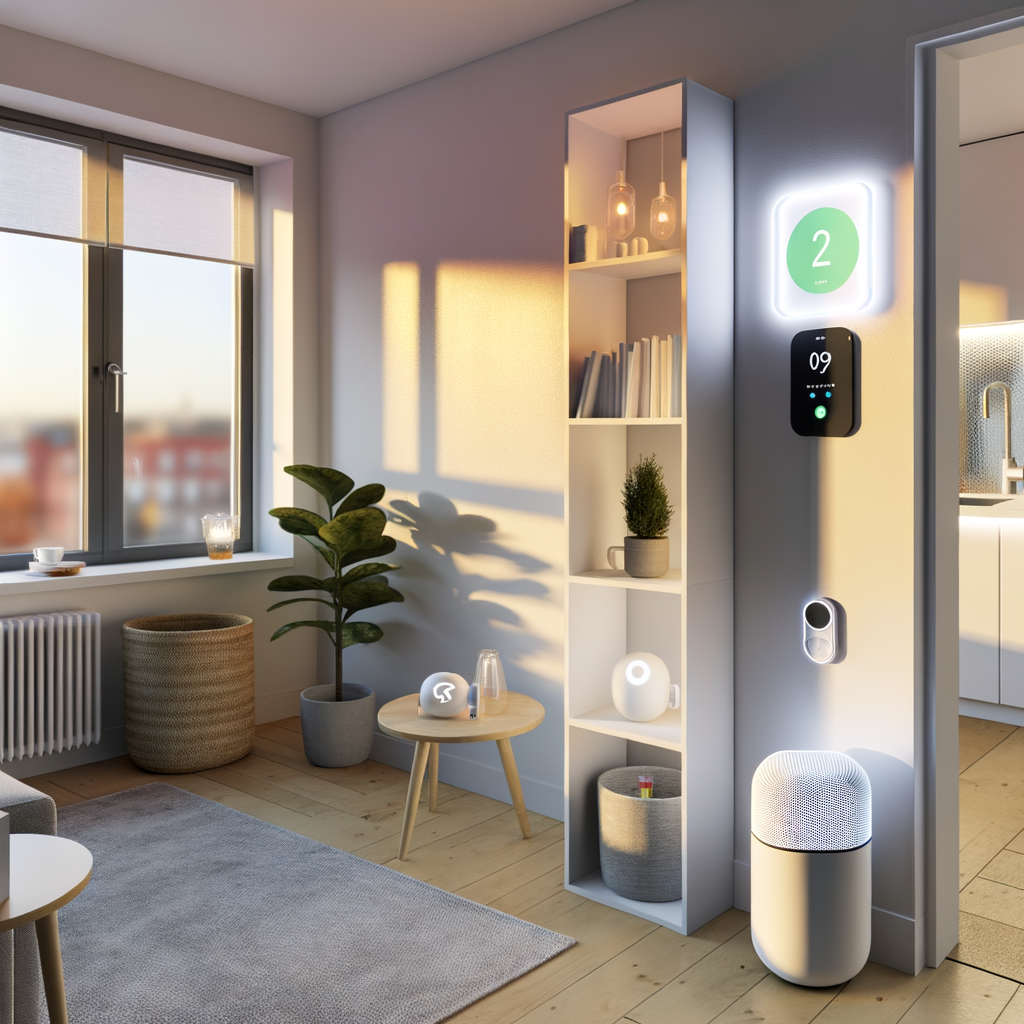
Air Quality Everywhere
-
Portable Smart Air Purifier:
- Fight urban dust, pollen, or smoke. Many let you see air quality stats and set schedules via an app.
-
Window/Door Sealing Kits:
- Self-adhesive strips and draft blockers help maintain indoor comfort, boosting your A/C and heater efficiency.
Step-by-Step: How to Upgrade Your Rental With Smart Green Tech
Step 1: Choose Compatible and Non-Permanent Devices
- Opt for plug-in, peel-and-stick, or app-controlled products. Avoid anything that needs drilling or hardwiring (unless the landlord agrees).
- Check device compatibility with your phone (iOS/Android) and preferred smart home platform (Alexa, Google Assistant, etc.).
Step 2: Install and Set Up Your First Device
- Smart bulbs and plugs: Simply screw in or plug and connect via the respective app. Test with routines—like lights off after midnight or coffee maker scheduled for 7 am.
- Leak or air quality sensors: Set up with included adhesives or place where needed, then connect to Wi-Fi and alerts on your phone.
- Water-saving attachments: Follow simple instructions, often just screwing onto the existing faucet or shower arm.
Step 3: Automate and Optimize
-
Scene Setting: Combine several devices for “away,” “bedtime,” or “morning” modes.
- Example: Turn off everything not needed while you’re out; set eco-mode on air conditioning automatically based on temperature or time.
- Schedule & Monitor: Use energy/water usage data from smart plugs, showers, and thermostats to find further savings opportunities.
Step 4: Maintain and Take With You
- Keep packaging and manuals so you can remove all devices without trace and reinstall in your next home.
- Regularly update firmware for security and best performance.
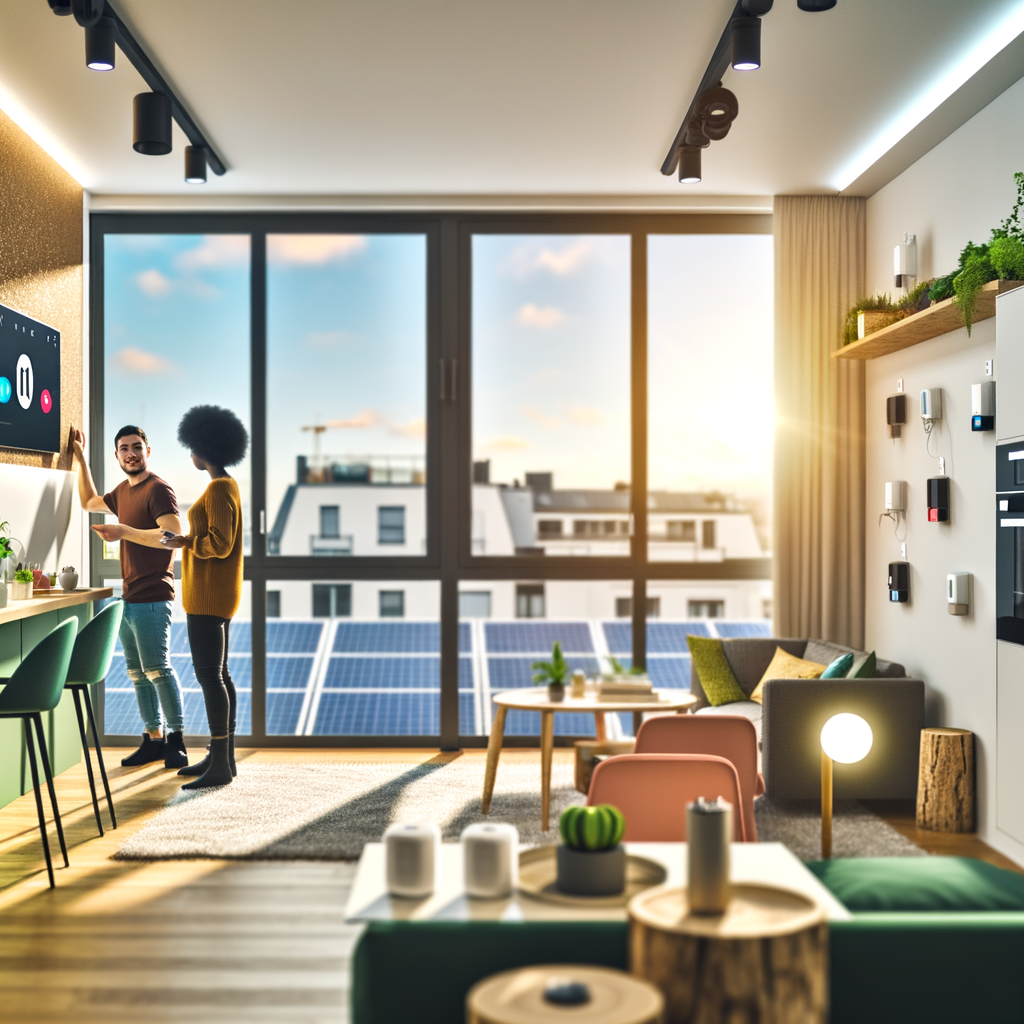
Practical Tips for Renters: Getting the Most From Smart Green Tech
-
Landlord communication:
- Most peel-and-stick or plug-in devices are totally fine. But for anything semi-permanent (like a smart thermostat or major fixture swap), always get permission in writing.
- Highlight cost savings, increased property value, and potential for “resetting” everything when you move out.
-
Safety first:
- Don’t overload outlets with too many smart plugs.