How to Turn Your Rental Into a Smart, Energy-Efficient Haven Without Damaging a Single Wall
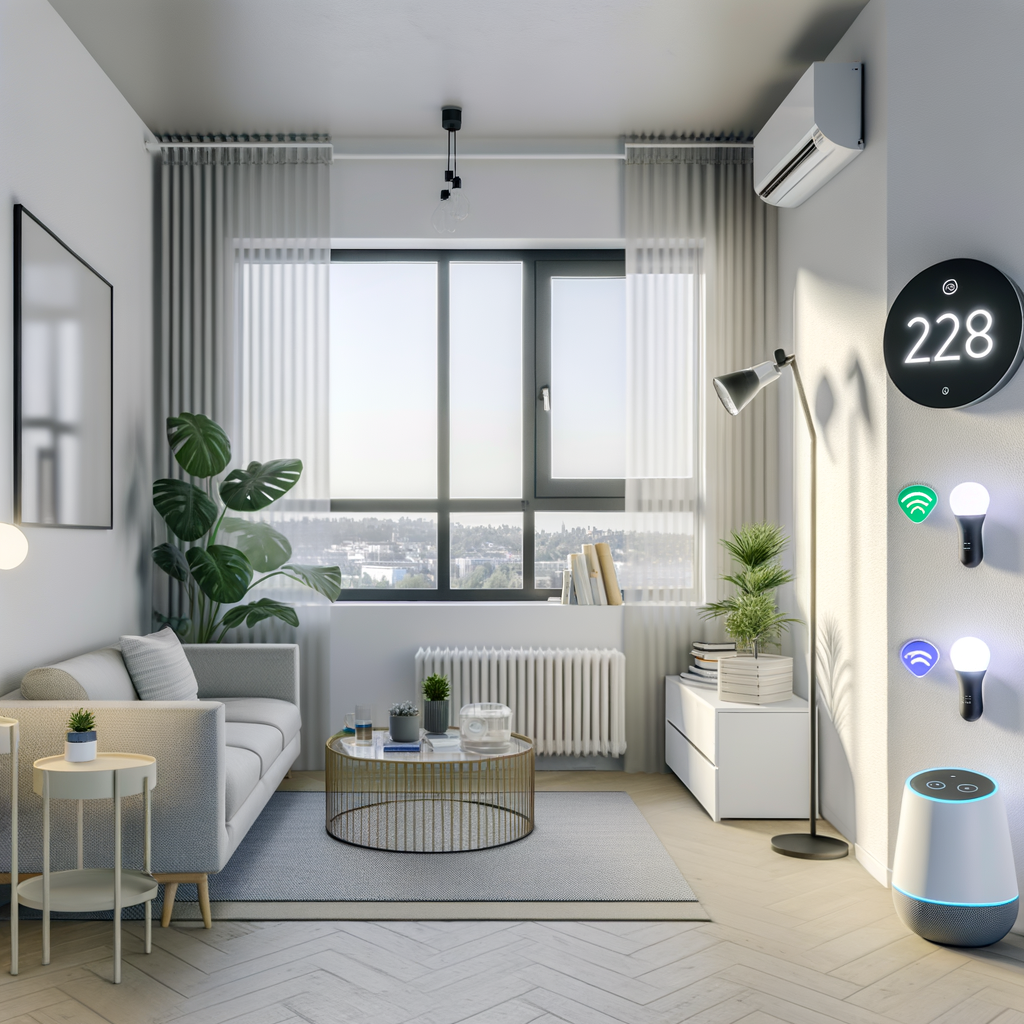
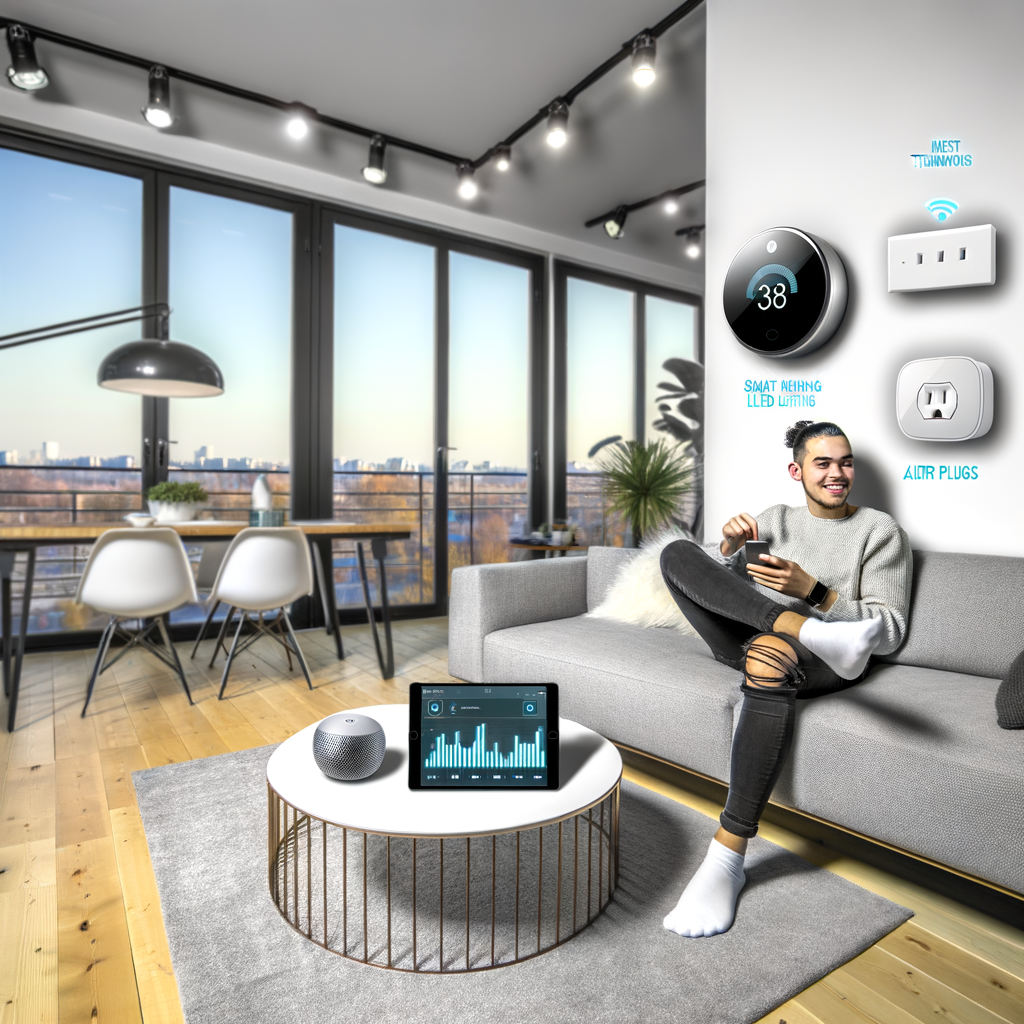
Dreaming of a smart, energy-efficient living space but can’t drill, nail, or hardwire a thing? Don’t worry—your rental apartment or house is the perfect place to embrace cutting-edge, eco-friendly tech and low-impact efficiency upgrades. Rental-friendly smart products and tools make it easier than ever to cut your energy bills, reduce your environmental impact, and boost your comfort—all without risking your security deposit.
Read on to discover practical, landlord-approved strategies for transforming your rental into a futuristic, green hideaway—no permanent changes required.
Why a Smart, Energy-Efficient Rental Matters
More renters are asking: “How can I make my home smarter and greener without breaking lease rules?” The answer isn’t just about convenience or trends—it directly impacts your wallet and the planet.
- Lower Utility Bills: Energy-smart devices can slash your electricity and heating costs, sometimes by 20% or more.
- Smaller Carbon Footprint: Using less power and optimizing heating/cooling means less greenhouse gas emissions.
- Improved Comfort, Security, and Convenience: Automate lights, climate control, and safety—even when away from home.
- Resale Value (for Owners) and Desirability (for Renters): Smart efficiency makes any space more attractive.
Rental-Friendly Rules
Before upgrading, keep these renter essentials in mind:
- No wall holes, hardwiring, or altering fixtures.
- Always read your lease and, if unsure, ask your landlord.
- Pick tech or products that are plug-and-play and easy to remove when you move.
Step 1: Start With Smart Plugs
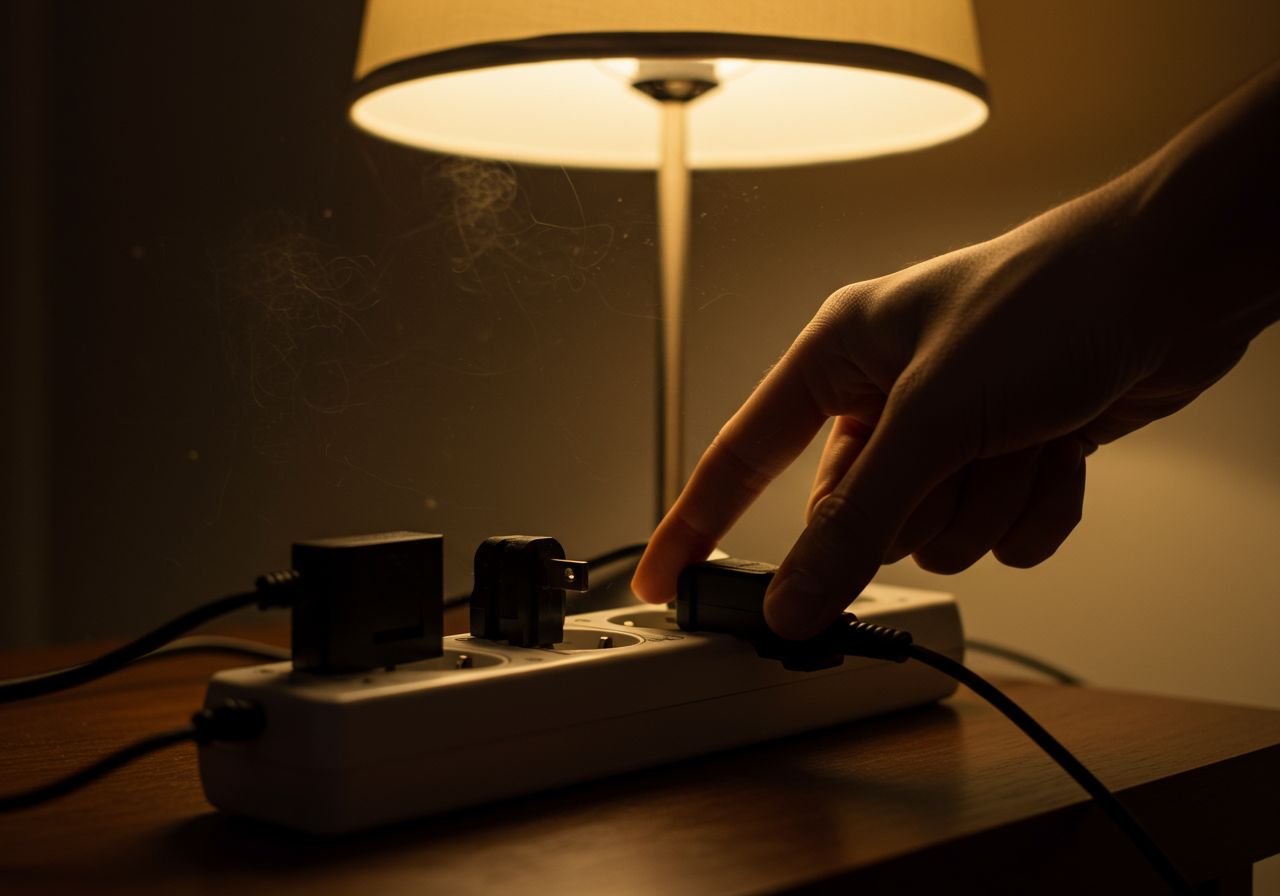
Smart plugs are tiny power adapters that convert any ordinary appliance or lamp into a connected, controllable device. Simply plug them into any outlet—no installation or drilling required!
Why Smart Plugs?
- Schedule lights and devices to turn on/off automatically, even when you’re not home.
- Measure and reduce energy “vampire” loads—the energy appliances use just by being plugged in.
- Control lamps, fans, coffee makers, and more from your phone or with voice commands.
How to Use Them Effectively
- Install smart plugs in living rooms, bedrooms, and kitchens for lamps, TVs, routers, and electronics.
- Set up custom schedules—turn off all non-essentials while at work or overnight.
- Try energy-tracking models to see real-time power use and savings.
Step 2: Go for Smart Bulbs and Lighting
Smart LED bulbs screw into your existing light fixtures—no rewiring or complex installation.
Benefits of Smart Lighting
- Lower energy use: LEDs use up to 80% less electricity than incandescents.
- Adjust brightness and color for work, relaxation, or sleep optimization.
- Use motion sensors, sunset timers, or remote controls for added efficiency and security.
- Integrate with smart home assistants (like Alexa or Google Assistant) for full automation.
How to Get Started
- Swap out your most-used bulbs first (bedroom, living room, entryway).
- Use smart bulbs with portable lamps for flexibility.
- Connect to a Wi-Fi hub or use bulbs that work directly with your phone—no bridge needed.
- Set “away” lighting schedules to reduce your energy footprint and deter break-ins.
Step 3: Maximize Heating and Cooling Efficiency
Single-room comfort and utility bill savings are well within reach—with no wall modification needed!
Smart Thermostats (With a Twist)
- If your place comes with a plug-in window AC or a portable heater, use a smart plug to control them automatically.
- If your landlord allows, consider a removable, battery-powered smart thermostat (some models don’t require hardwiring; always ask first).
- For central AC with a remote, use smart climate controllers (Wi-Fi IR remotes to control units from your phone, no wiring necessary).
Energy-Efficient Temperature Tips for Renters
- Add foam weatherstripping around windows and doors (removable, leaves no residue).
- Use thermal blackout curtains in the winter to retain warmth and block summer heat.
- Install portable draft blockers at the base of exterior doors.
- Use a portable, app-controlled space heater or fan targeted to your current room rather than heating/cooling the whole home.
Step 4: Monitor and Reduce Your Energy Use
Understanding your habits is the first key to cutting waste. Today’s smart meters and energy trackers are renter-friendly and easy to use!
Check Out These Options
- Plug-in energy monitors: Track specific devices by plugging into a single outlet—see how much your TV, fridge, or fan costs you each month.
- Whole-home energy monitors: Some models use clamp-on sensors at your breaker box (non-invasive, often allowed with landlord approval).
- Most smart plugs and smart power strips include app-based energy data.
How This Helps
- Spot energy hogs and decide what to unplug or add to a smart plug schedule.
- Measure the effect of each new device or routine change.
- Stay motivated by watching your energy savings add up over time!
Step 5: Improve Air Quality and Comfort (Tech Style)
Many people forget that healthy, energy-efficient living also means cleaner indoor air and better humidity management. Fortunately, modern air purifiers, sensors, and humidifiers are plug-and-play.
Rental-Friendly Upgrades
- Smart air purifiers sense and filter pollutants, allergens, and pet dander automatically.
- Portable smart humidifiers/dehumidifiers work best in bedrooms and living areas—some even track air quality and energy use in real time.
- Use indoor environmental sensors to monitor temperature, humidity, and air quality. Some plug into USB ports; others are battery-powered.
Step 6: Secure Your Space—Without a Toolbox
Home security often feels off-limits for renters—but it doesn’t have to be. Many modern smart security tools use adhesive backs, batteries, magnets, or stands.
Top Picks for Renter-Friendly Security
- Smart cameras with magnetic bases or stands (no screws required).
- Wireless door and window sensors with peel-and-stick adhesive.
- Video doorbells that use battery power and peel-and-stick mounts, or fit inside existing peepholes.
- Smart locks that install over your existing deadbolt from the inside—no need to change the lock or key.
Step 7: Automate and Personalize—No Control Hub Needed
Don’t want to fuss with an expensive smart home hub? No problem! Many new gadgets are Wi-Fi/Bluetooth enabled—just use your smartphone or a voice assistant speaker.
Making Your Devices Work Together
- Use Alexa or Google Assistant routines to automate lighting, plugs, thermostats, and more by time of day or your voice


