How to Turn Any Rental Into a Smart, Energy-Efficient Home for Under $100
Creating a smart, energy-efficient home doesn’t have to require sprawling budgets or massive home renovations—especially if you rent. There are practical, affordable changes you can make to upgrade your space without upsetting your landlord or breaking the bank. In fact, you can start transforming your rental for under $100. Ready to enjoy lower utility bills, modern convenience, and lower carbon emissions? Let’s dive in!
Why Go Smart and Energy Efficient?
- Lower energy bills – Save money each month with simple tweaks.
- Improved comfort – Automate control of temperature and lighting.
- Smaller carbon footprint – Help the planet while still renting.
- Remote control – Keep tabs on your rental, even when you’re away.
- No-permanent changes – All recommendations work without renovations or risk of losing your security deposit.
Smart Rental Upgrades: The Ground Rules
- Portability: Everything should come with you when you move.
- No wiring required: Devices must install with zero (or reversible) wall damage.
- WiFi friendly: Solutions should work with the typical renter’s WiFi network.
- Device agnostic: All tips should work for both Android and iOS users.
Biggest Energy Wasters in Rentals (And Smart Upgrades to Tackle Them)
Before you invest, it helps to target where most waste and inefficiency creep into the average rental. Here’s what to focus on:
- Lighting – Old-school bulbs and always-on lamps
- Phantom energy – Devices sipping power while “off”
- Heating & cooling – No one home, but the AC/heat runs
- Leaky windows – Drafts reducing your comfort and efficiency
Smart, Efficient Upgrades You Can Make for Under $100
Now, let’s break down practical, renter-approved upgrades for each problem area, all under a $100 budget.
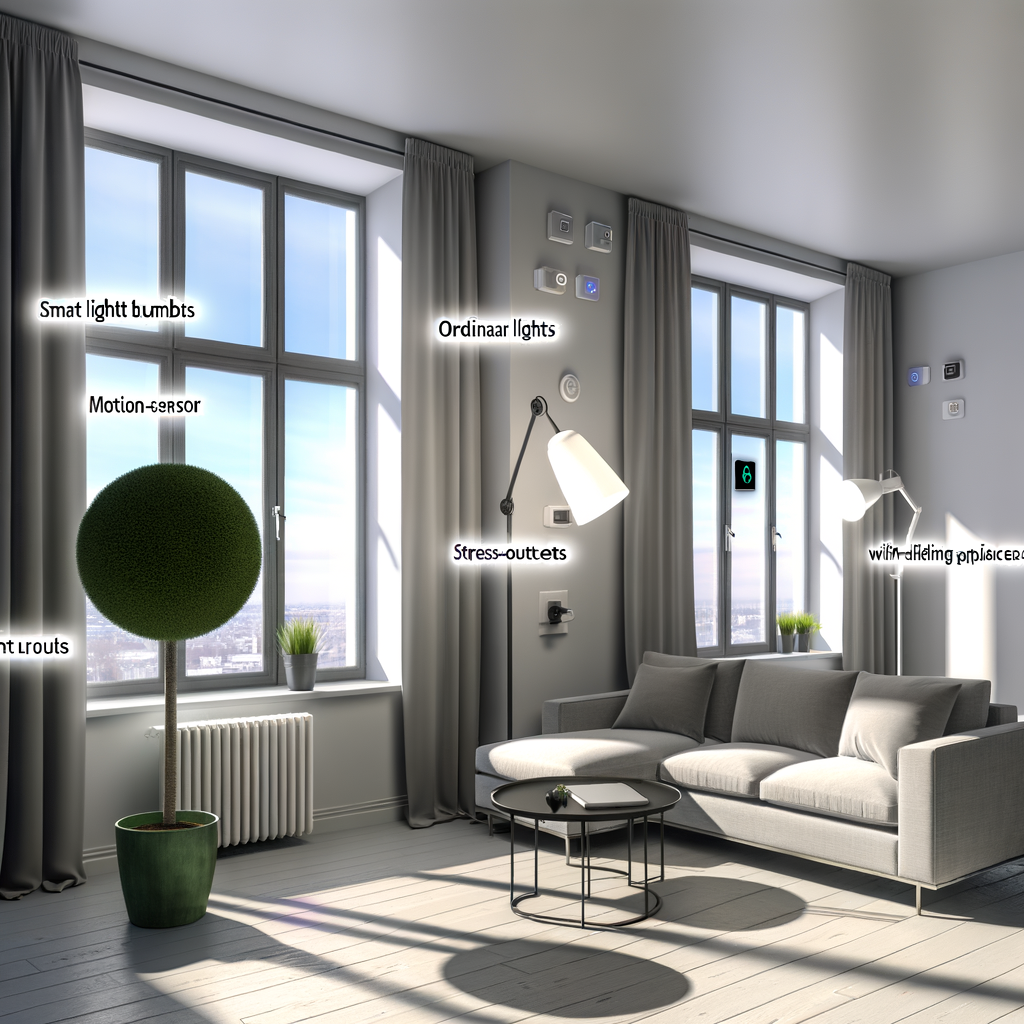
1. Smart Light Bulbs: Instantly Upgrade Lighting
Swapping out old bulbs for smart LED bulbs is the easiest win for smarter, greener lighting. Benefits:
- Super easy install – Just screw in, connect to your WiFi, and you’re set.
- Longer life span – LEDs can last 10 years or more.
- Energy savings – Use up to 80% less energy than incandescent bulbs.
- App & voice control – No need to hunt for a switch or leave lights on ever again.
- Scheduling – Automate lights for security and energy efficiency, even when you’re away.
Pro Tip: Start with spaces that see the most usage—living room, kitchen, or entryway.
Cost: Quality entry-level smart bulbs start as low as $10-$15 each.
2. Smart Plugs: Kill Phantom Power, Automate Appliances
Many electronics draw power even when “off.” Smart plugs let you:
- Shut off hard-to-reach or always-on devices (think: TV, coffee maker, or chargers).
- Set schedules – Automate gadgets, so there’s no energy waste.
- Monitor energy usage – Some plugs track how much electricity each device uses.
- App & voice control – Turn devices on/off remotely or with Alexa/Google Assistant.
Pro Tip: Unused lamps, entertainment centers, routers, and work-from-home stations are all prime candidates.
Cost: Basic smart plugs start around $10-$20 each; multi-packs can bring costs down further.
3. Draft Stoppers and Removable Window Insulation: Stop Energy Leaks
Heating and cooling are usually the biggest part of your utility bill. If you feel a draft, your energy is literally flowing out the window! Solutions for renters:
- Draft stoppers/weatherstripping: Use for doors and windows. Installs in seconds, easily removed upon move-out.
- Removable window film: Adds an invisible thermal layer for improved efficiency. No glue required—just use a hairdryer and seal.
Pro Tip: Pick clear insulating film, so sunlight still gets in—helping warm your home naturally in winter.
Cost: Draft stoppers run $10-$15; a roll of good window film is $10-$20.
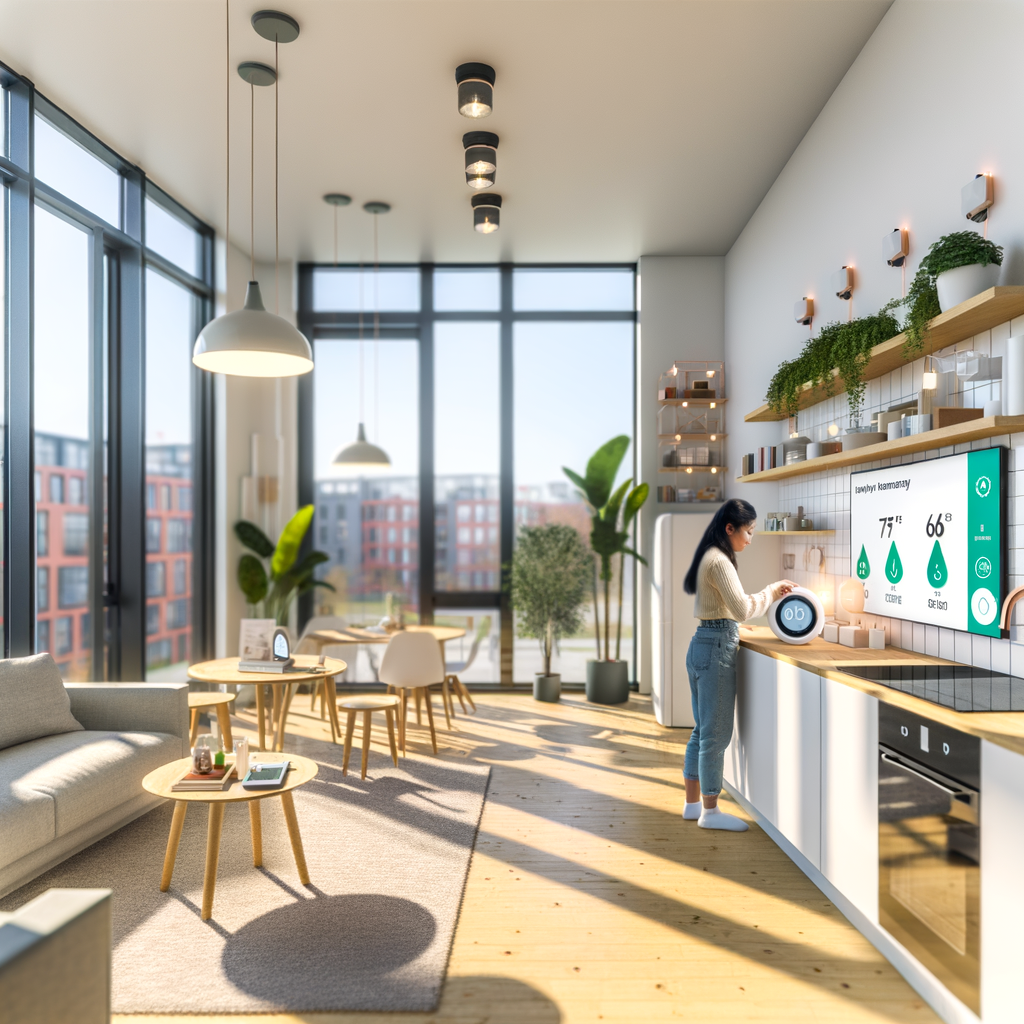
4. Portable Smart Thermostats (For Plug-in Heaters or A/C Units)
If you rent and can’t replace the main thermostat, you can still automate heating and cooling using portable smart thermostats. They plug directly into the outlet, so you can:
- Control via app or schedule mini-split units, space heaters, and window A/C units.
- Auto-off/on – Never accidentally leave a heater running again.
- Track usage – See which rooms are energy hogs.
Pro Tip: Some devices even “learn” your schedule for extra efficiency.
Cost: WiFi-enabled outlets with built-in thermostats start at about $25-$40.
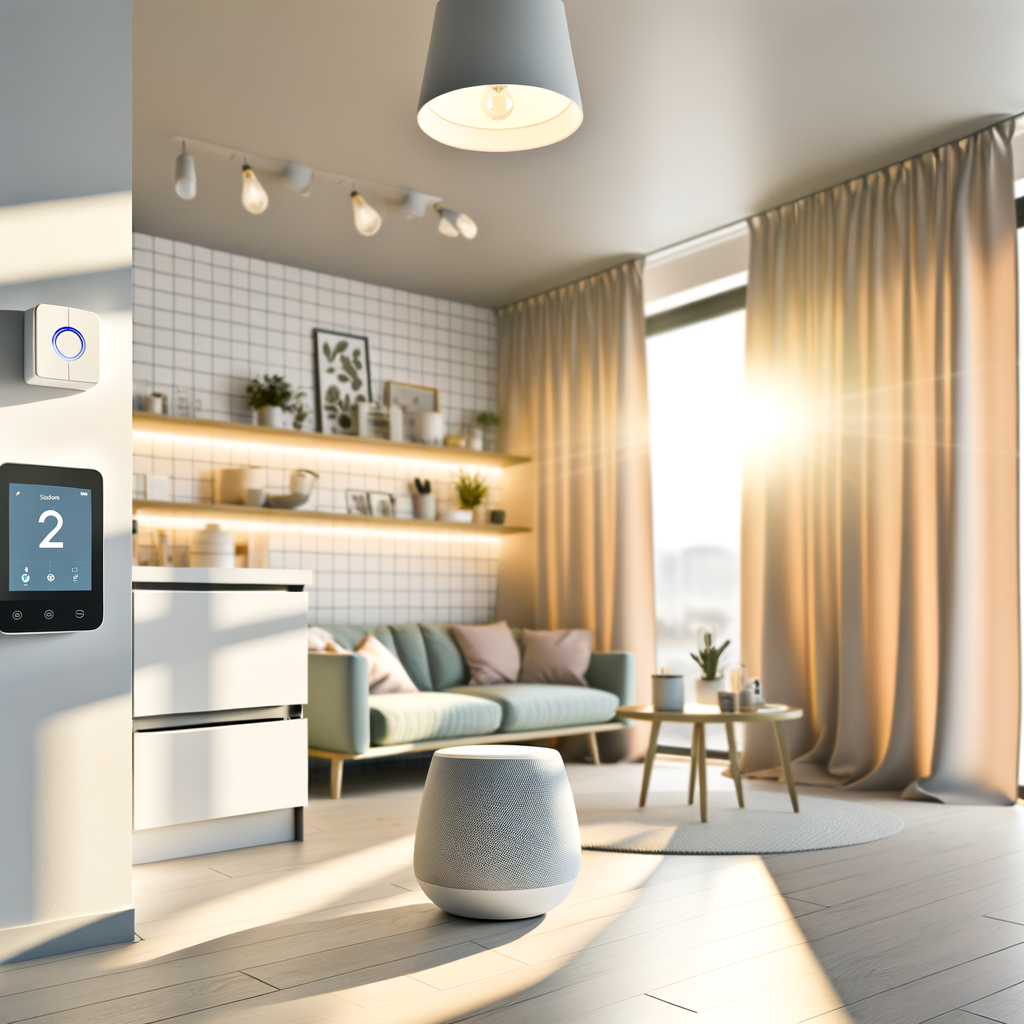
5. Smart Home Hubs (Optional, for Power Users)
If you want to control multiple smart plugs, bulbs, or thermostatic outlets from one place, a budget-friendly smart hub is handy (Alexa Echo Dot or Google Nest Mini, for example).
- Voice control – Turn off all kitchen devices with one command.
- Automation scenes – Set a “leaving home” or “bedtime” routine for max automation.
Cost: Entry-level hubs run $30-$50—and often go on sale.
Where to Spend for Maximum Impact: Sample Upgrades Under $100
Here are three sample ways to get started for just $100 or less:
- Focus on Lighting: Four smart bulbs ($40), two smart plugs ($20), window draft stopper ($15) = $75
- Target Phantom Loads: Three smart plugs with energy monitoring ($35), one smart bulb ($10), weatherproofing tape/film for all windows ($20), hub on sale ($30) = $95
- Smarter Heating/Cooling: One smart portable outlet thermostat ($35), two smart bulbs ($20), window insulation kit ($15), weatherstrip for doors ($10), app-controlled portable fan ($18) = $98
Prioritize based on what you use most—if you’re always forgetting to turn off a space heater, start there!
How to Install and Set Up These Smart Devices in Your Rental
Smart Bulbs
- Unscrew old bulb, screw in the new smart bulb.
- Download manufacturer’s app (such as Philips, Wyze, Kasa, or TP-Link).
- Connect to your WiFi and name your bulbs (e.g., “Bedroom Lamp”).
- Set schedules, routines, or link to a voice assistant for hands-free use.
Smart Plugs
- Plug directly into your standard wall outlet.
- Connect home electronics or appliances.
- Follow app instructions to connect to WiFi.
- Group plugs together in an app for multi-device control.
Draft Stopper/Window Film
- For draft stoppers, just place at the base of doors or window sills.
- Window film: Cut to size, smooth onto the interior of the glass, and use a hairdryer